How to make your own LPs for $$$ and not $$$$
Here's how I made vinyl LPs of my band's album Greenbeans. I was trying to find a low-cost way to get a small number of records made. In the end I spent a lot of money through speculation and experimentation, but the results are very good, and I could do it more cheaply if I did it again.
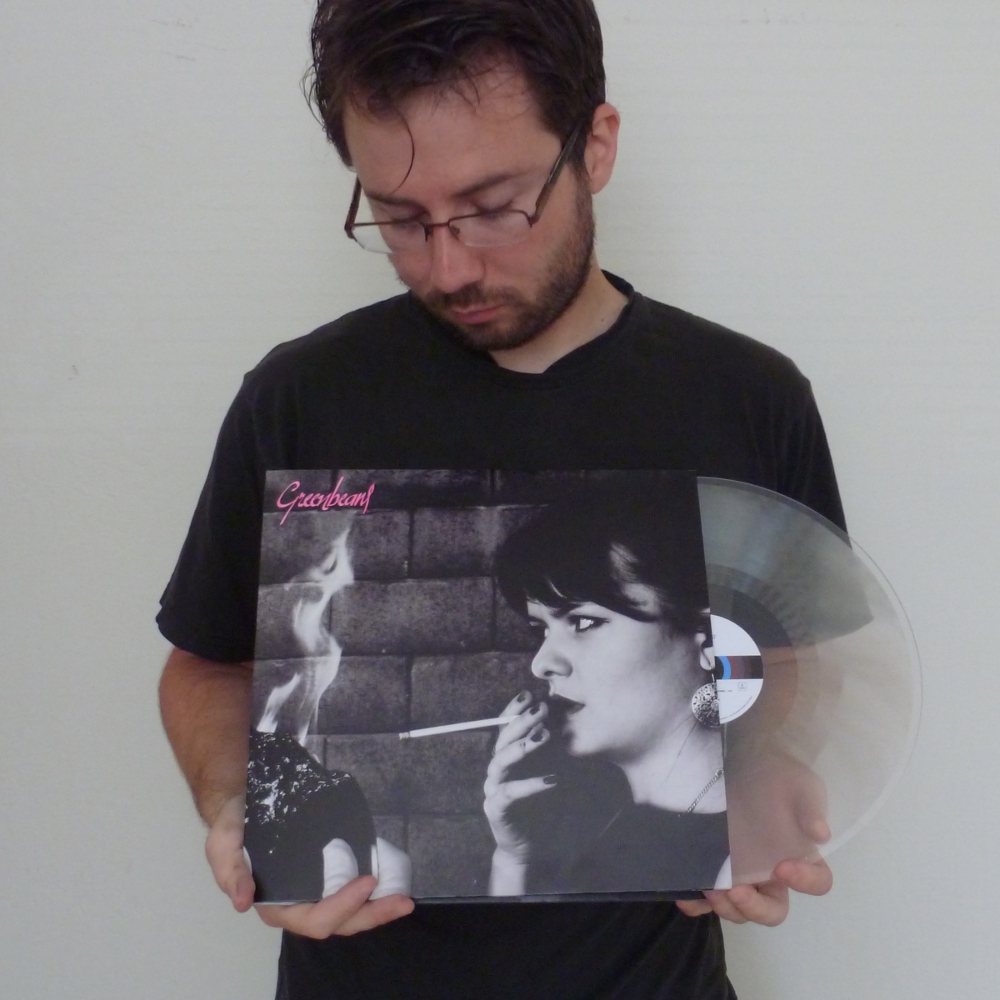
I was disappointed in the possibilities when I decided to put the album on vinyl. There are a lot of outfits doing vinyl pressing, but they all want big runs—like 500 pieces or more. The same goes for offset-printed jackets. Well, I didn't want 500 pieces. I ended up with records having these properties:
- 20 double LPs,
- About 14 minutes per side across four sides,
- Cool invisible lathe-cut vinyl,
- Gatefold jackets with custom art,
- Costing about $815 total.
Discs
The normal process of pressing vinyl has a lot of overhead, which is why they want you to do a large run. But it is possible to get small numbers of discs, not pressed, but lathe-cut. Lathe cutting is a process where instead of being stamped out by a master, the records are physically cut one by one with a stylus. There seem to be about two outfits doing lathe cuts: Poly-Cut and Corporate Records.
DO NOT DO BUSINESS WITH POLY-CUT. As far as I can tell, the owner Tommie Emmi is a crook and a con artist, or at least incompetent. He strung me along for over six months, made a ton of excuses, and never sent me any records. That's $315 I'll likely never see again. Apparently some people have actually gotten records from him, but do some web searching and you'll find a lot of others who have been burned. Check their BBB F rating. Here's a transcript of email messages about my order.
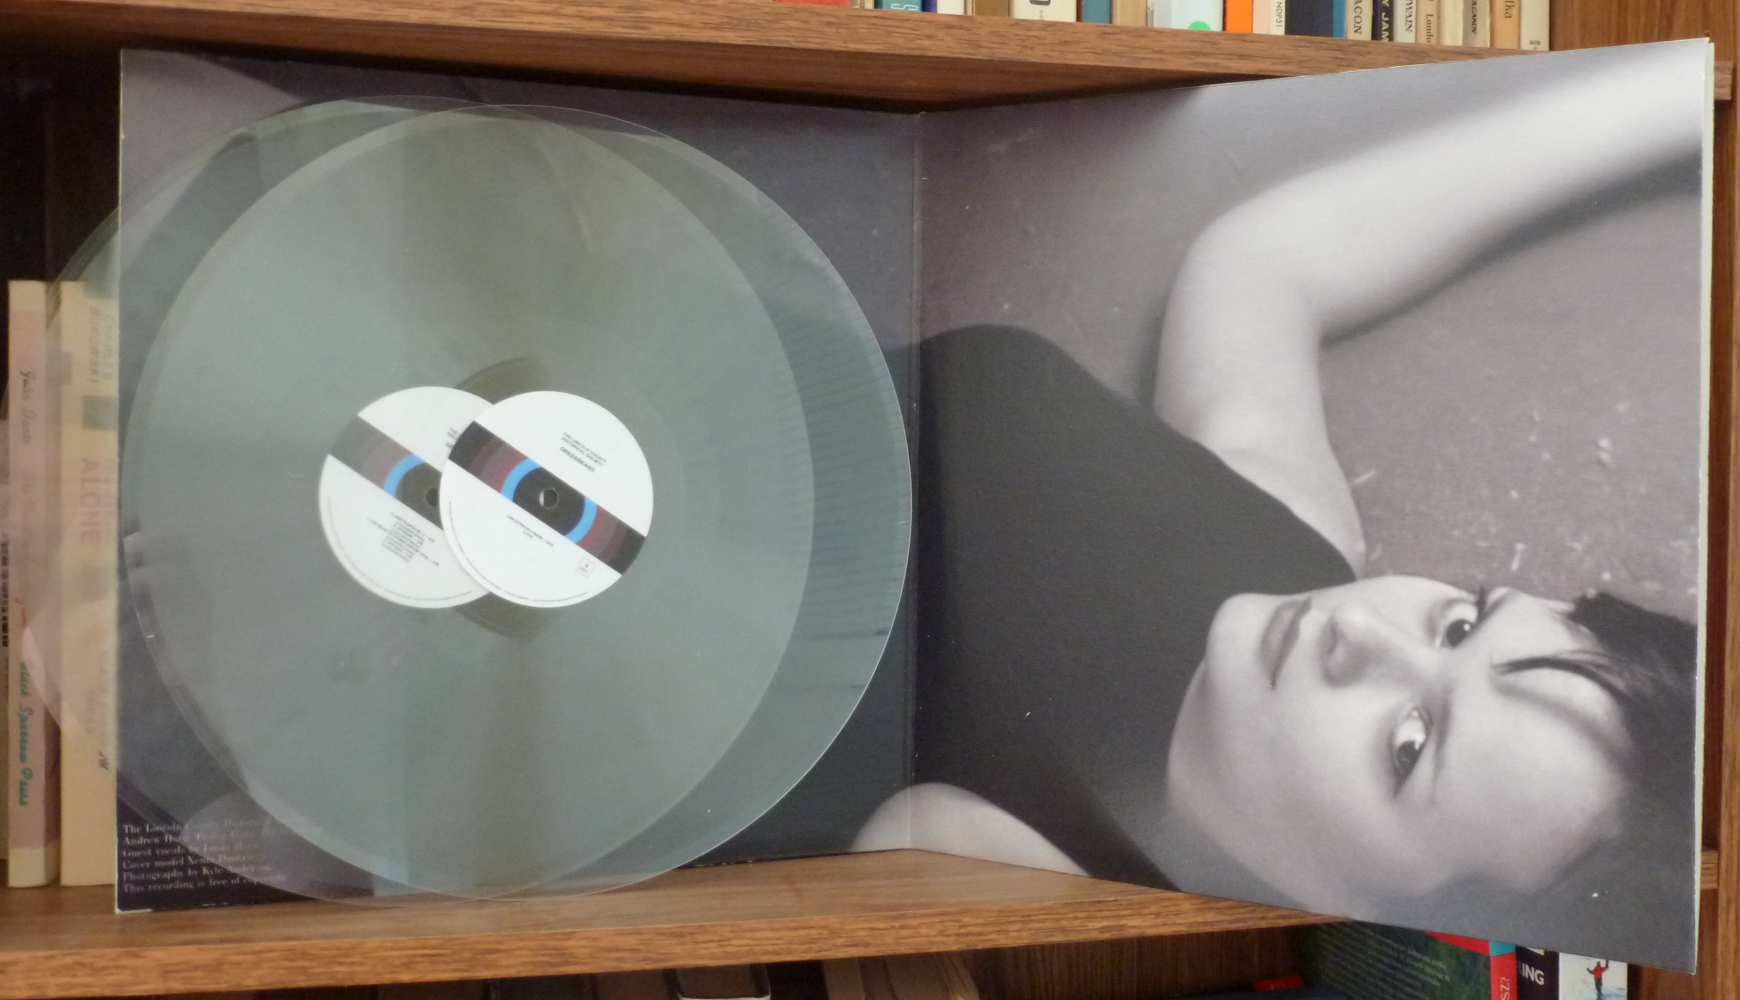
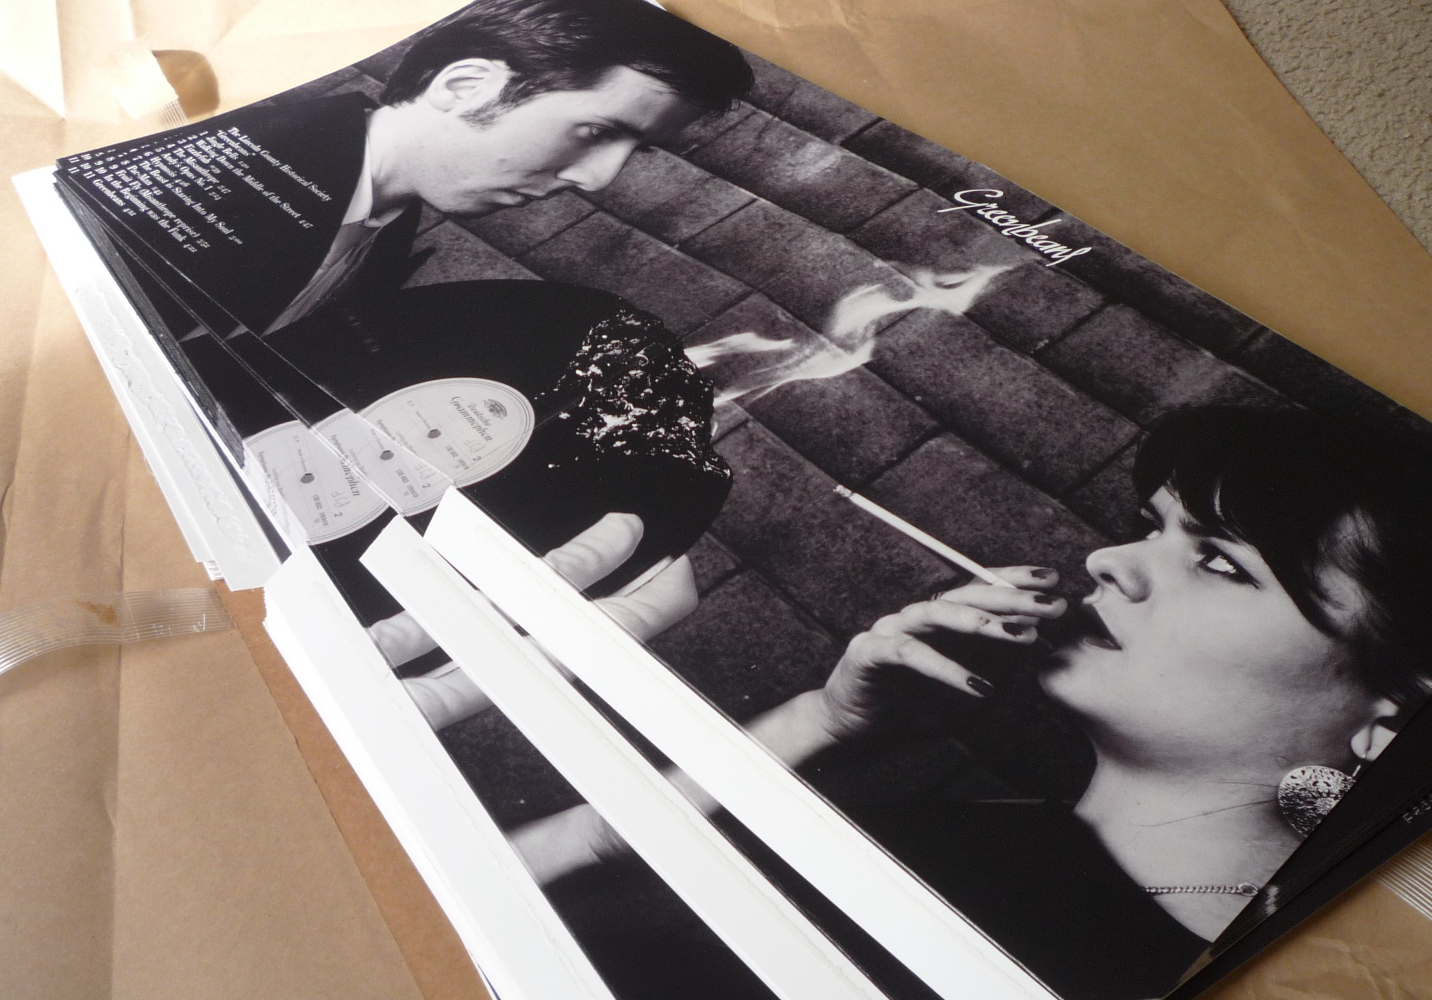
Corporate Records took a long time (about 6 months), and I was beginning to worry as I had with Poly-Cut, but I eventually got my records. Corporate's per-record prices are lower, but they also told me they are limited to 16:30 per side, which meant that I could no longer fit the whole album on two sides. So I split it up onto three sides, and recorded a spoken word piece to fill out the fourth. This also gave me a chance to make nice gatefold jackets. But be aware that doing this is going to double your costs not only for records, but also for jacket paper and printing.
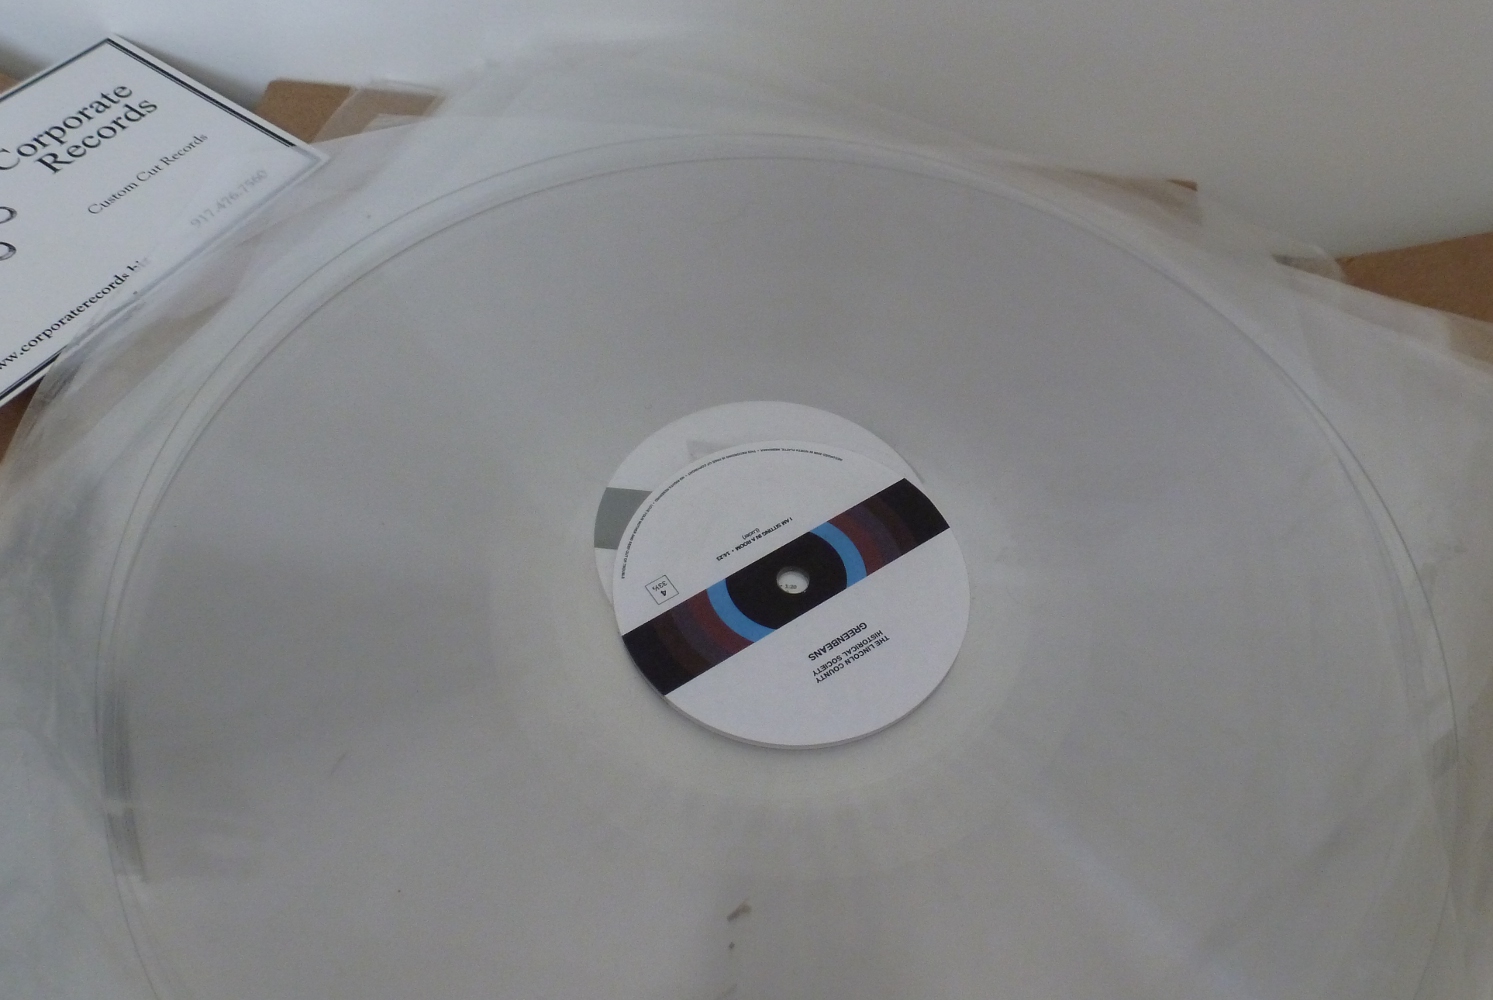
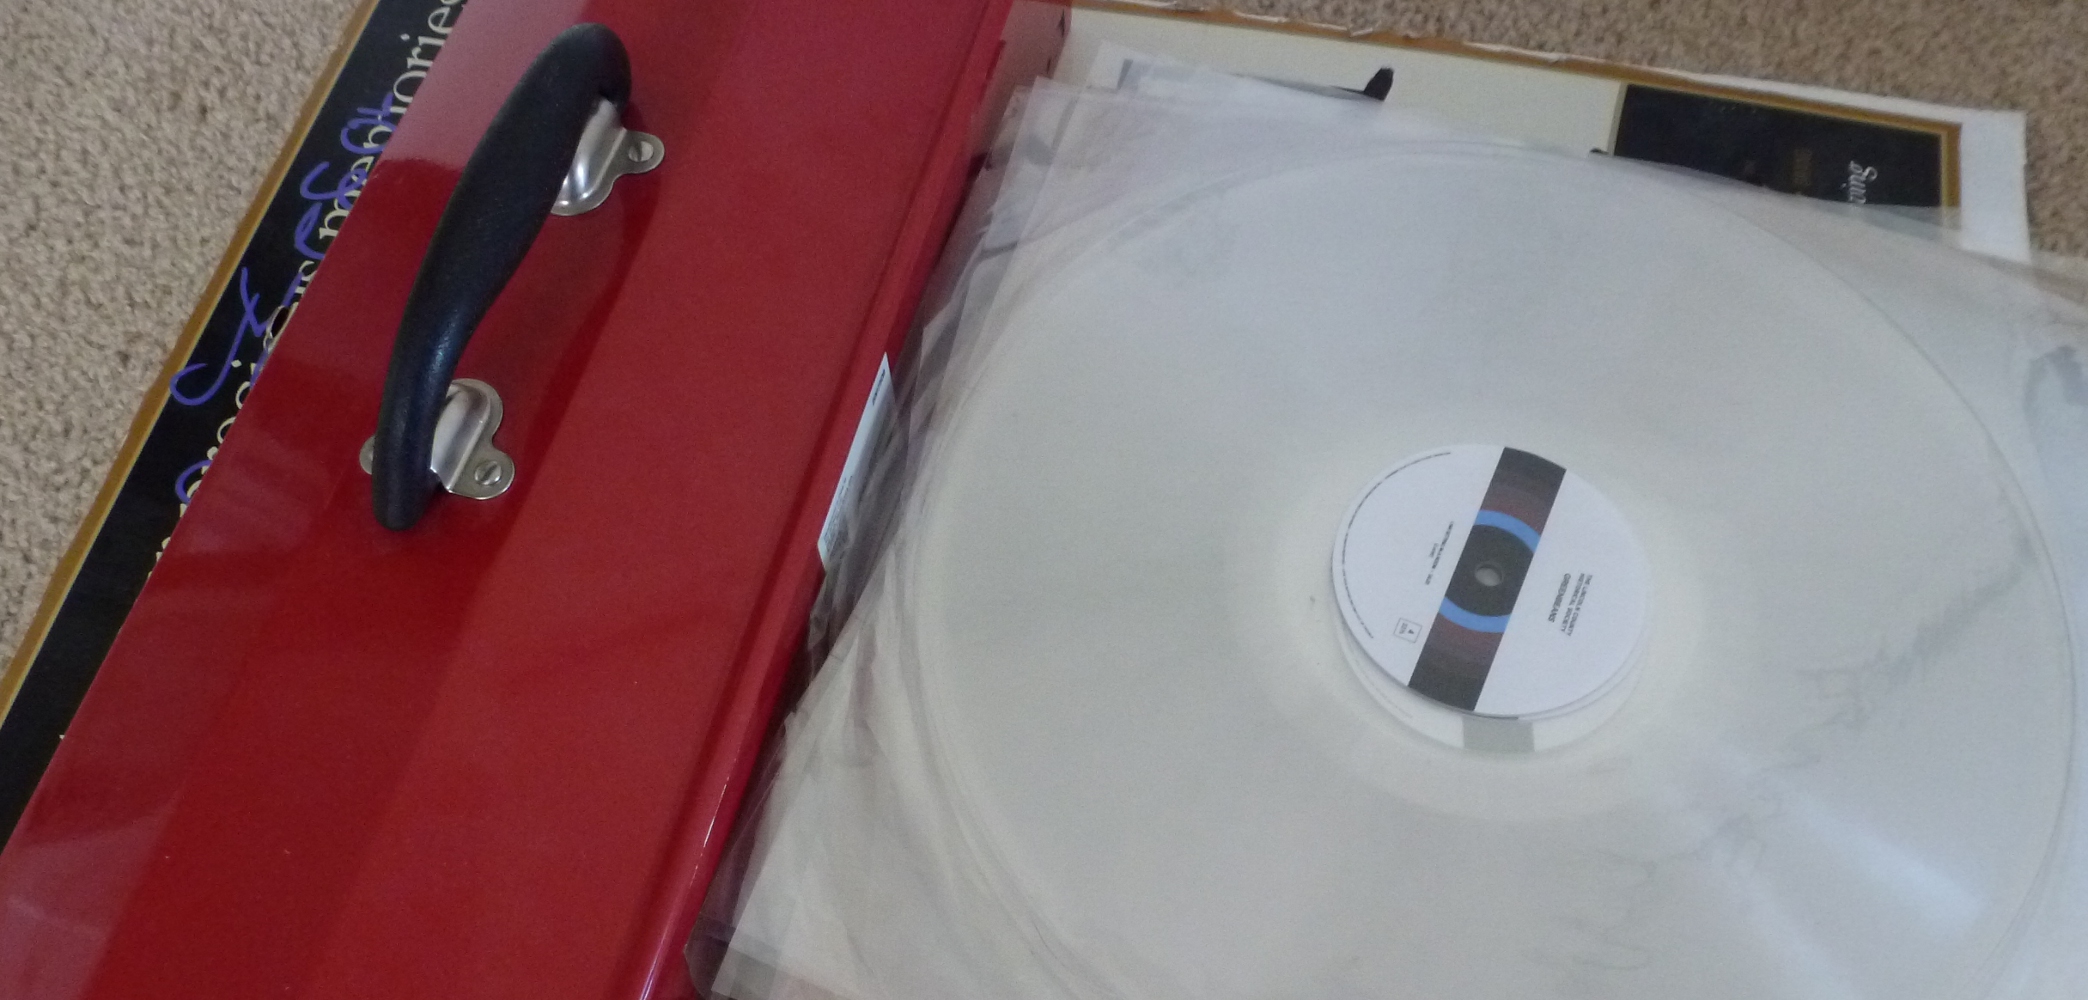
For some reason, lathe-cuts come on transparent vinyl, which is fairly cool. Here is a shipment as it arrived from Corporate.
Jacket blanks
I disassembled manufactured jacket blanks and reassembled them into gatefold jackets. This worked, but printing them was difficult and expensive. You can probably save money by finding a printing shop that can print and cut the blanks for you, as described in the next section.
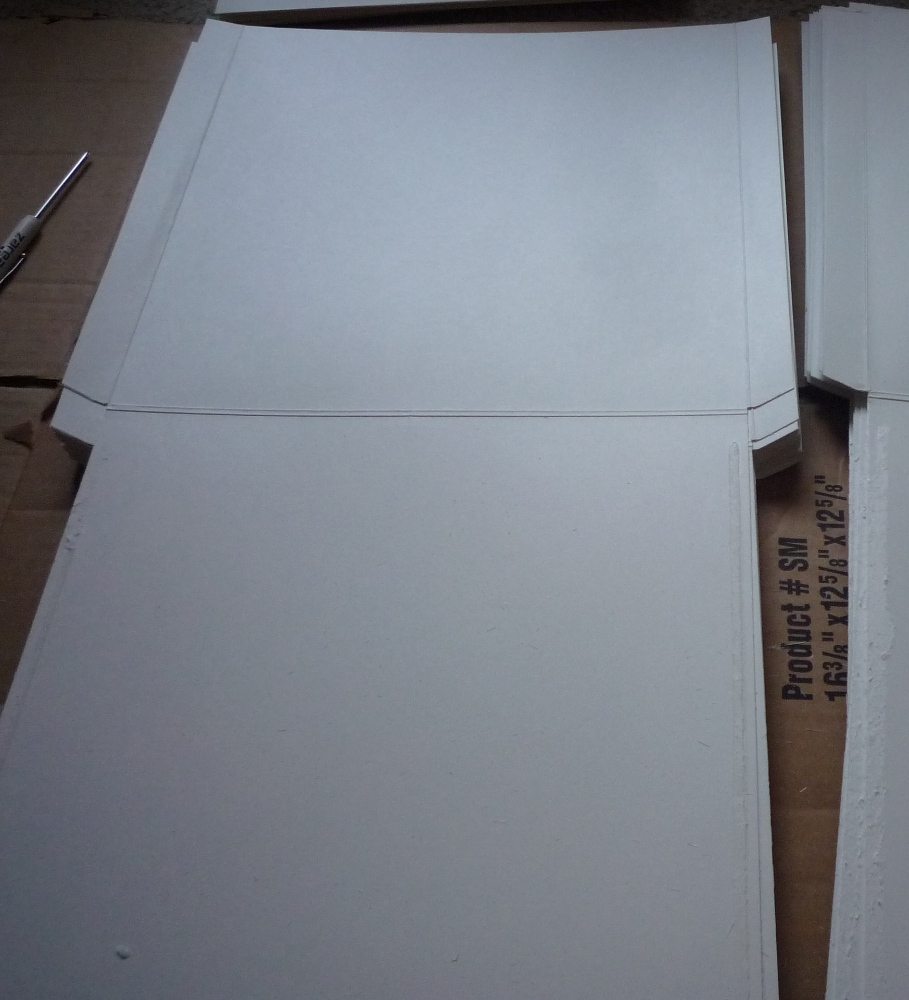
This is about the only cheap part of the whole project. You can buy plain white unprinted jackets for $0.50 each, even in small quantities. The clever thing is that you can disassemble two of them, have them printed, and glue them back together into a gatefold jacket. I got 50 jackets from Dorado Packaging. The shipping was comparatively expensive, however: about $25 on top of the $25 order.
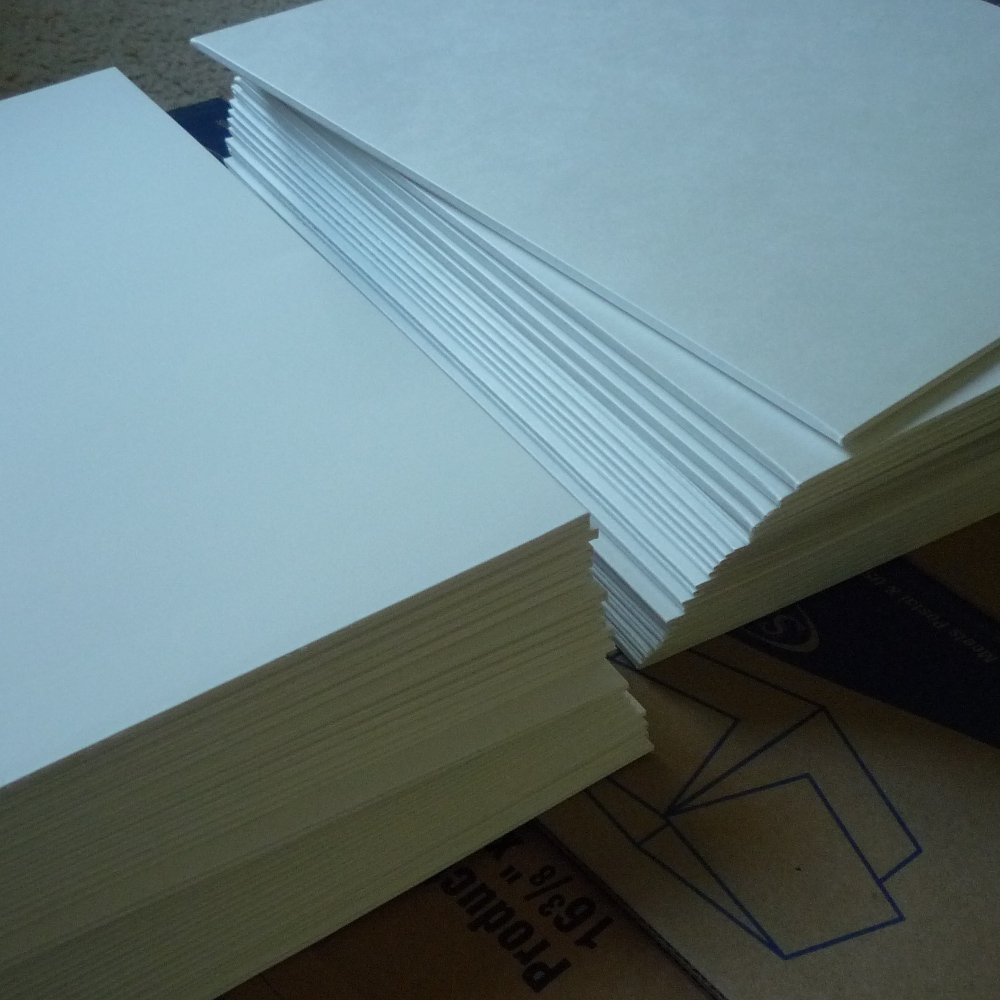
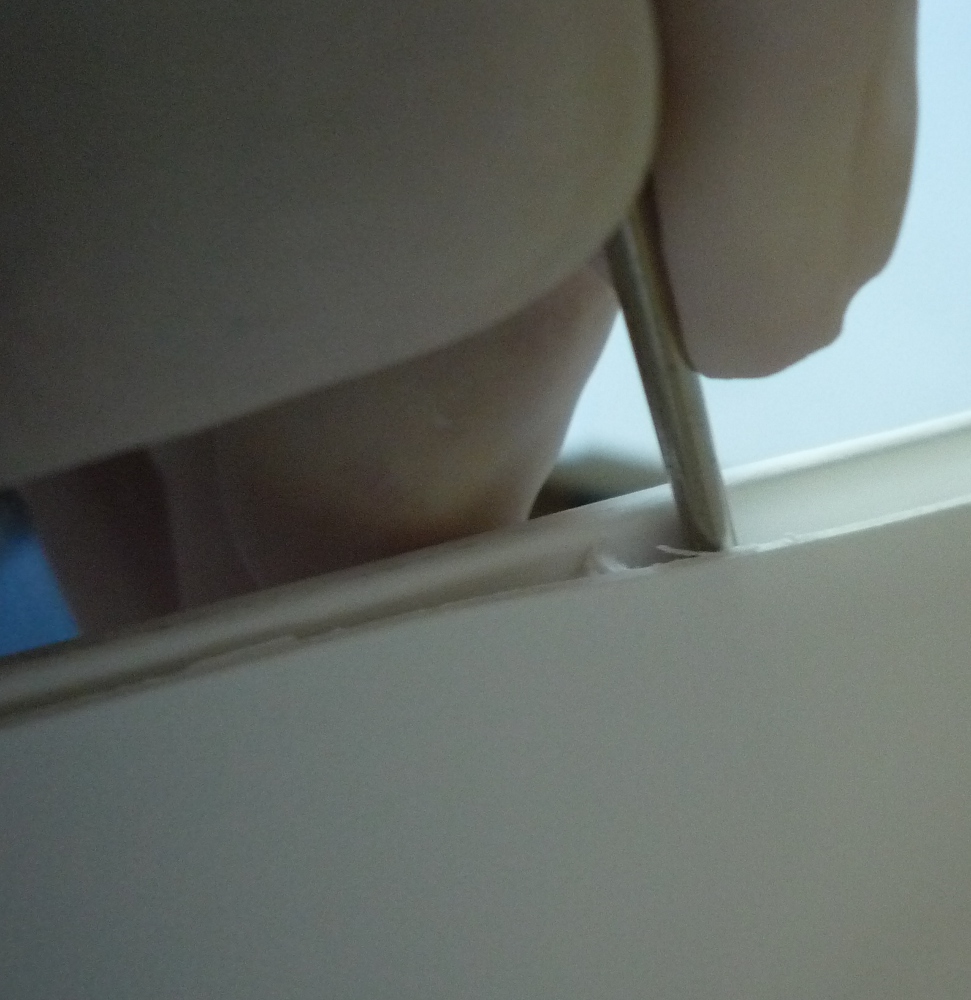
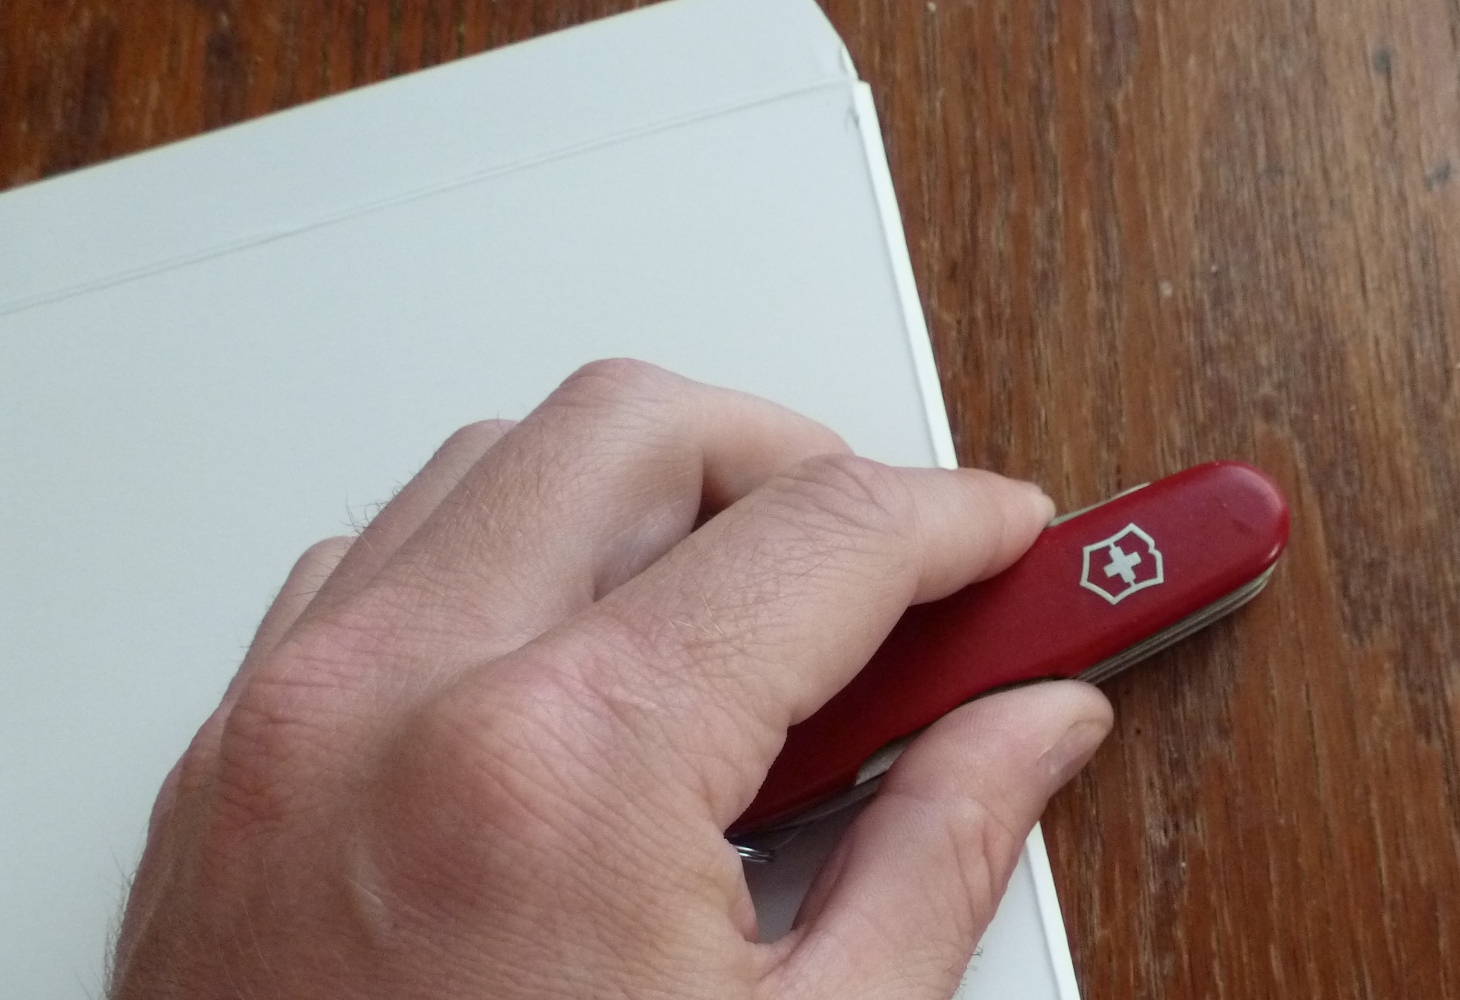
My first idea to break the glued seal was a sharp knife, but the round shaft of a small screwdriver was easier and did less damage to the paper. Break up all the jackets and let them lay flat.
Jacket printing
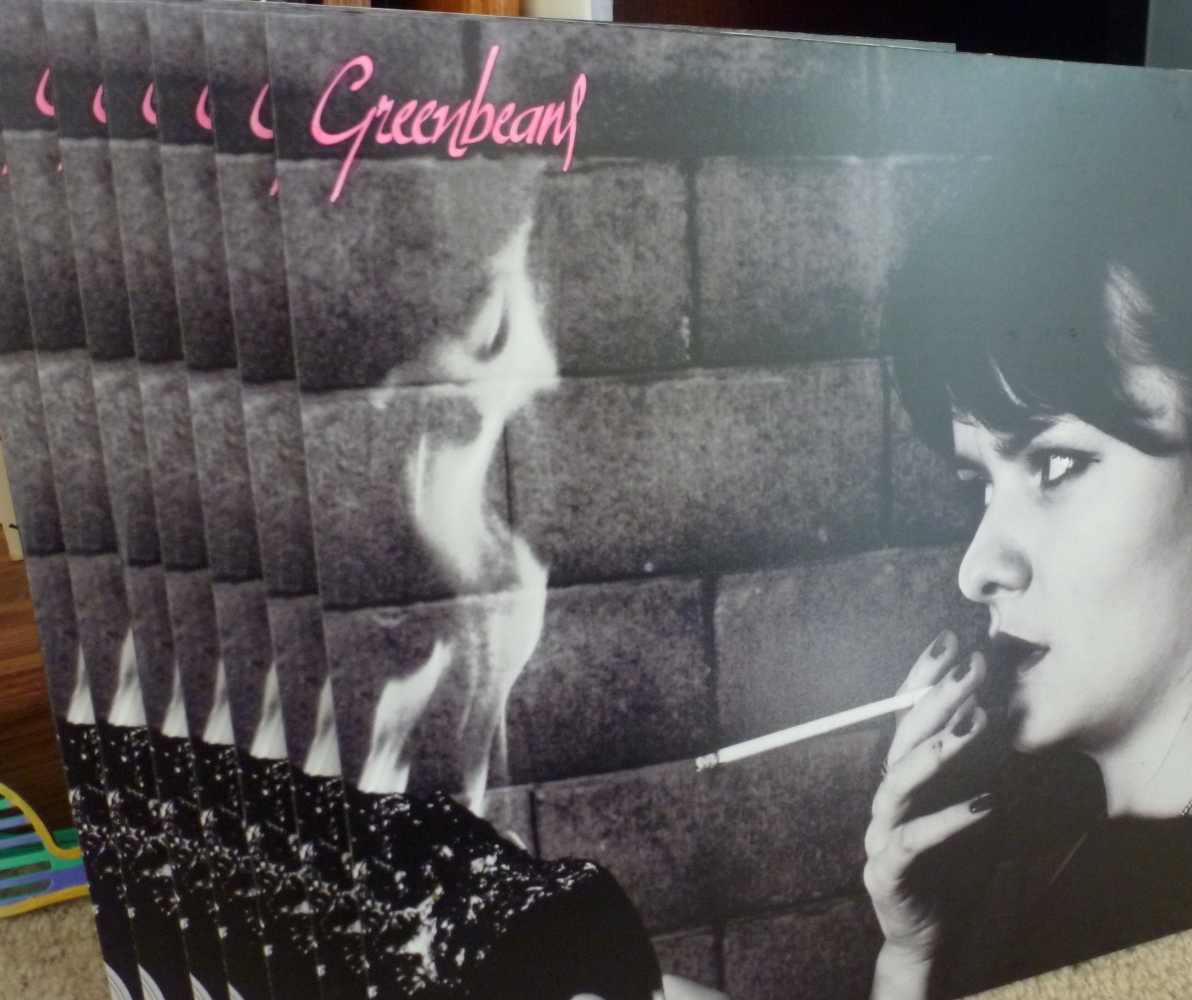
First things first: the album artwork. This is up to your creativity. Here's what worked for me.
- Know a geophysicist with modeling experience.
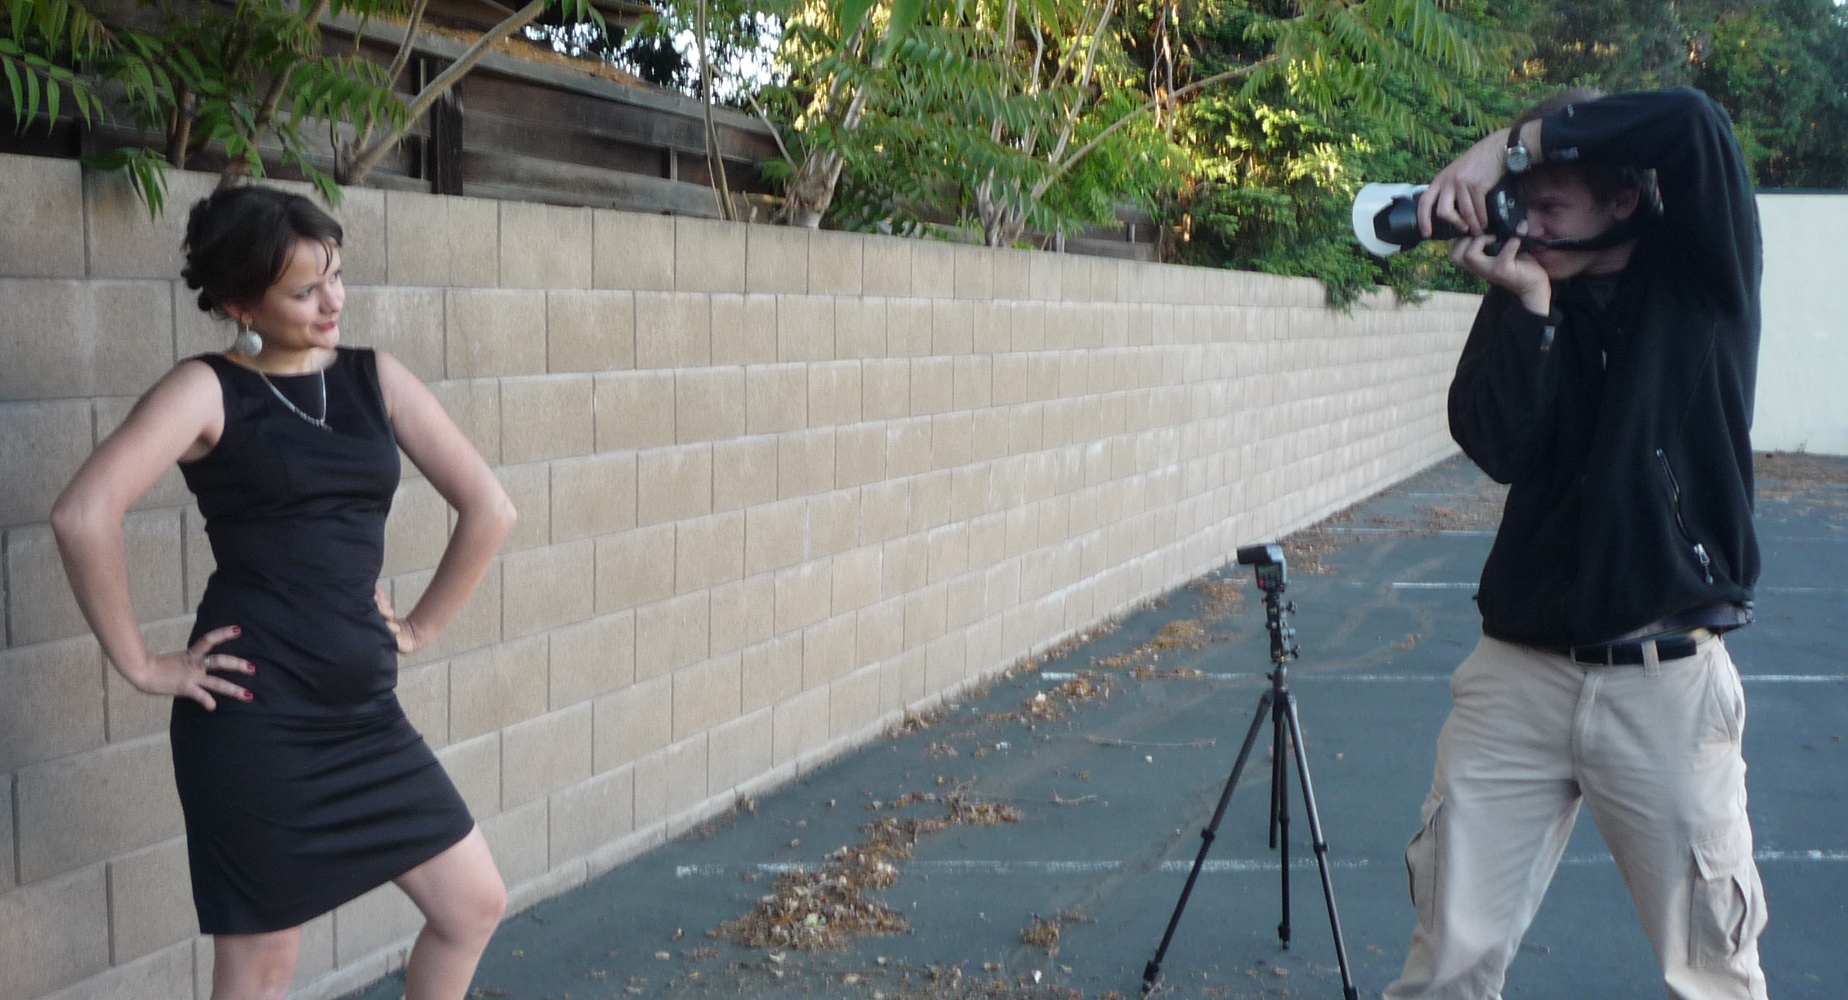
- Ask her if she knows anyone who can take a picture.
- Go to a parking lot, set records on fire, hope nobody calls the cops.
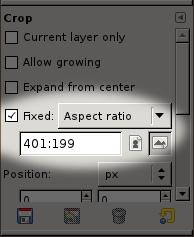
If you're using the Dorado jackets, these are the measurements of the printable area:
Each side: 12.3125″ wide by 12.1875″ tall.In Gimp, you can set a fixed aspect ratio for the crop tool, then move and resize it until you have the framing you want.
Spine: 0.1875″.
Total: 24.8125″ wide by 12.1875″ tall.
With 1⁄8″ bleed: 25.1875″ wide by 12.4375″ tall.
Aspect ratio: 401:199.
When I began this project I had a vague idea that it would be possible to do short-run digital printing of the jacket covers. It turns out that almost nobody can print on pre-cut stock like that, unless you pony up for a big offset run. I must have gone to a dozen print shops; some of them looked at me like I was from the moon. I had almost resigned myself to printing some crummy adhesive transfers when I tried Riot Color in Sunnyvale (formerly San Jose Blue). They have a special machine that can print large-format even on something that's not completely flat. And the results are great!
The printing was nevertheless fairly expensive, $240 for 40 prints. I found out after I paid that they had actually cut me a break, and the normal price would have been more like $400. But they also advised me that there is a much cheaper way to do all this. They have an automatic cutting machine that can cut shapes out of paper. It's better to print the images on normal flat paper, then have their machine cut it into the shape of an LP jacket with flaps for gluing and everything. This way they can also fit several jackets on one large sheet of paper and do more prints at once. I don't remember what they said the cost would be, but I want to say it would have reduced it by at least half. That's what I would do if I were to do it again.
The people at Riot Color were helpful and professional. They didn't treat me like a martian when they figured out what I was trying to do.

About the only thing you have to pay attention to with respect to printing is the relative orientation of the inside and outside of the gatefold. You have to be careful with the position of the gluing tabs—you want a pair of tabs on the left and a pair on the right, not all four on the left or right. if you screw this up, this inside of your gatefold will be upside down. You should really put together a little mockup of an assembled jacket, with arrows indicating orientation, and leave it with the printers.
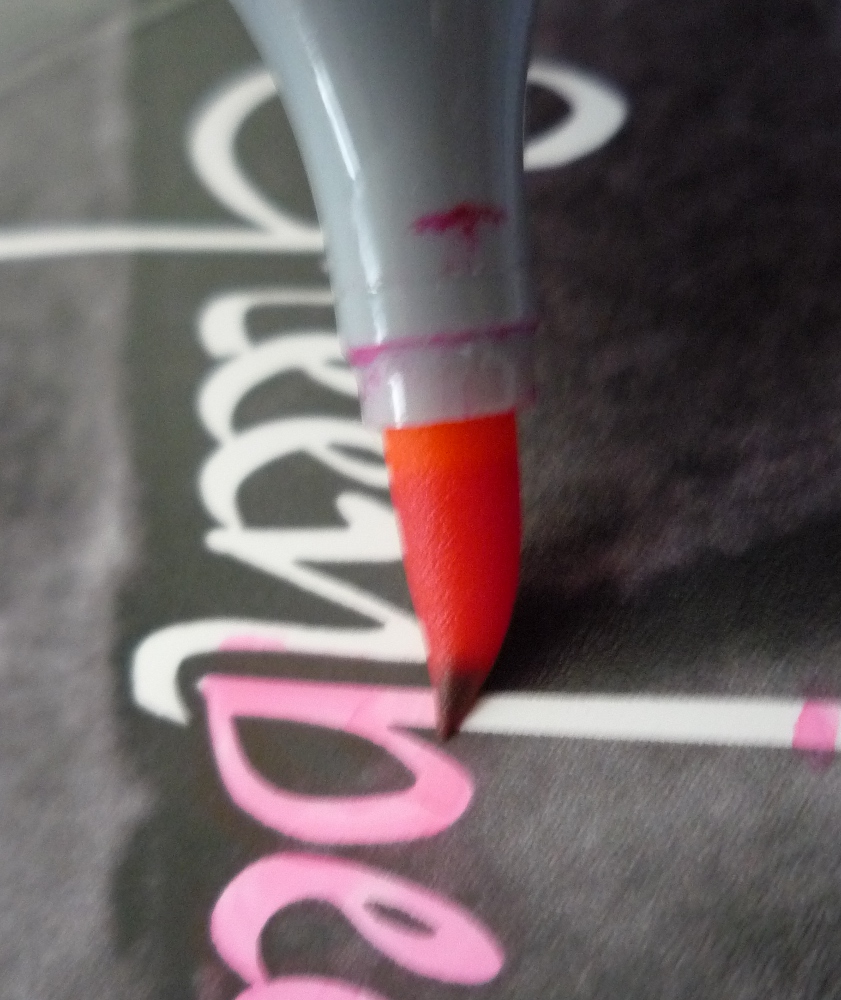
I wanted the artwork to be black and white, with only the title in color. Rather than pay for another printed color, I just filled in all the titles by hand.
Jacket reassembly
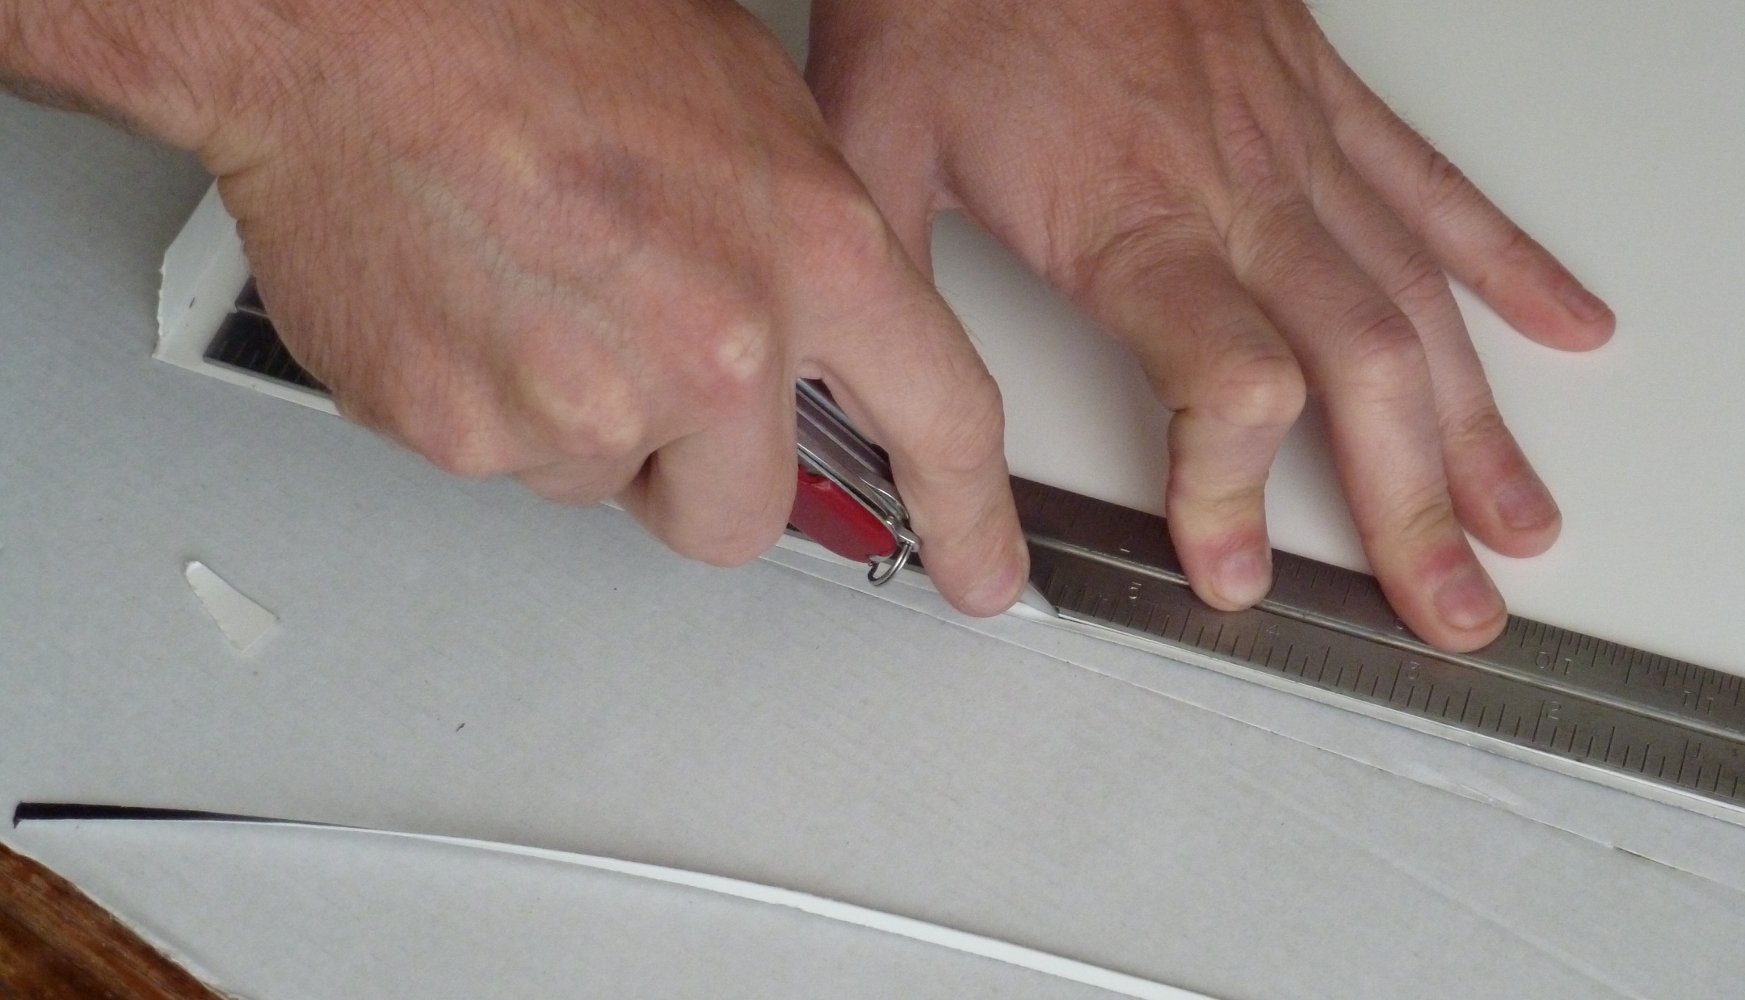
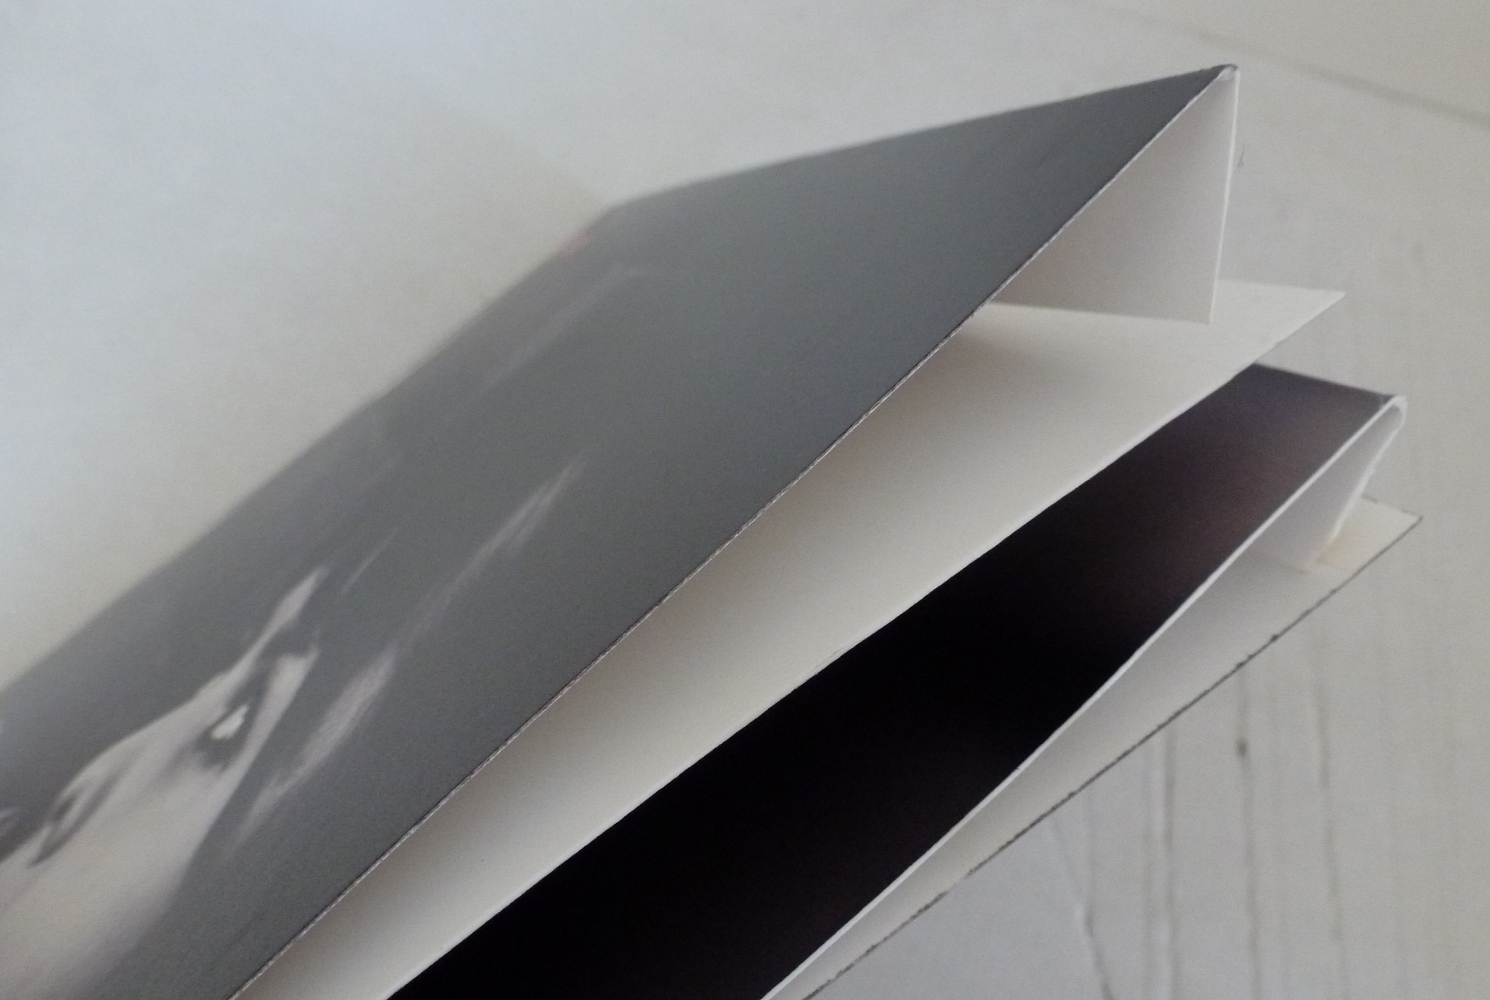
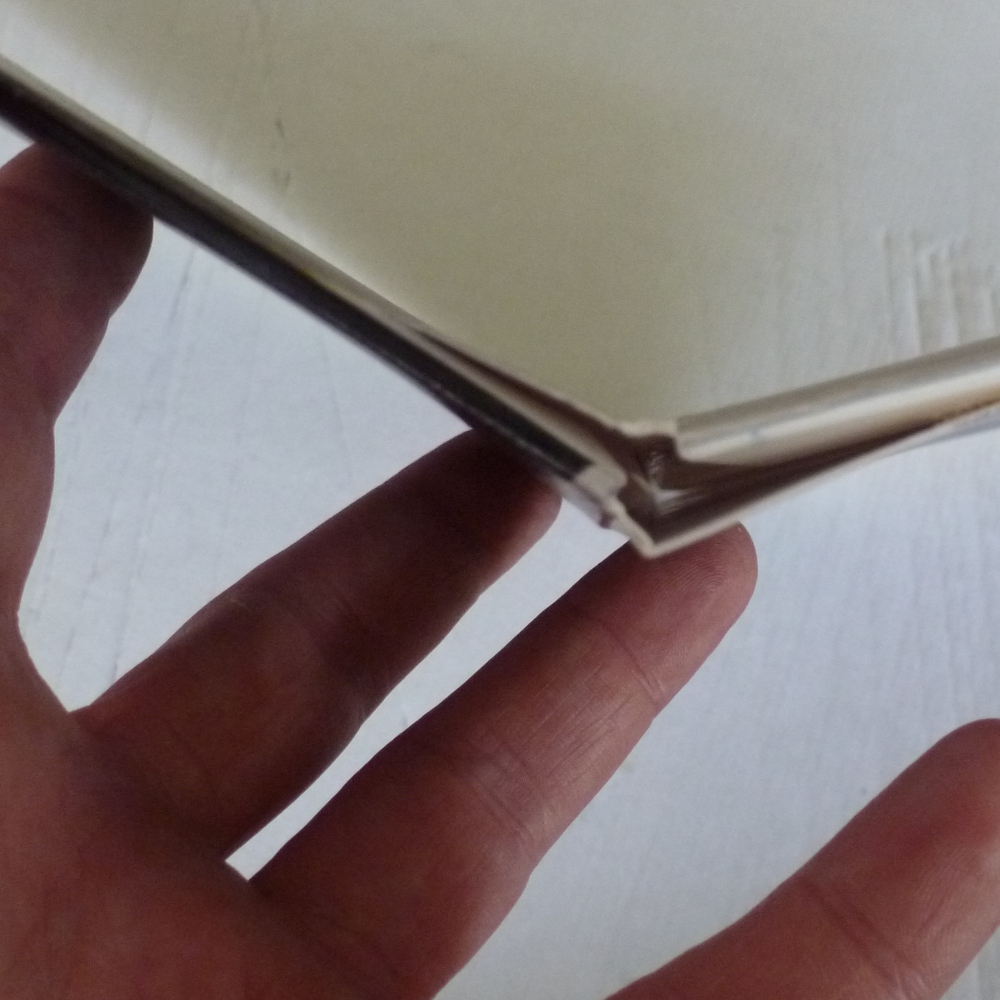
Gluing the jackets back together is easy and just takes a little time. The main difficulty is that the inner part of the gatefold needs to be trimmed a little bit (1⁄8″), otherwise it's too big when the jacket is closed. There are two folds to the spine; pick one and burnish it into a sharp crease. You want the inside of the gatefold to be just one fold, not a 3⁄16″-wide spine.
Then use a straightedge and trim the side that is now longer.
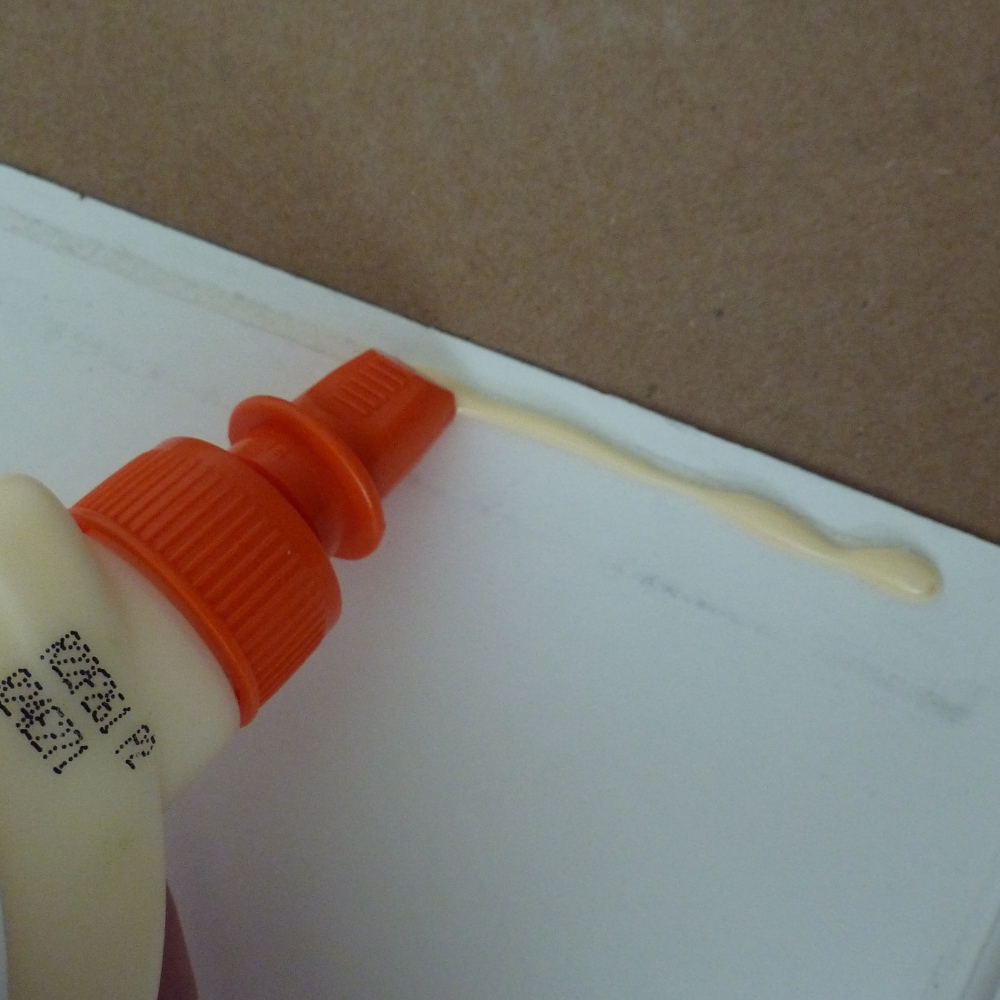
I used wood glue. Apply it sparingly on top of the existing glue marks. The inside and outside should mate with each other as in the photo.
Don't glue too tightly near the part that folds. You need to leave a little breathing room for the fold to open up when the jacket is open.
Put something heavy on each jacket while the glue dries, about 30 minutes.
The end
These instructions are in the public domain. Questions or comments contact david@bamsoftware.com. Buy a record while you're at it.