David Fifield
david@bamsoftware.com
Last updated
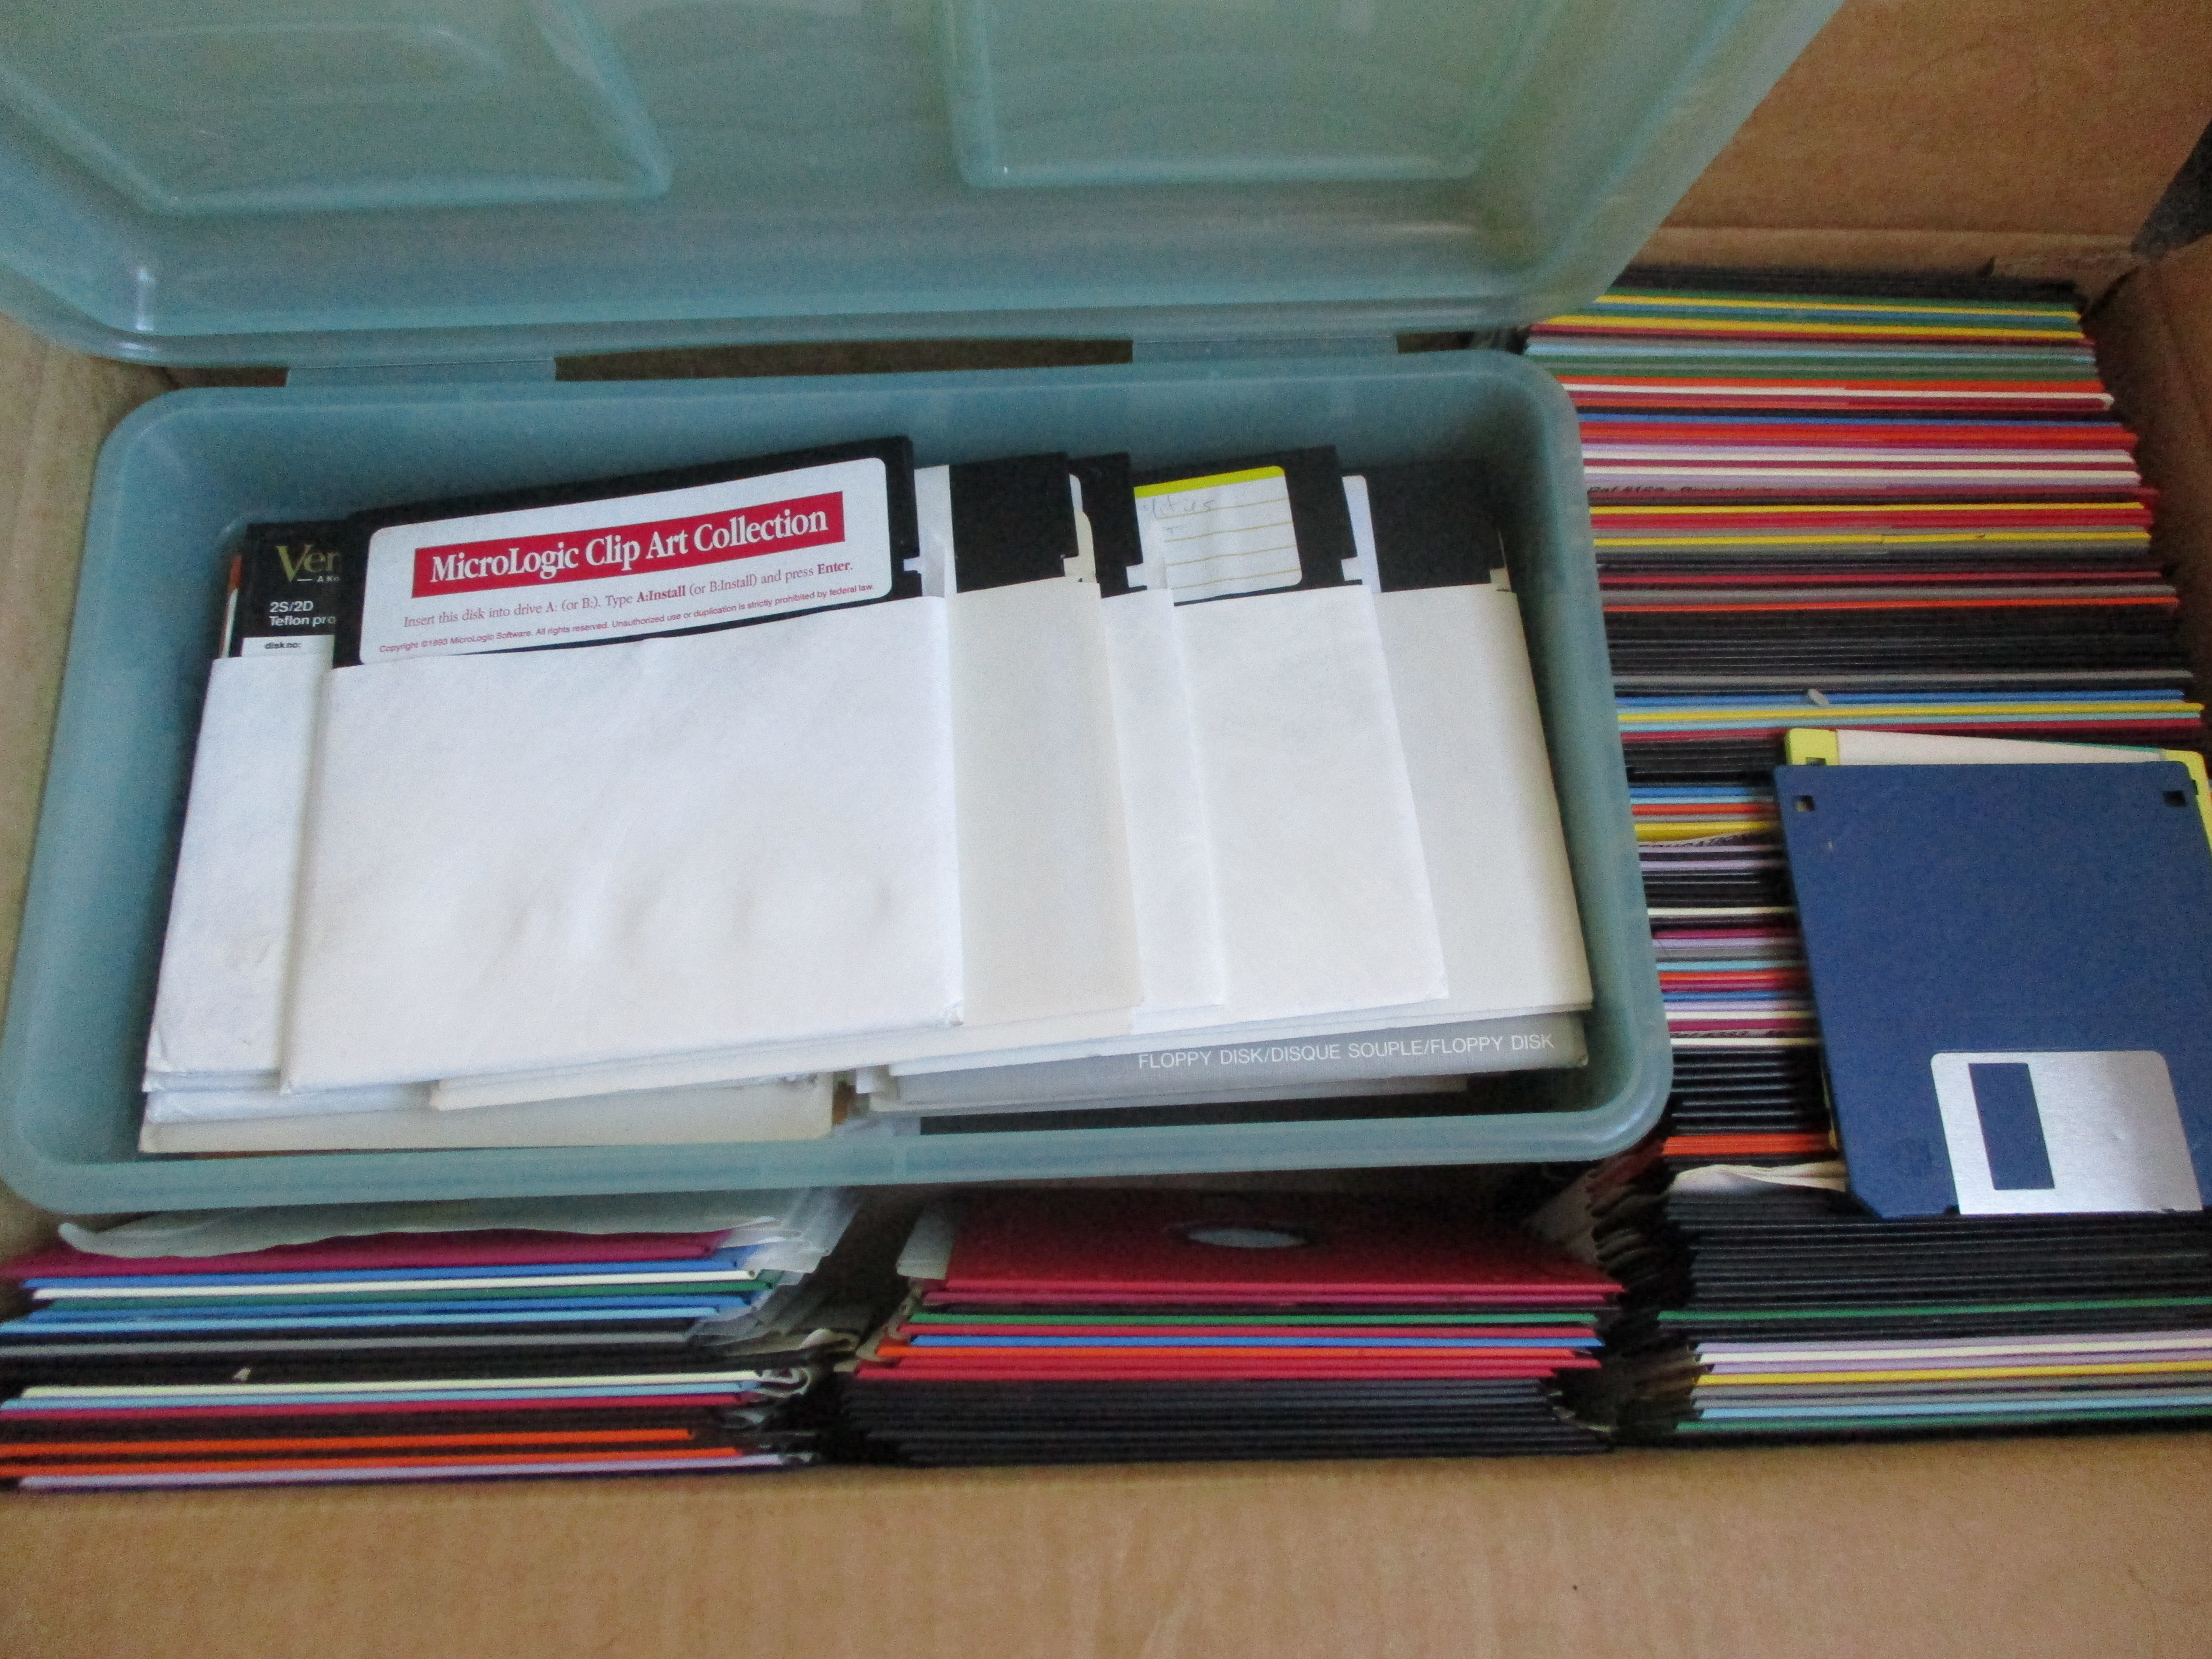
Notes about recovering data from 30-year-old 3.5″ and 5.25″ floppy disks. At my parents' place I found a stash of a couple hundred floppy disks, some dating back to my early childhood. I decided to try and read the data off them before the old magnetic media deteriorated. I managed to archive over 85% of the 3.5″ disks and over 90% of the 5.25″ disks with no errors, and most of the remainder were at least partially readable, enabling some files to be recovered. Much of the recovered data is now uploaded to the Internet Archive.
3.5″ disks are pretty easy to deal with. It happened that my folks still had an old PC with a 3.5″ disk drive. I installed some version of Debian on it and wrote some scripts to help automate the process. If you don't have a PC with a floppy drive, you can easily buy a USB-connected floppy drive for less than $20. (I had to do this when I found some additional disks later.)
For each disk, I wanted a sector-level raw image, plus an archive file containing the files on the filesystem, and a graphical scan of the front and back of the disk. Here are the scripts, some tweaking may be necessary:
Run ./process-floppy.sh DISKNAME to start the process
and create a directory DISKNAME
containing img, contents.tar.gz,
front.tiff, back.tiff, log.
Most of the disks had the standard 1.44 MB formatting and just worked.
Some disks may have different low-level formatting, such
that trying to read them leads to a lot of errors—this was the case
for at least one weird 1.0 MB disk I found.
See the Fdutils
page on identifying unknown disks.
The command setfdprm /dev/fd0 sect=9 dd ssize=512 cyl=80
was useful to me.
I have a note with this command written down;
I don't remember what it does,
but it seems to be reading one sector at a time;
I think I had to do this for one stubborn disk:
for cyl in $(seq 0 79); do
	for head in 0 1; do
		for sec in $(seq 1 18); do
			echo $head $cyl $sec
			fdrawcmd read $(($head*4)) $cyl $head $sec 2 0 0x1b 0xff length=512 rate=0 need_seek track=$cyl >> img
		done
	done
done
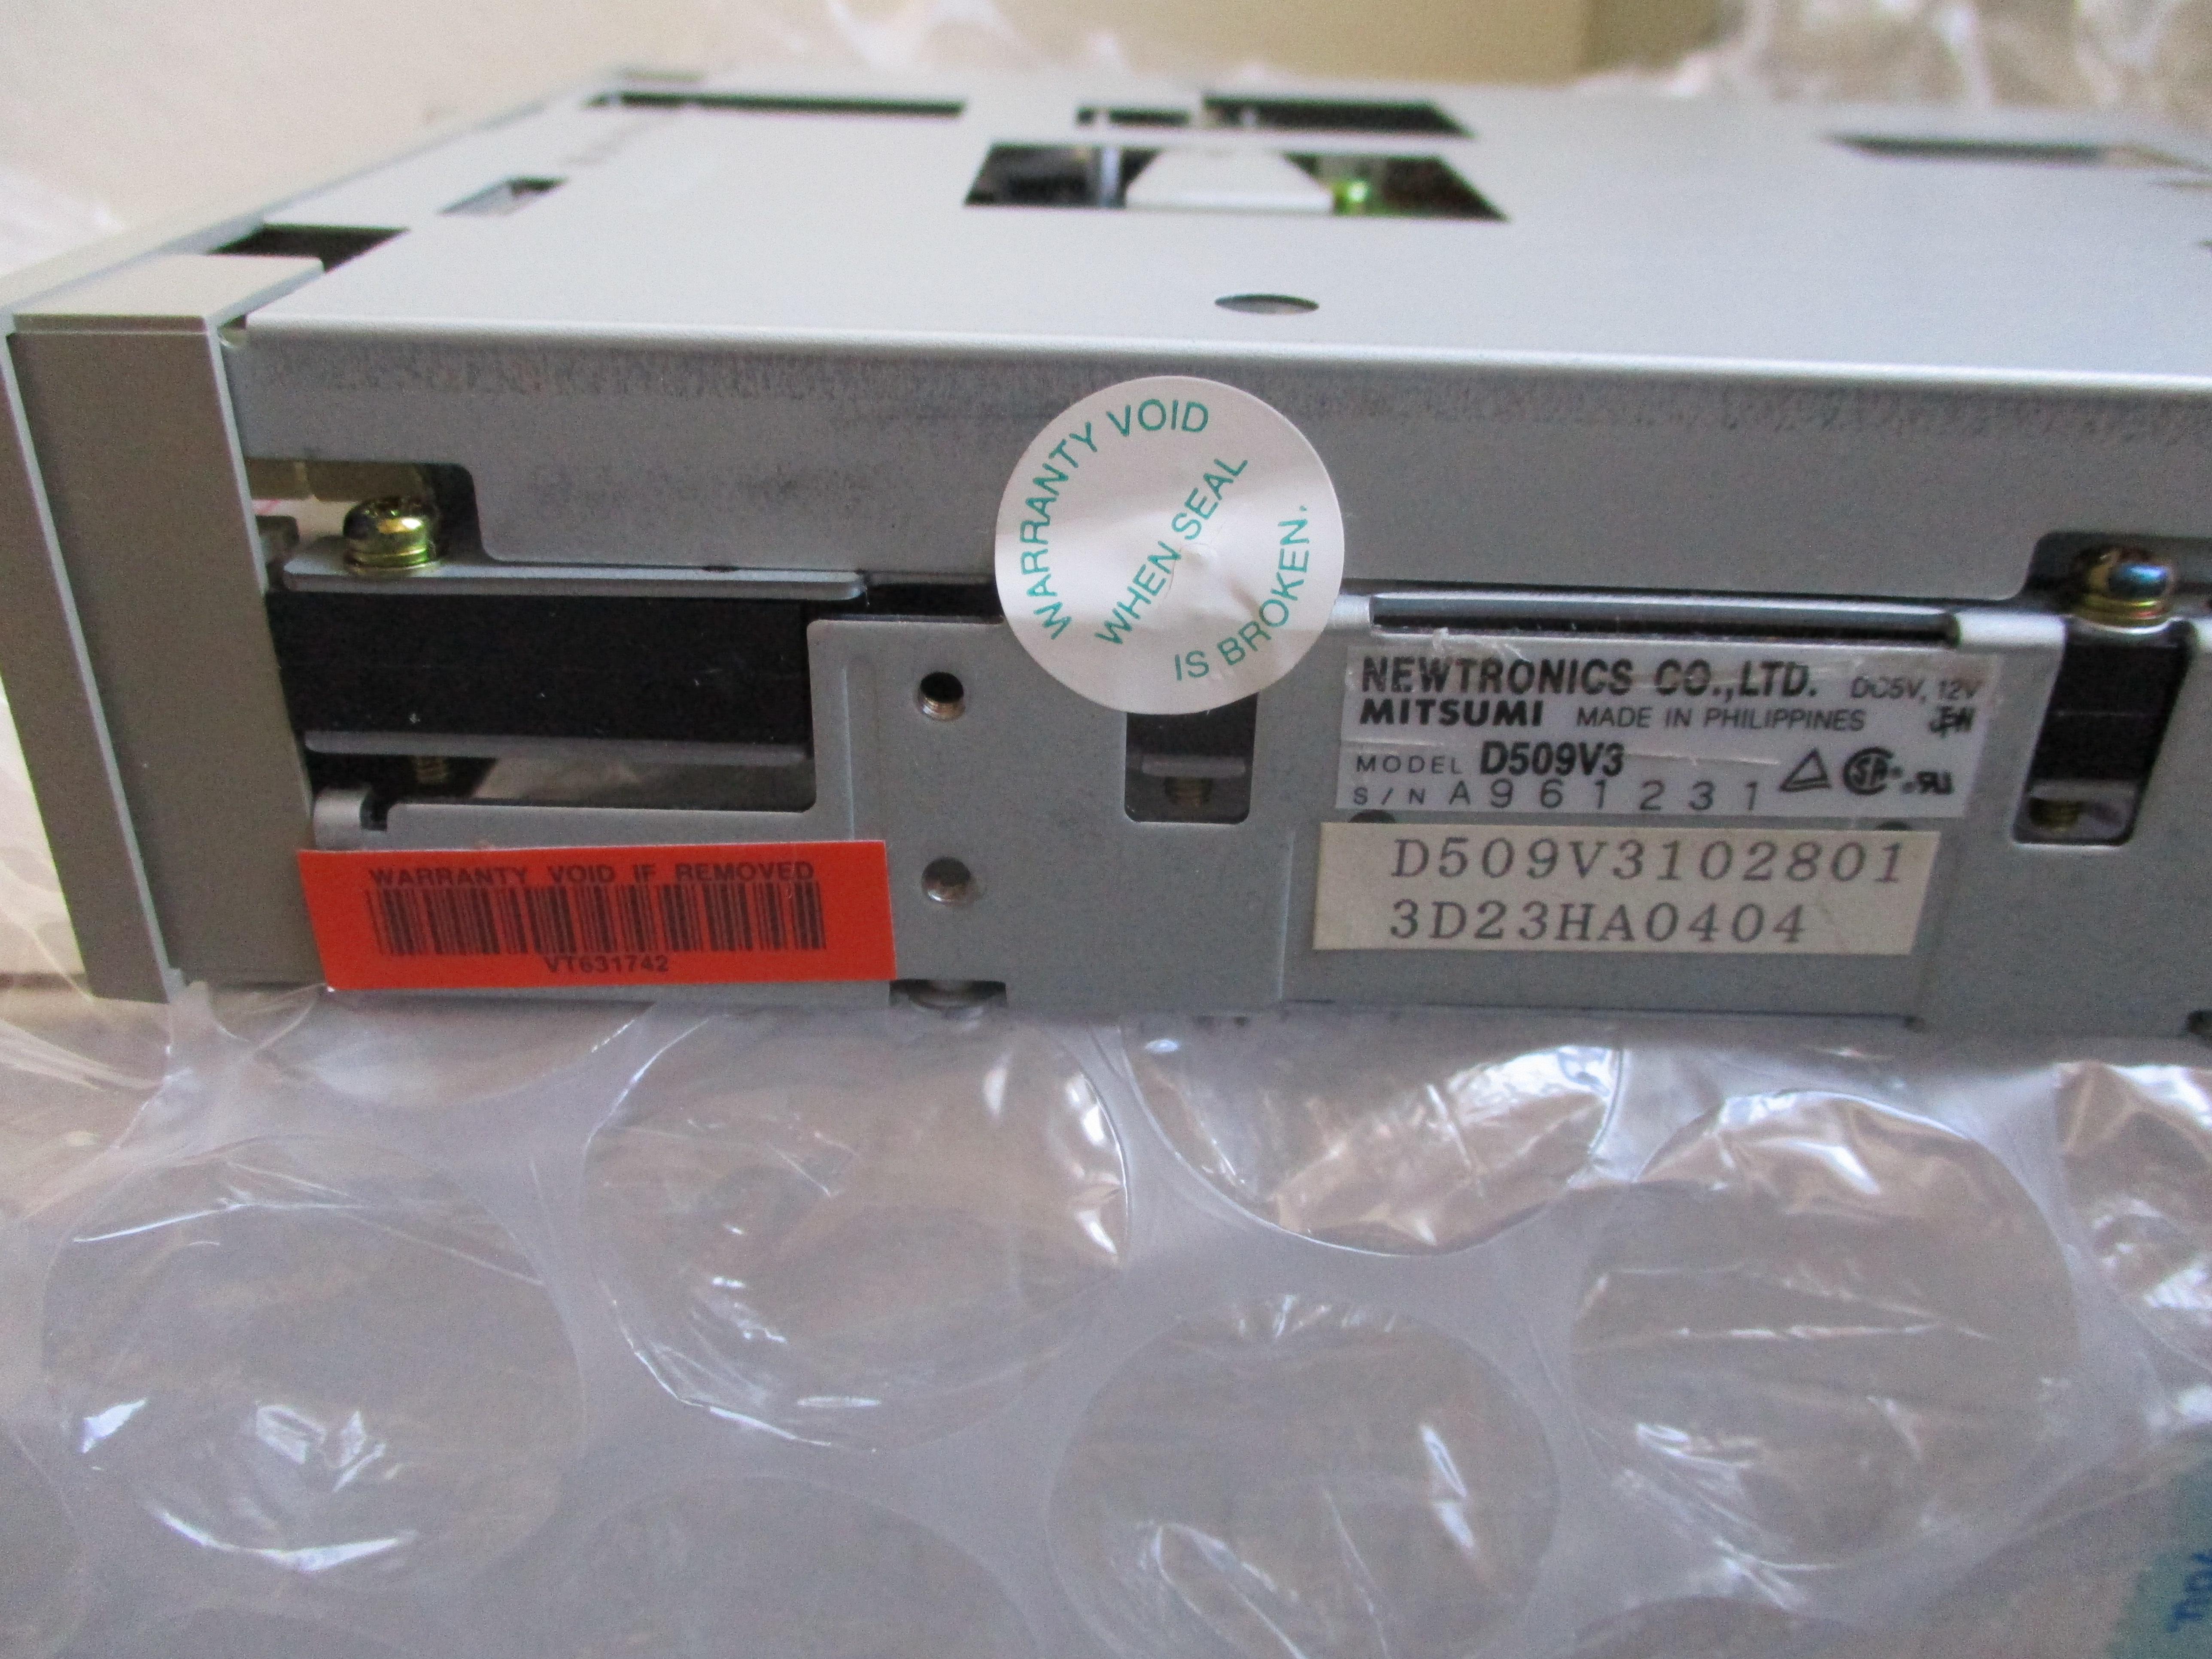
5.25″ disks are tougher. Unlike with 3.5″ disks, you can't just buy an all-in-one USB-connected drive. Even sourcing an old drive with a standard floppy controller is difficult. I hit a bunch of local stores and a computer recycling center; no dice. And the online results for "floppy drive" seemed expensive, $150+. I got better results when I started searching for specific drive model numbers like "DV509V3" rather than generic terms. I found a drive, a Newtronics/Mitsumi DV509V3, at Recycled Goods for $40. It arrived after five days (ordered on a Saturday, arrived on a Thursday via USPS Priority Mail). I additionally bought a ribbon cable; that turned out to be unnecessary because the floppy disk controller also came with one.
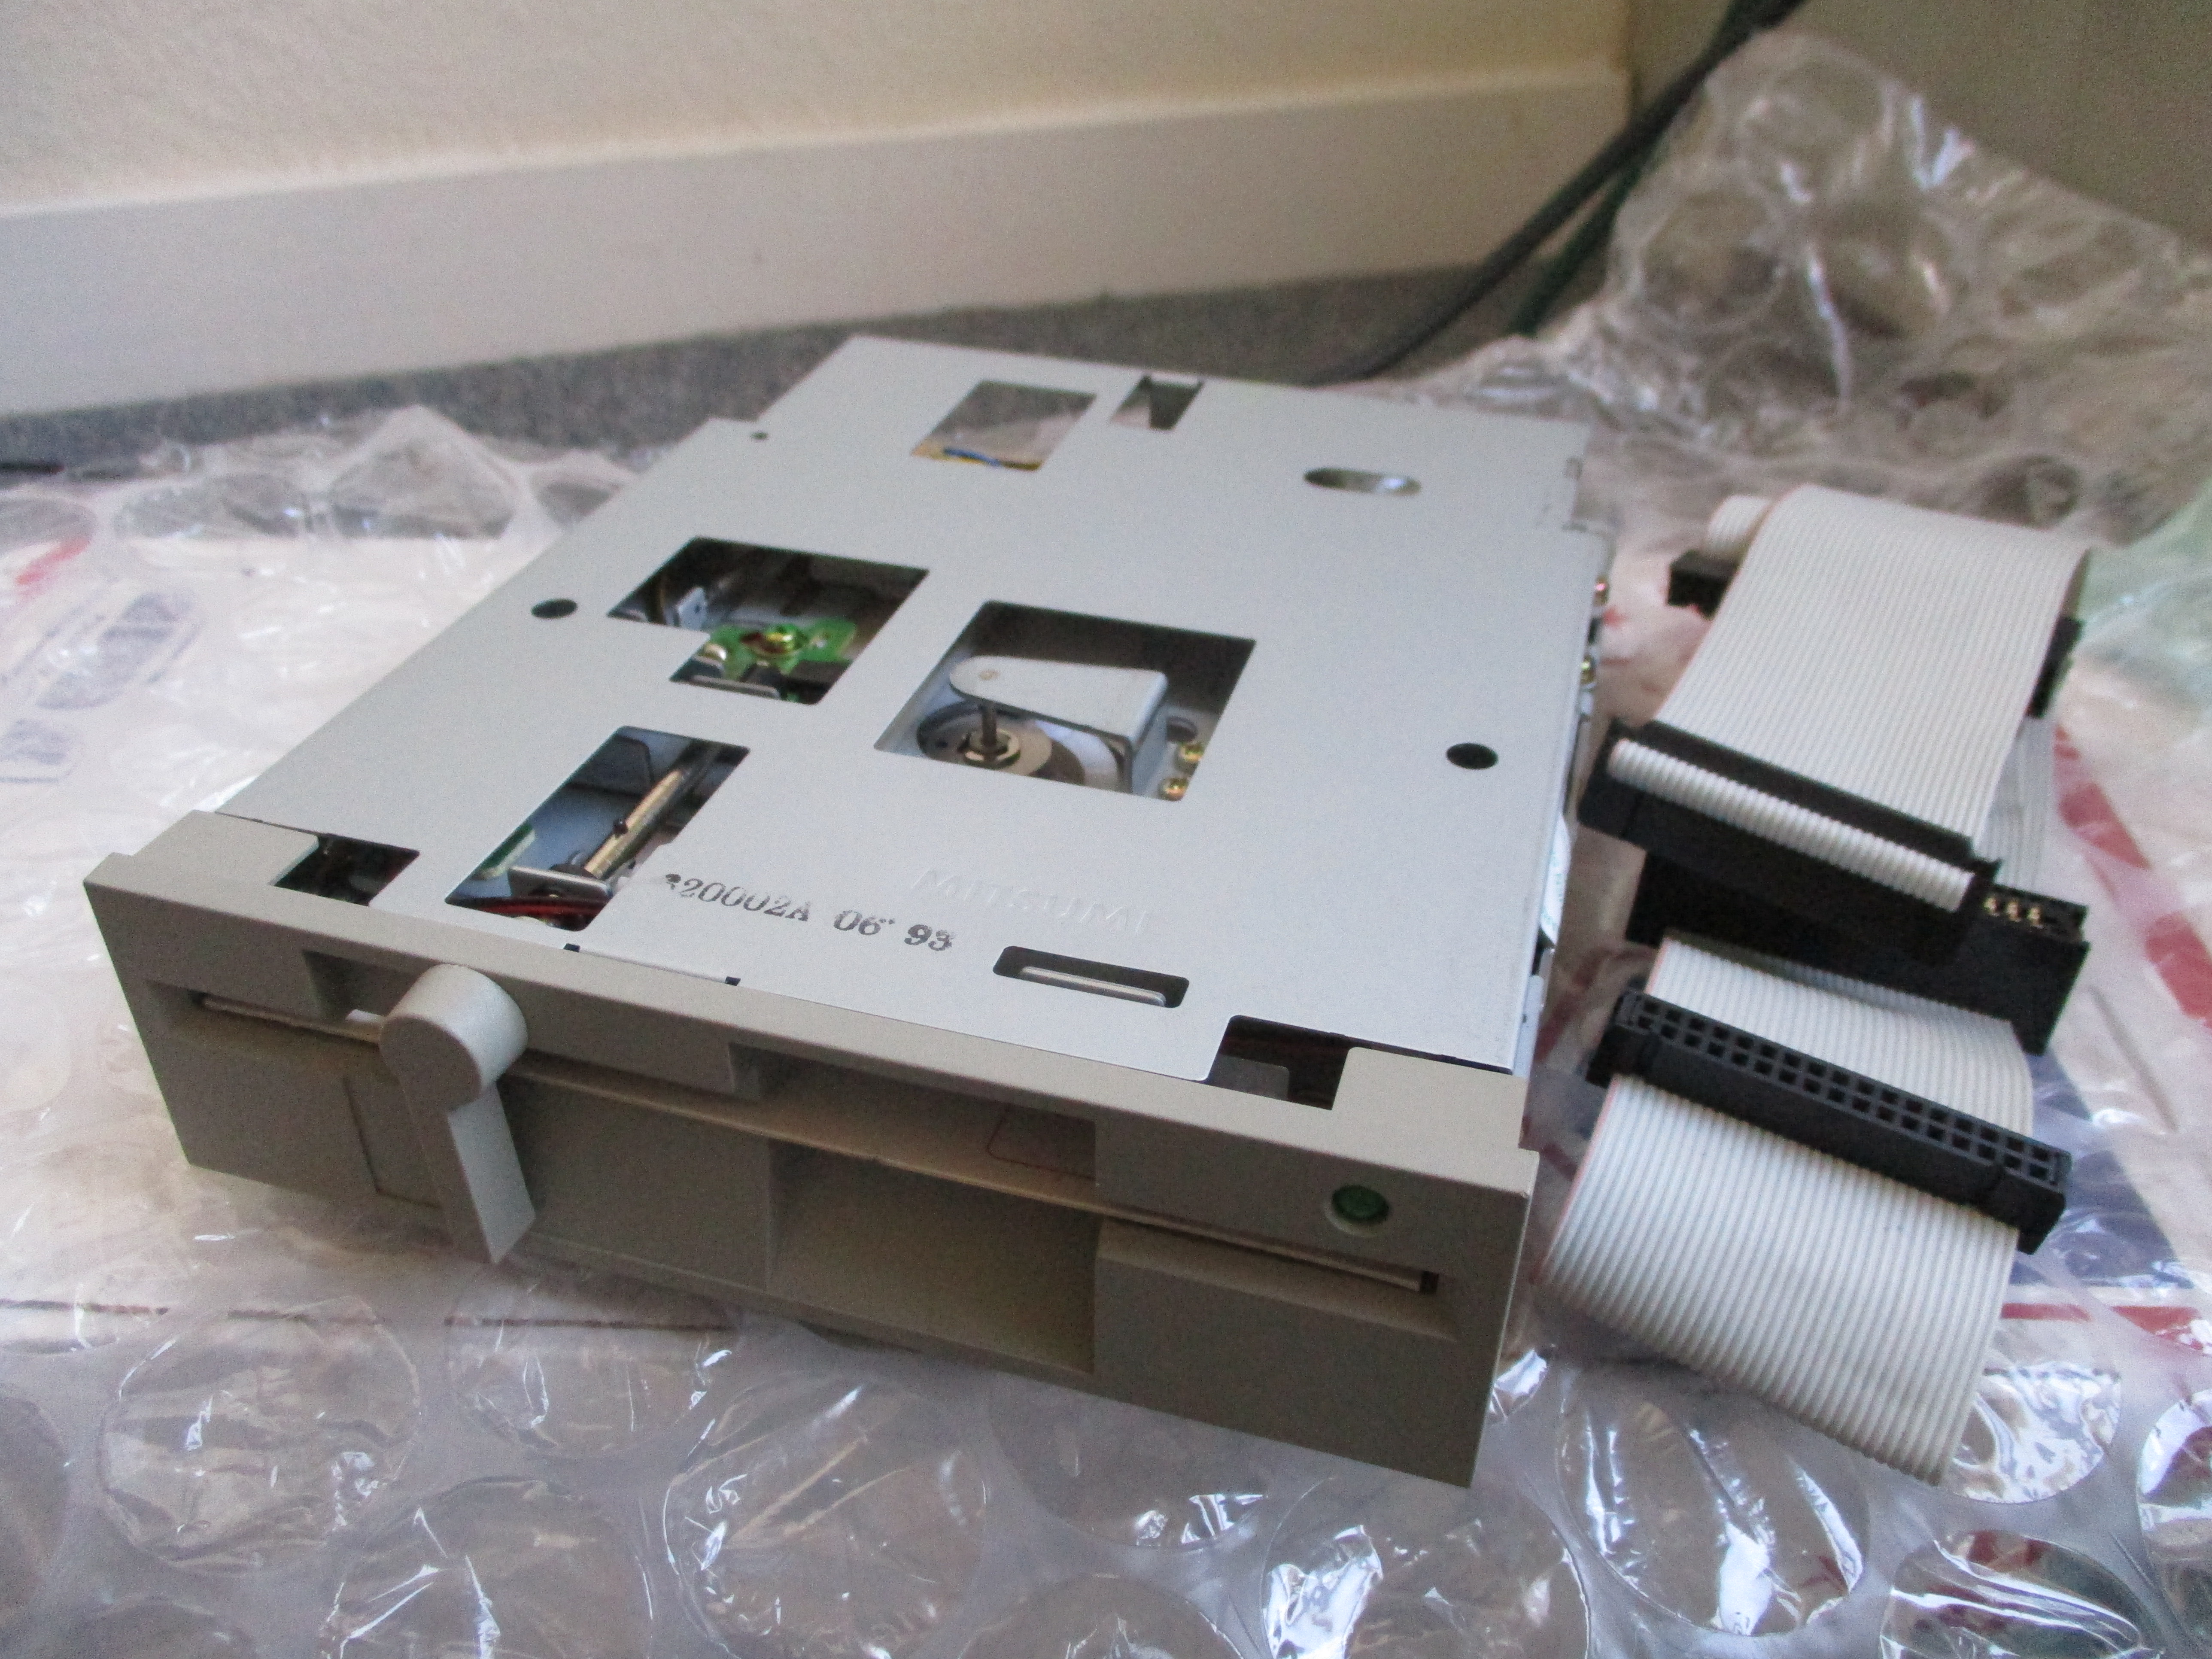
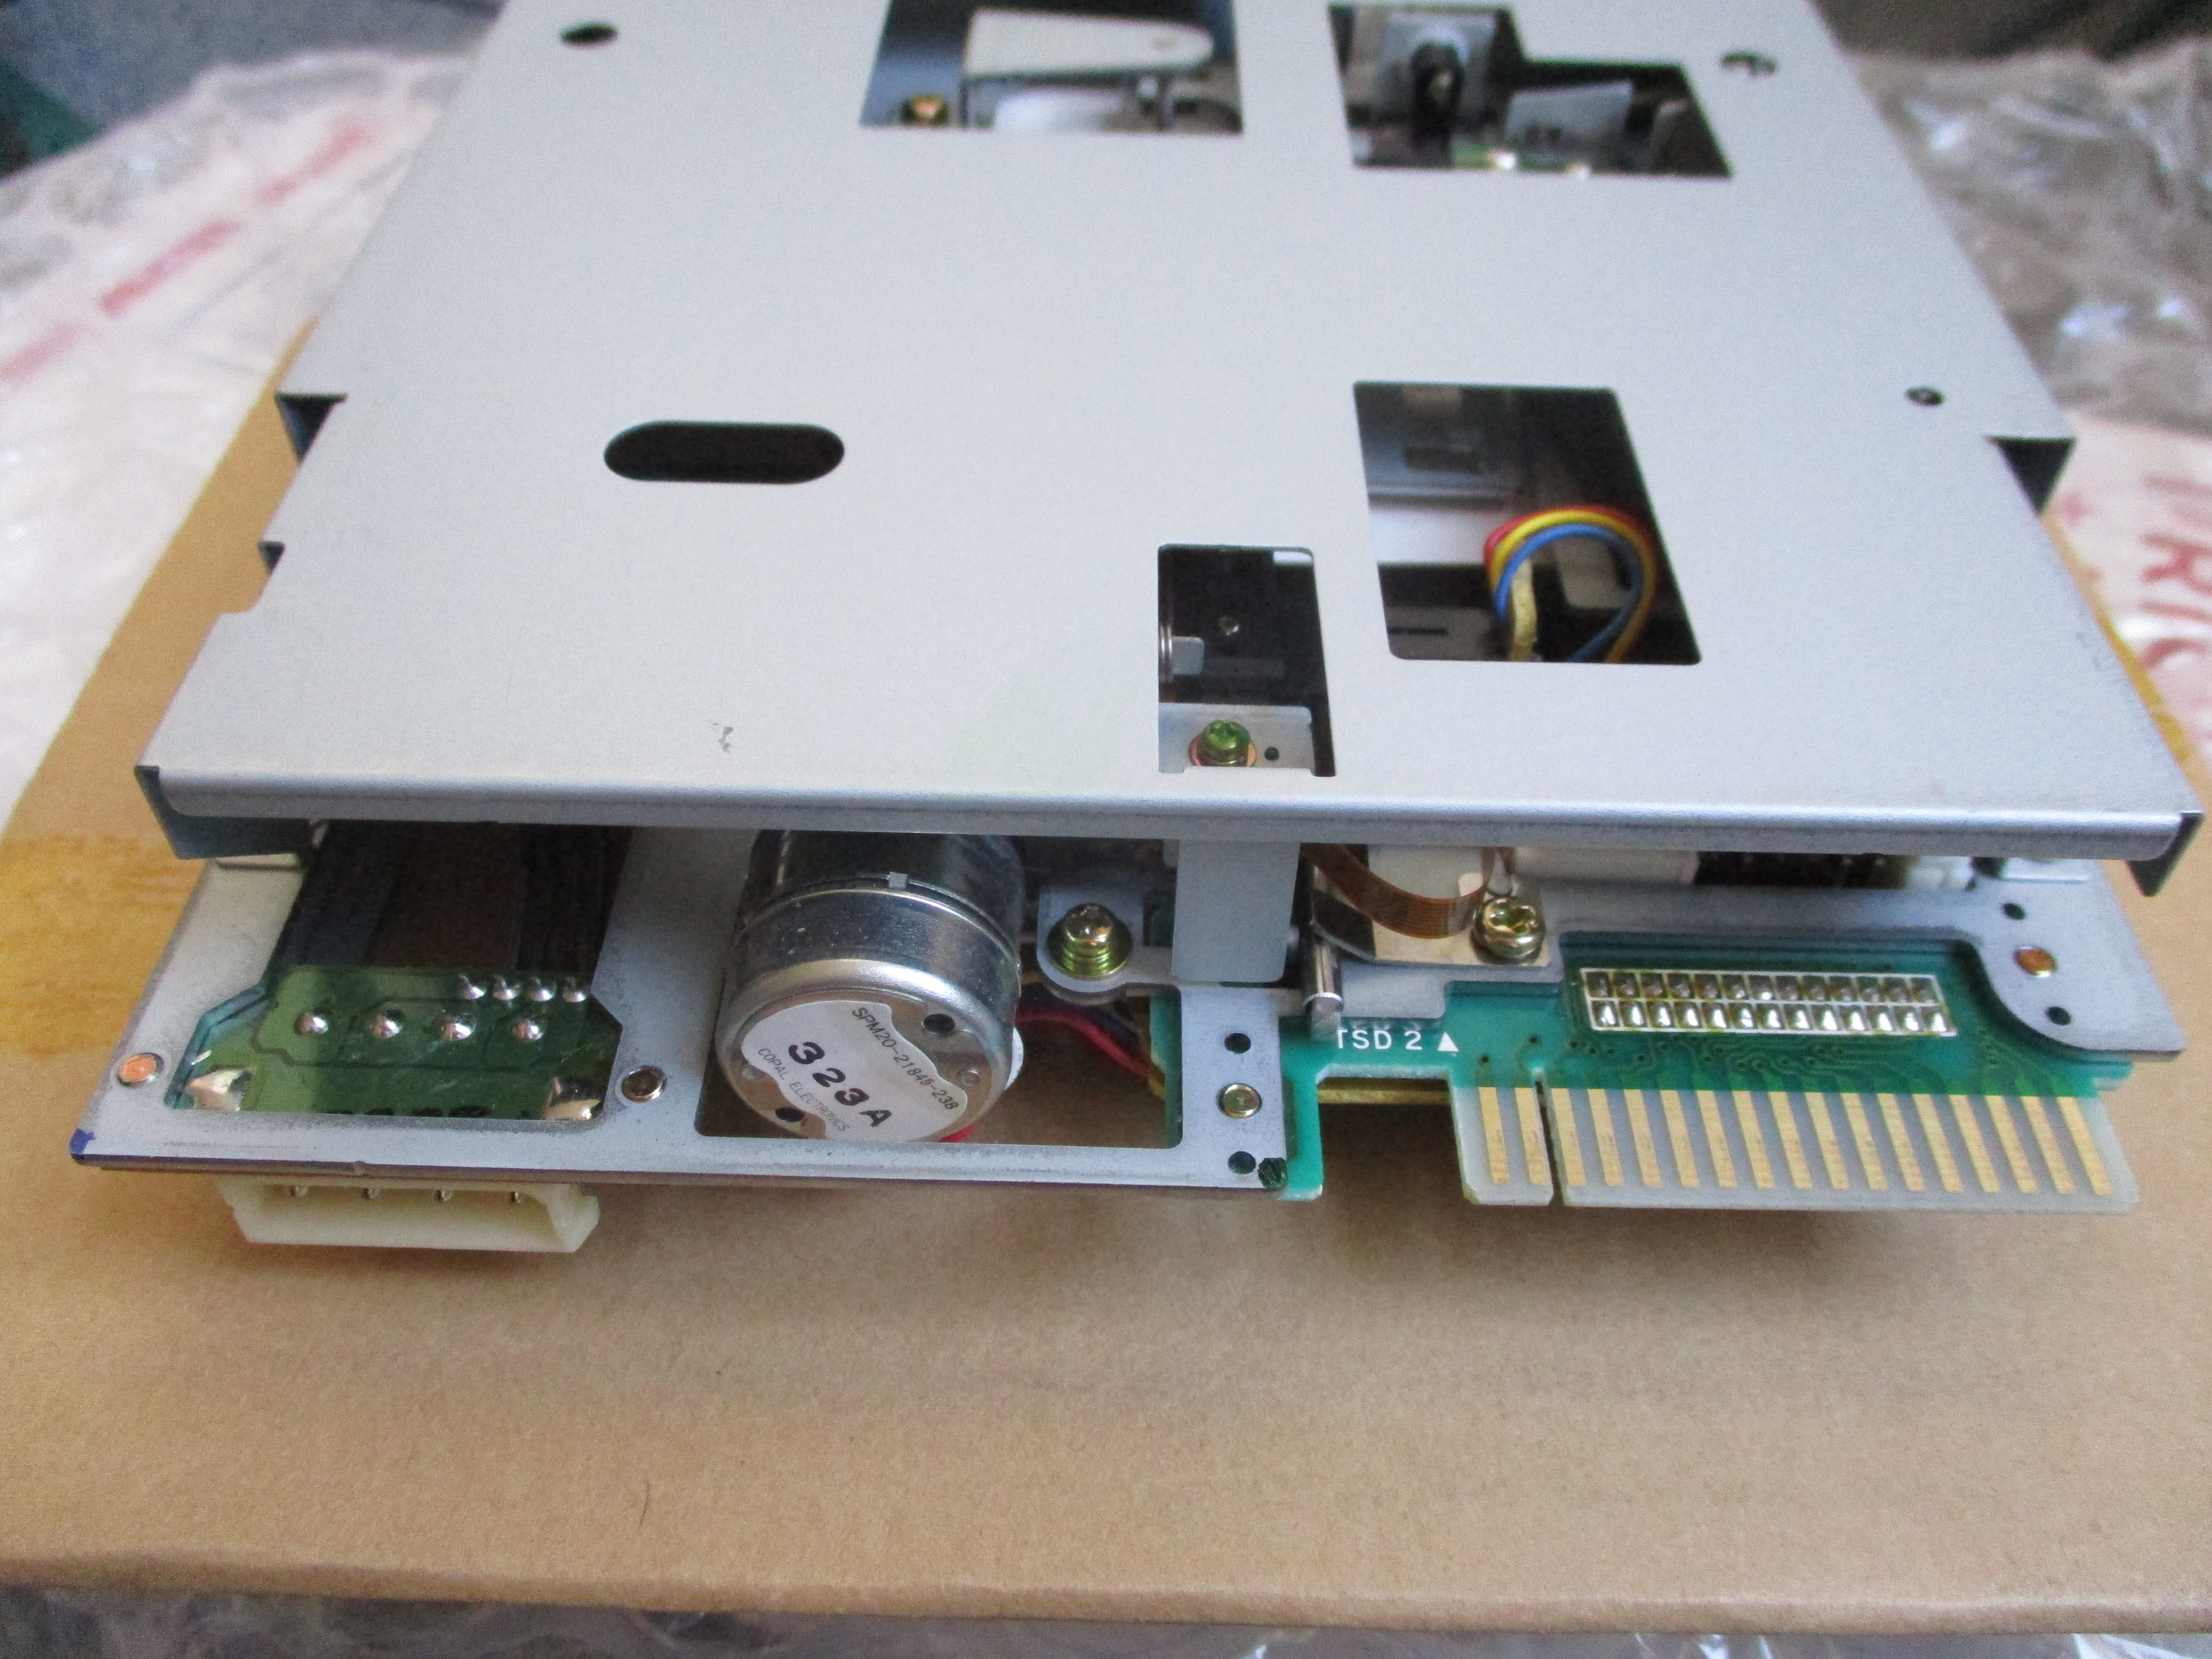
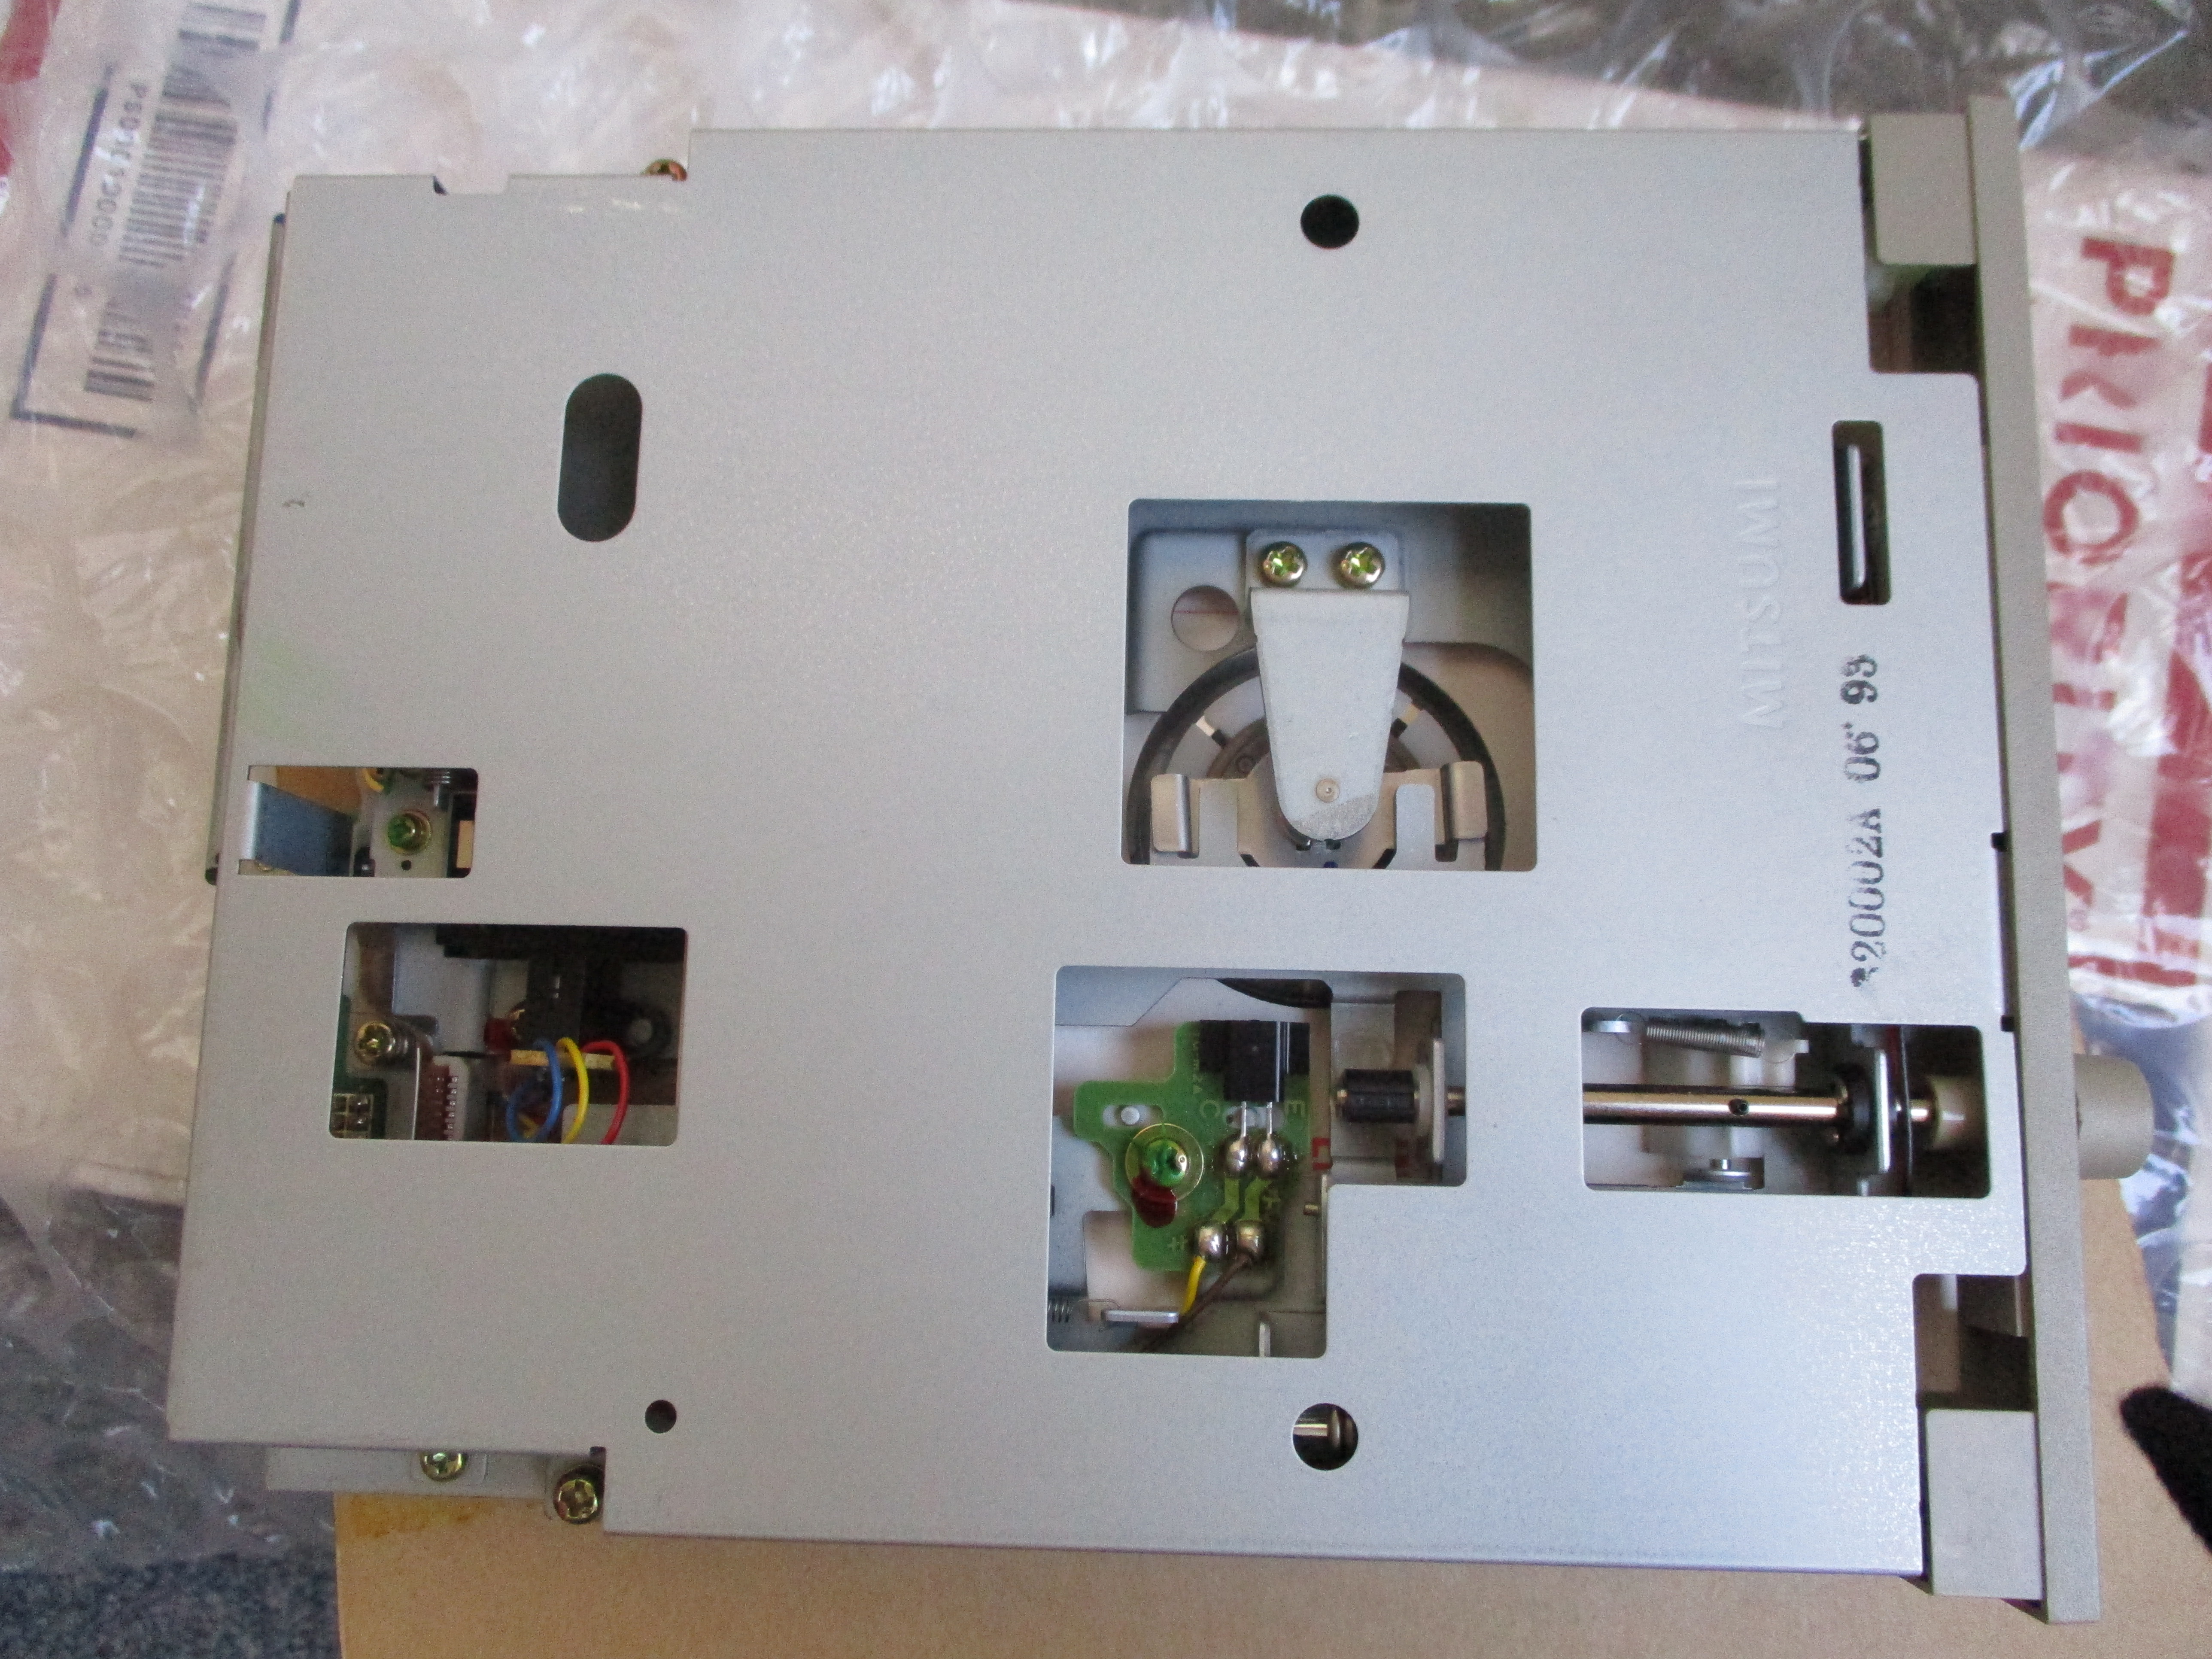

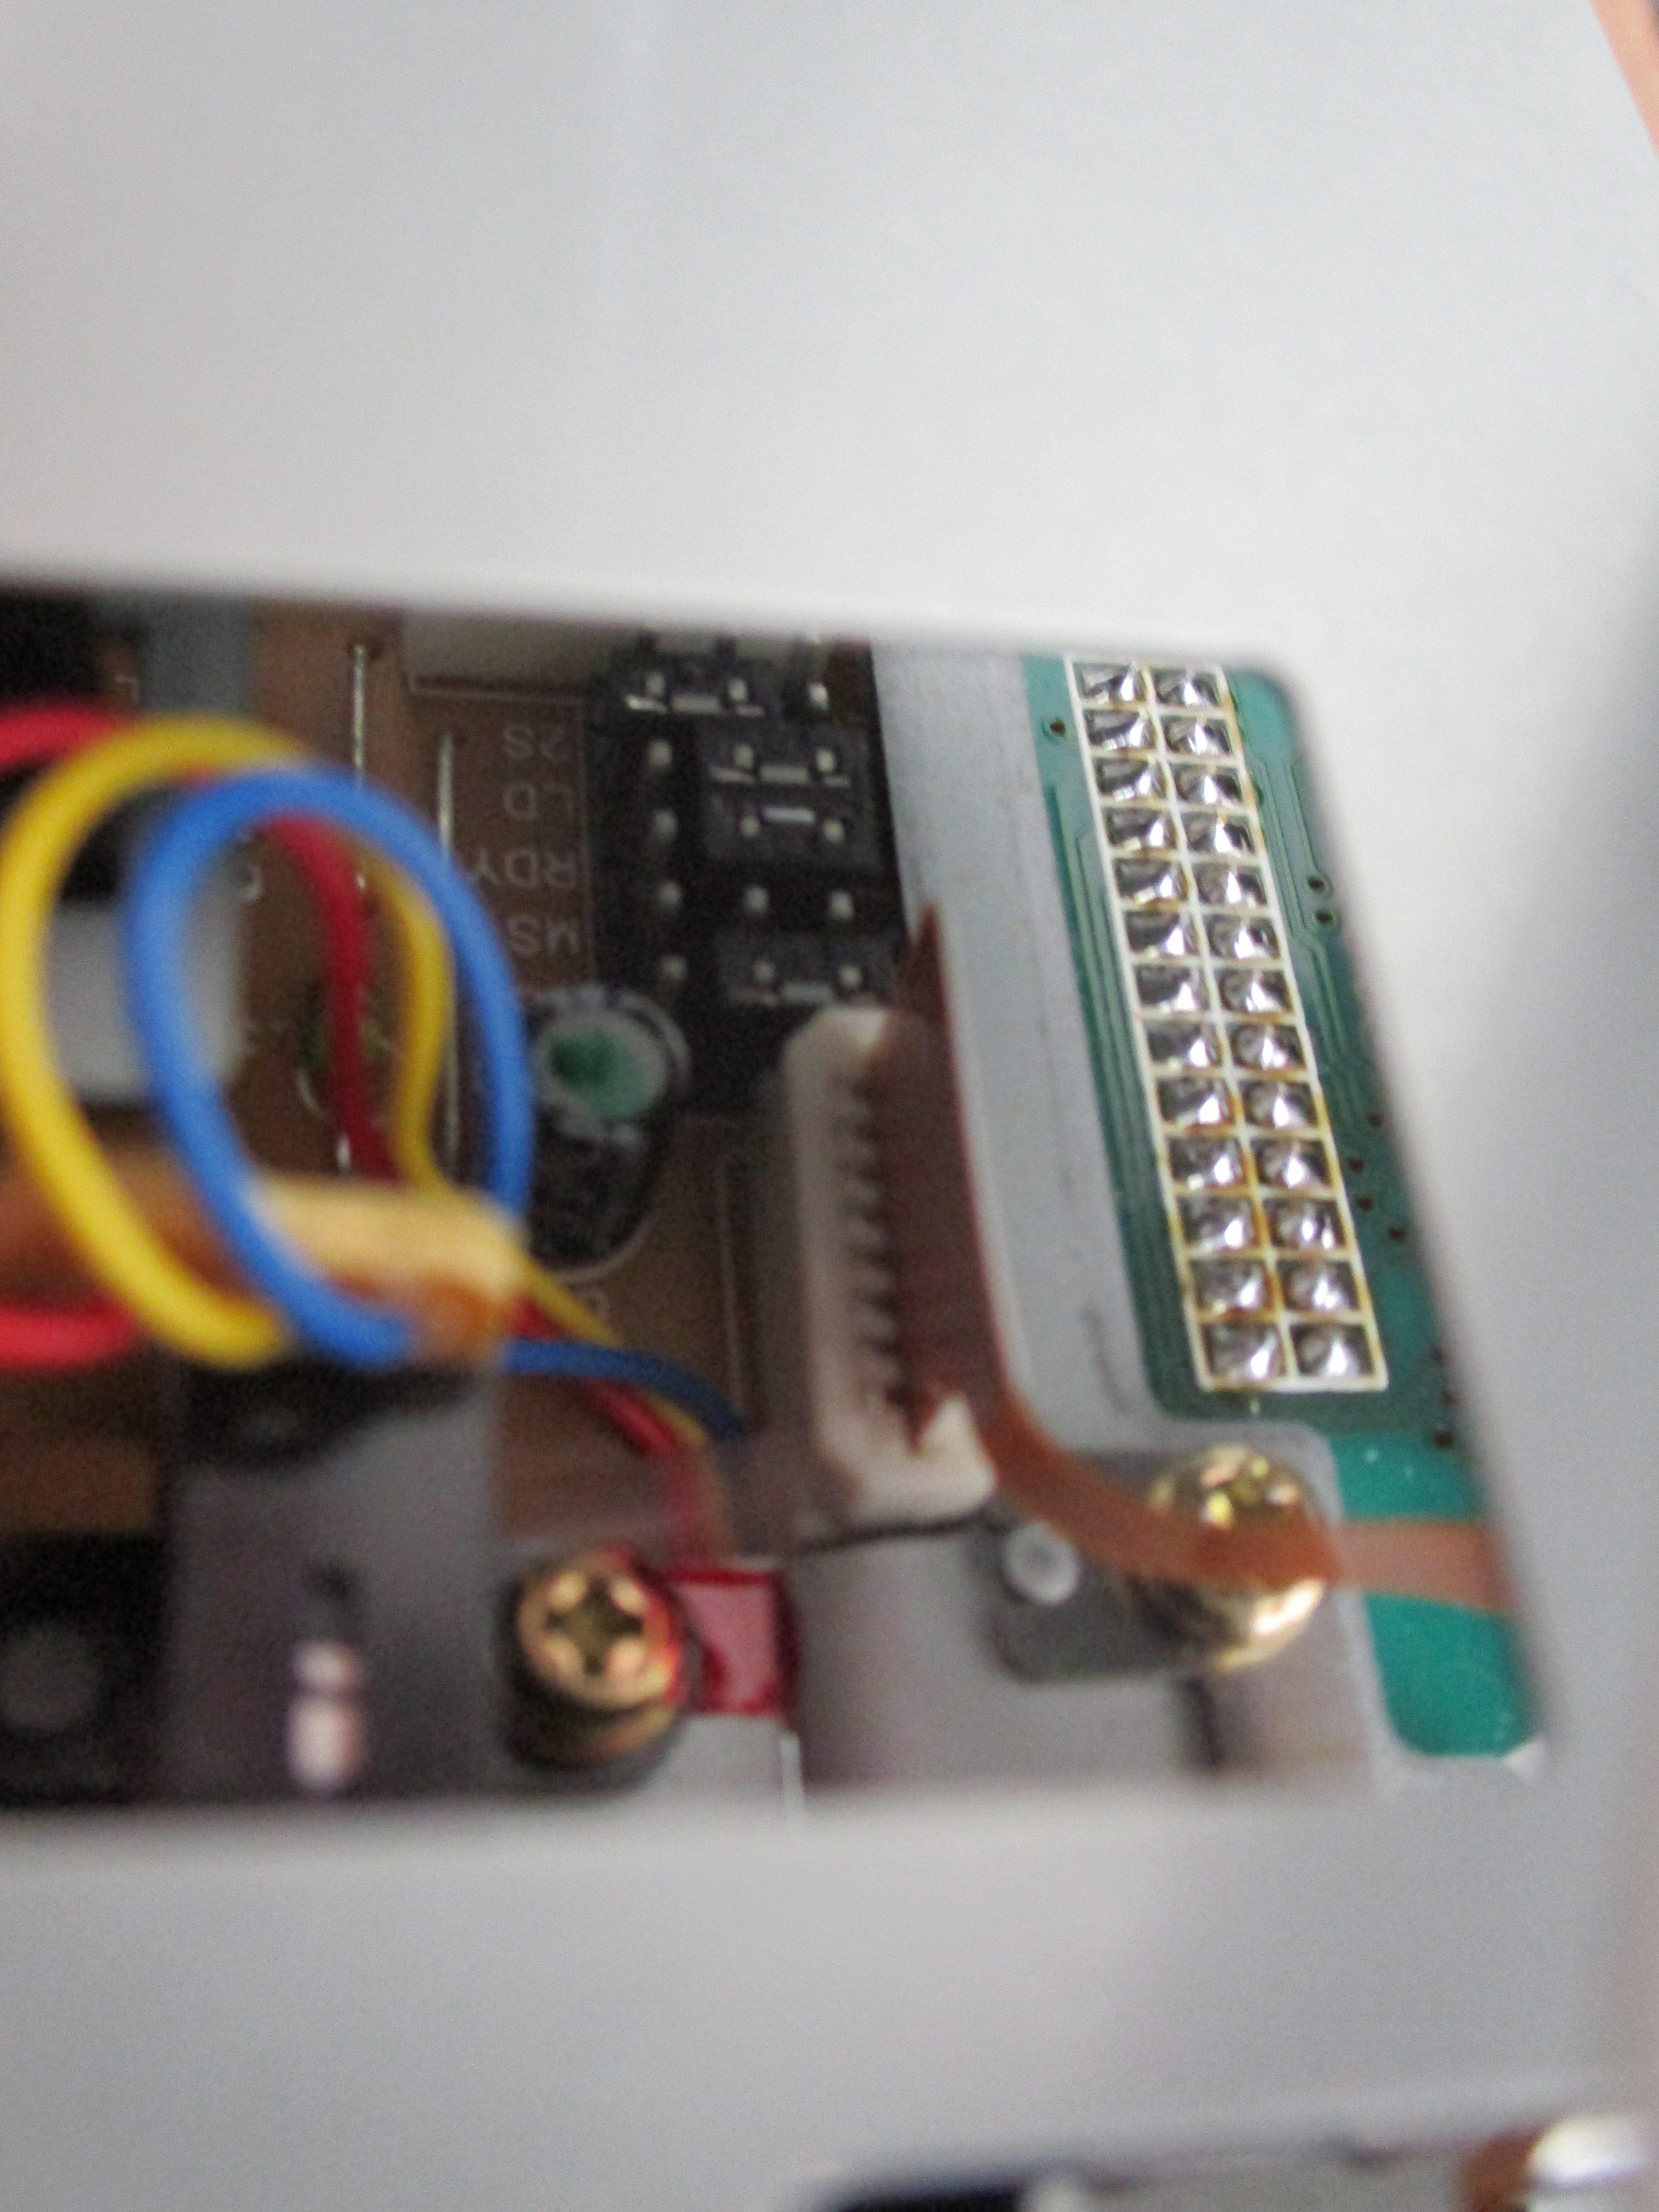
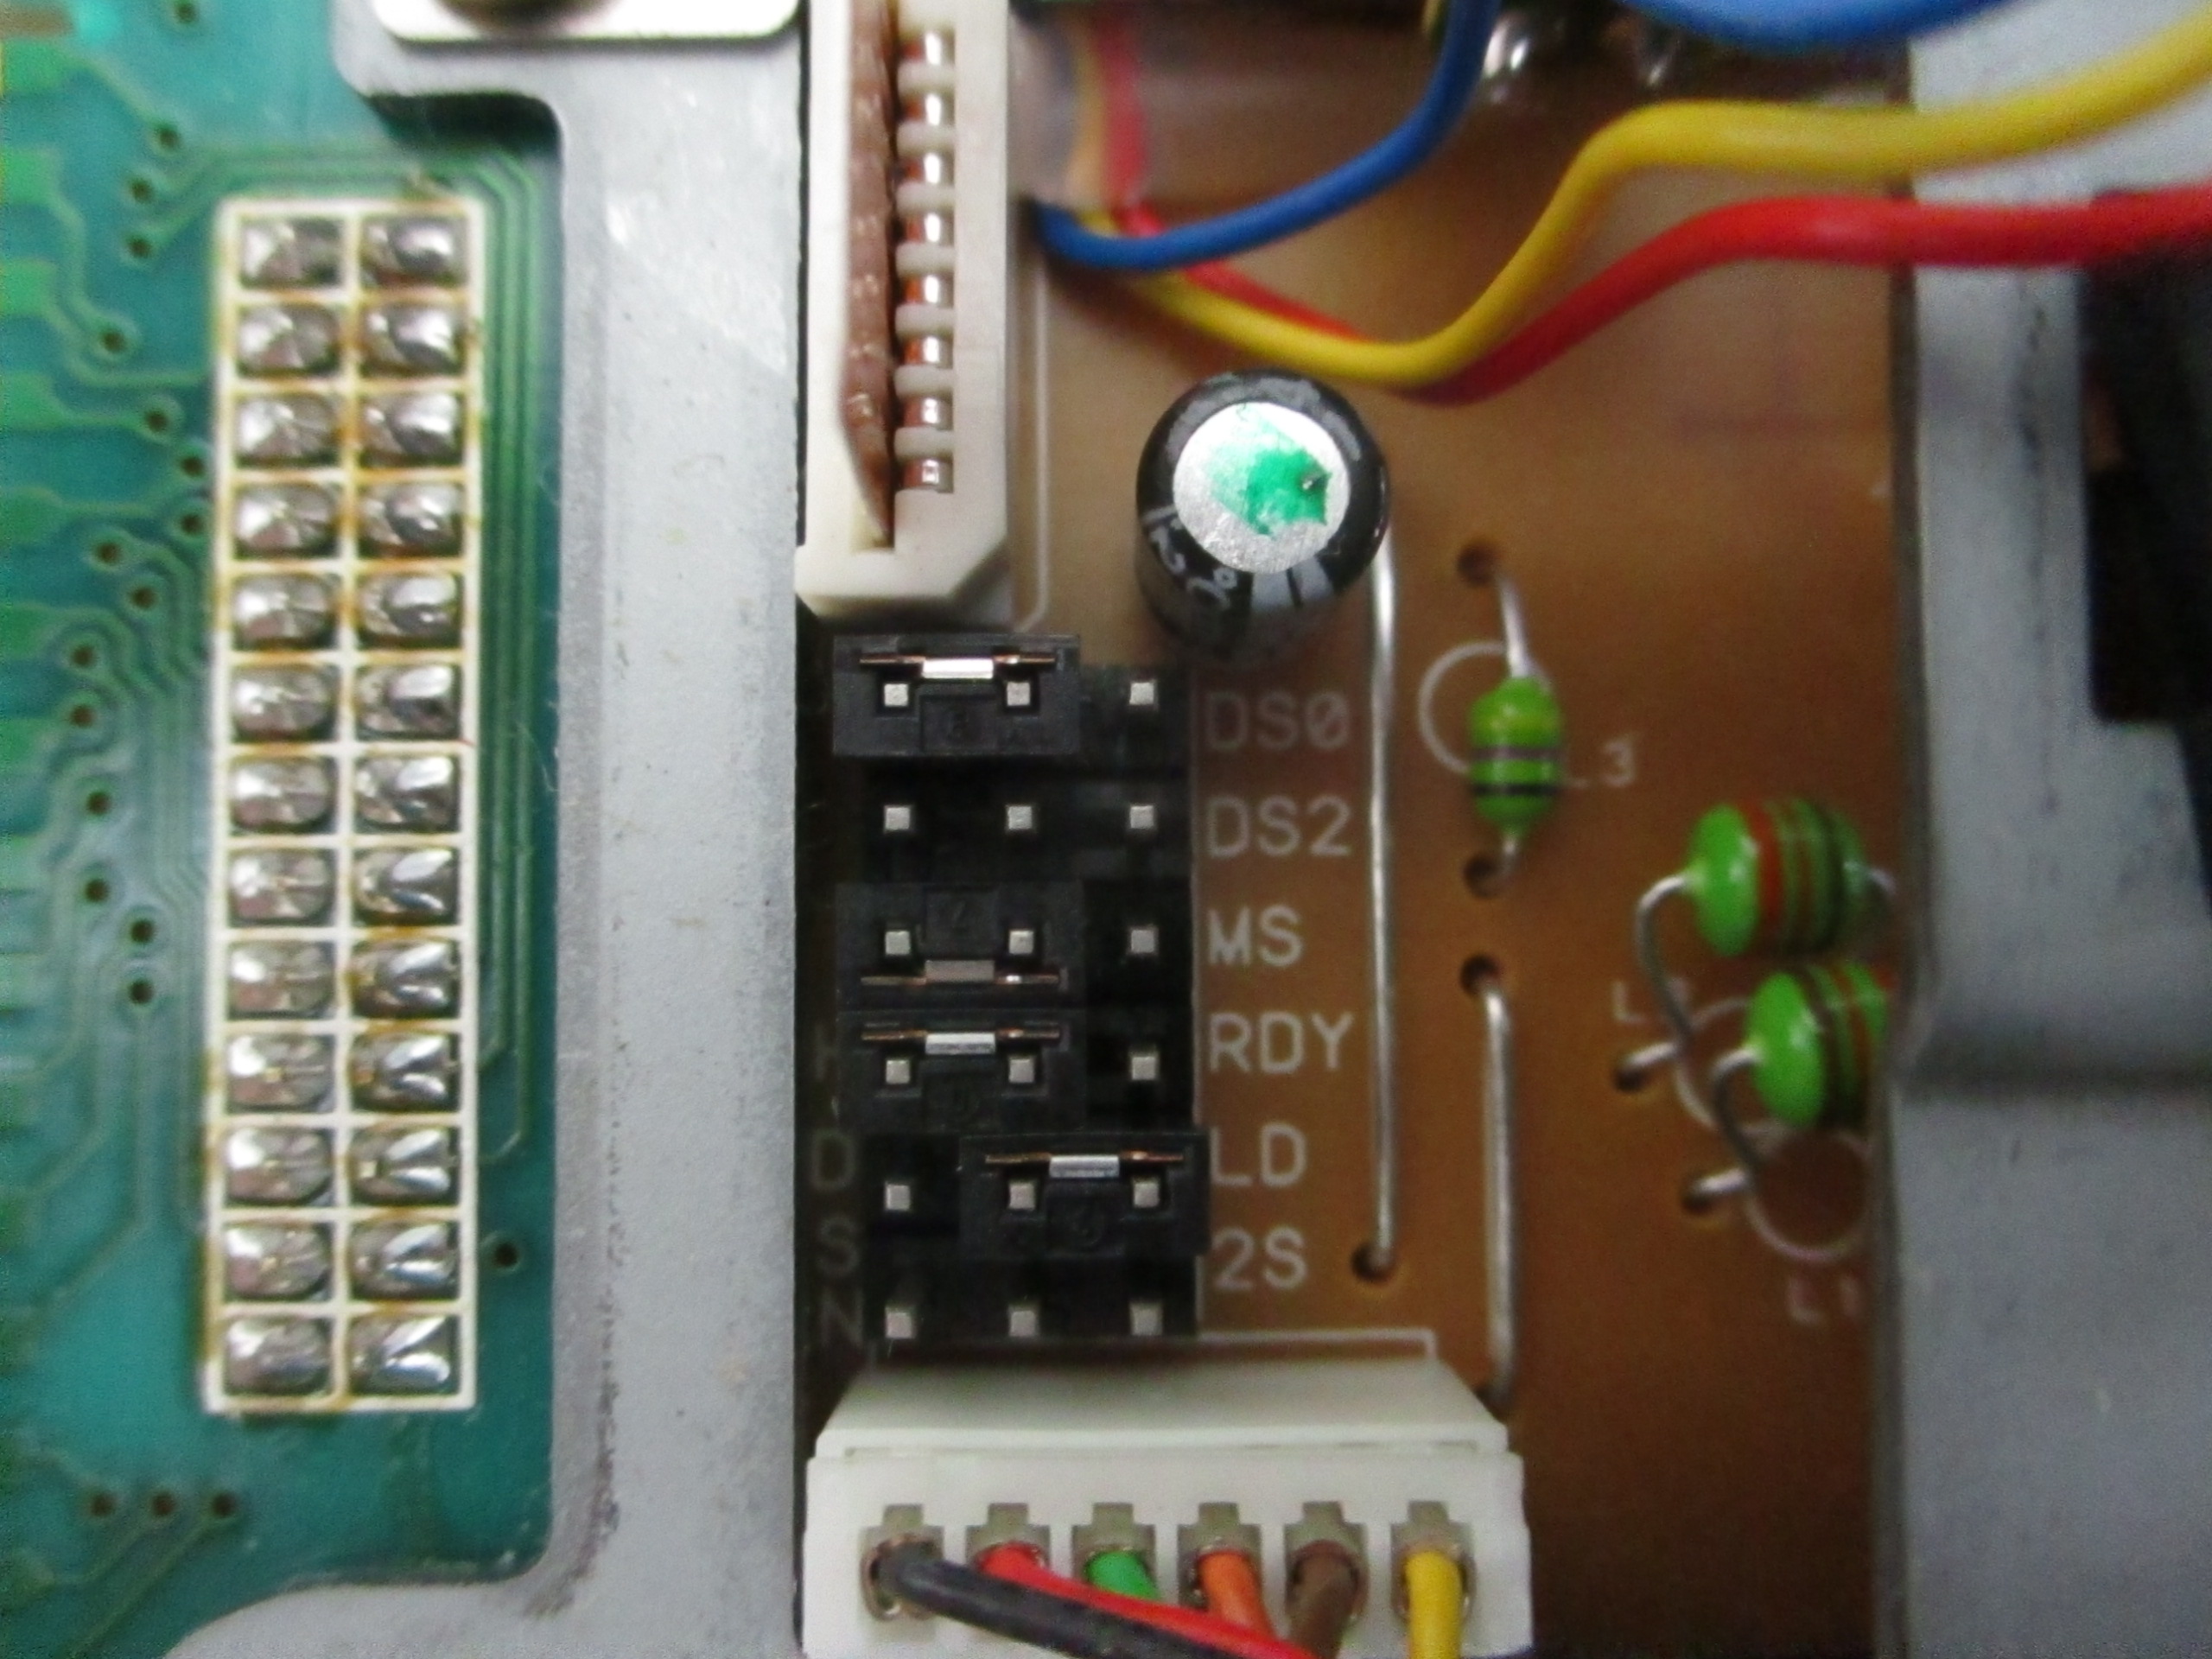
I wasn't sure of the correct jumper settings, but it turns out the ones it shipped with worked. Access to the jumpers was impeded by the top metal plate, but I eventually had to take that off anyway in order to clean the read–write heads. Be aware that the left column of jumper labels is obscured by a piece of metal.
DS1 [o  o] o  DS0
DS3  o  o  o  DS2
 MM [o  o] o  MS
DCH [o  o] o  RDY
 HD  o [o  o] LD
 LS  o  o  o  2S
Once you have a drive, you need to find a way to connect it.
The power connector is still the same,
but contemporary PCs don't even have a floppy disk controller
on the motherboard.
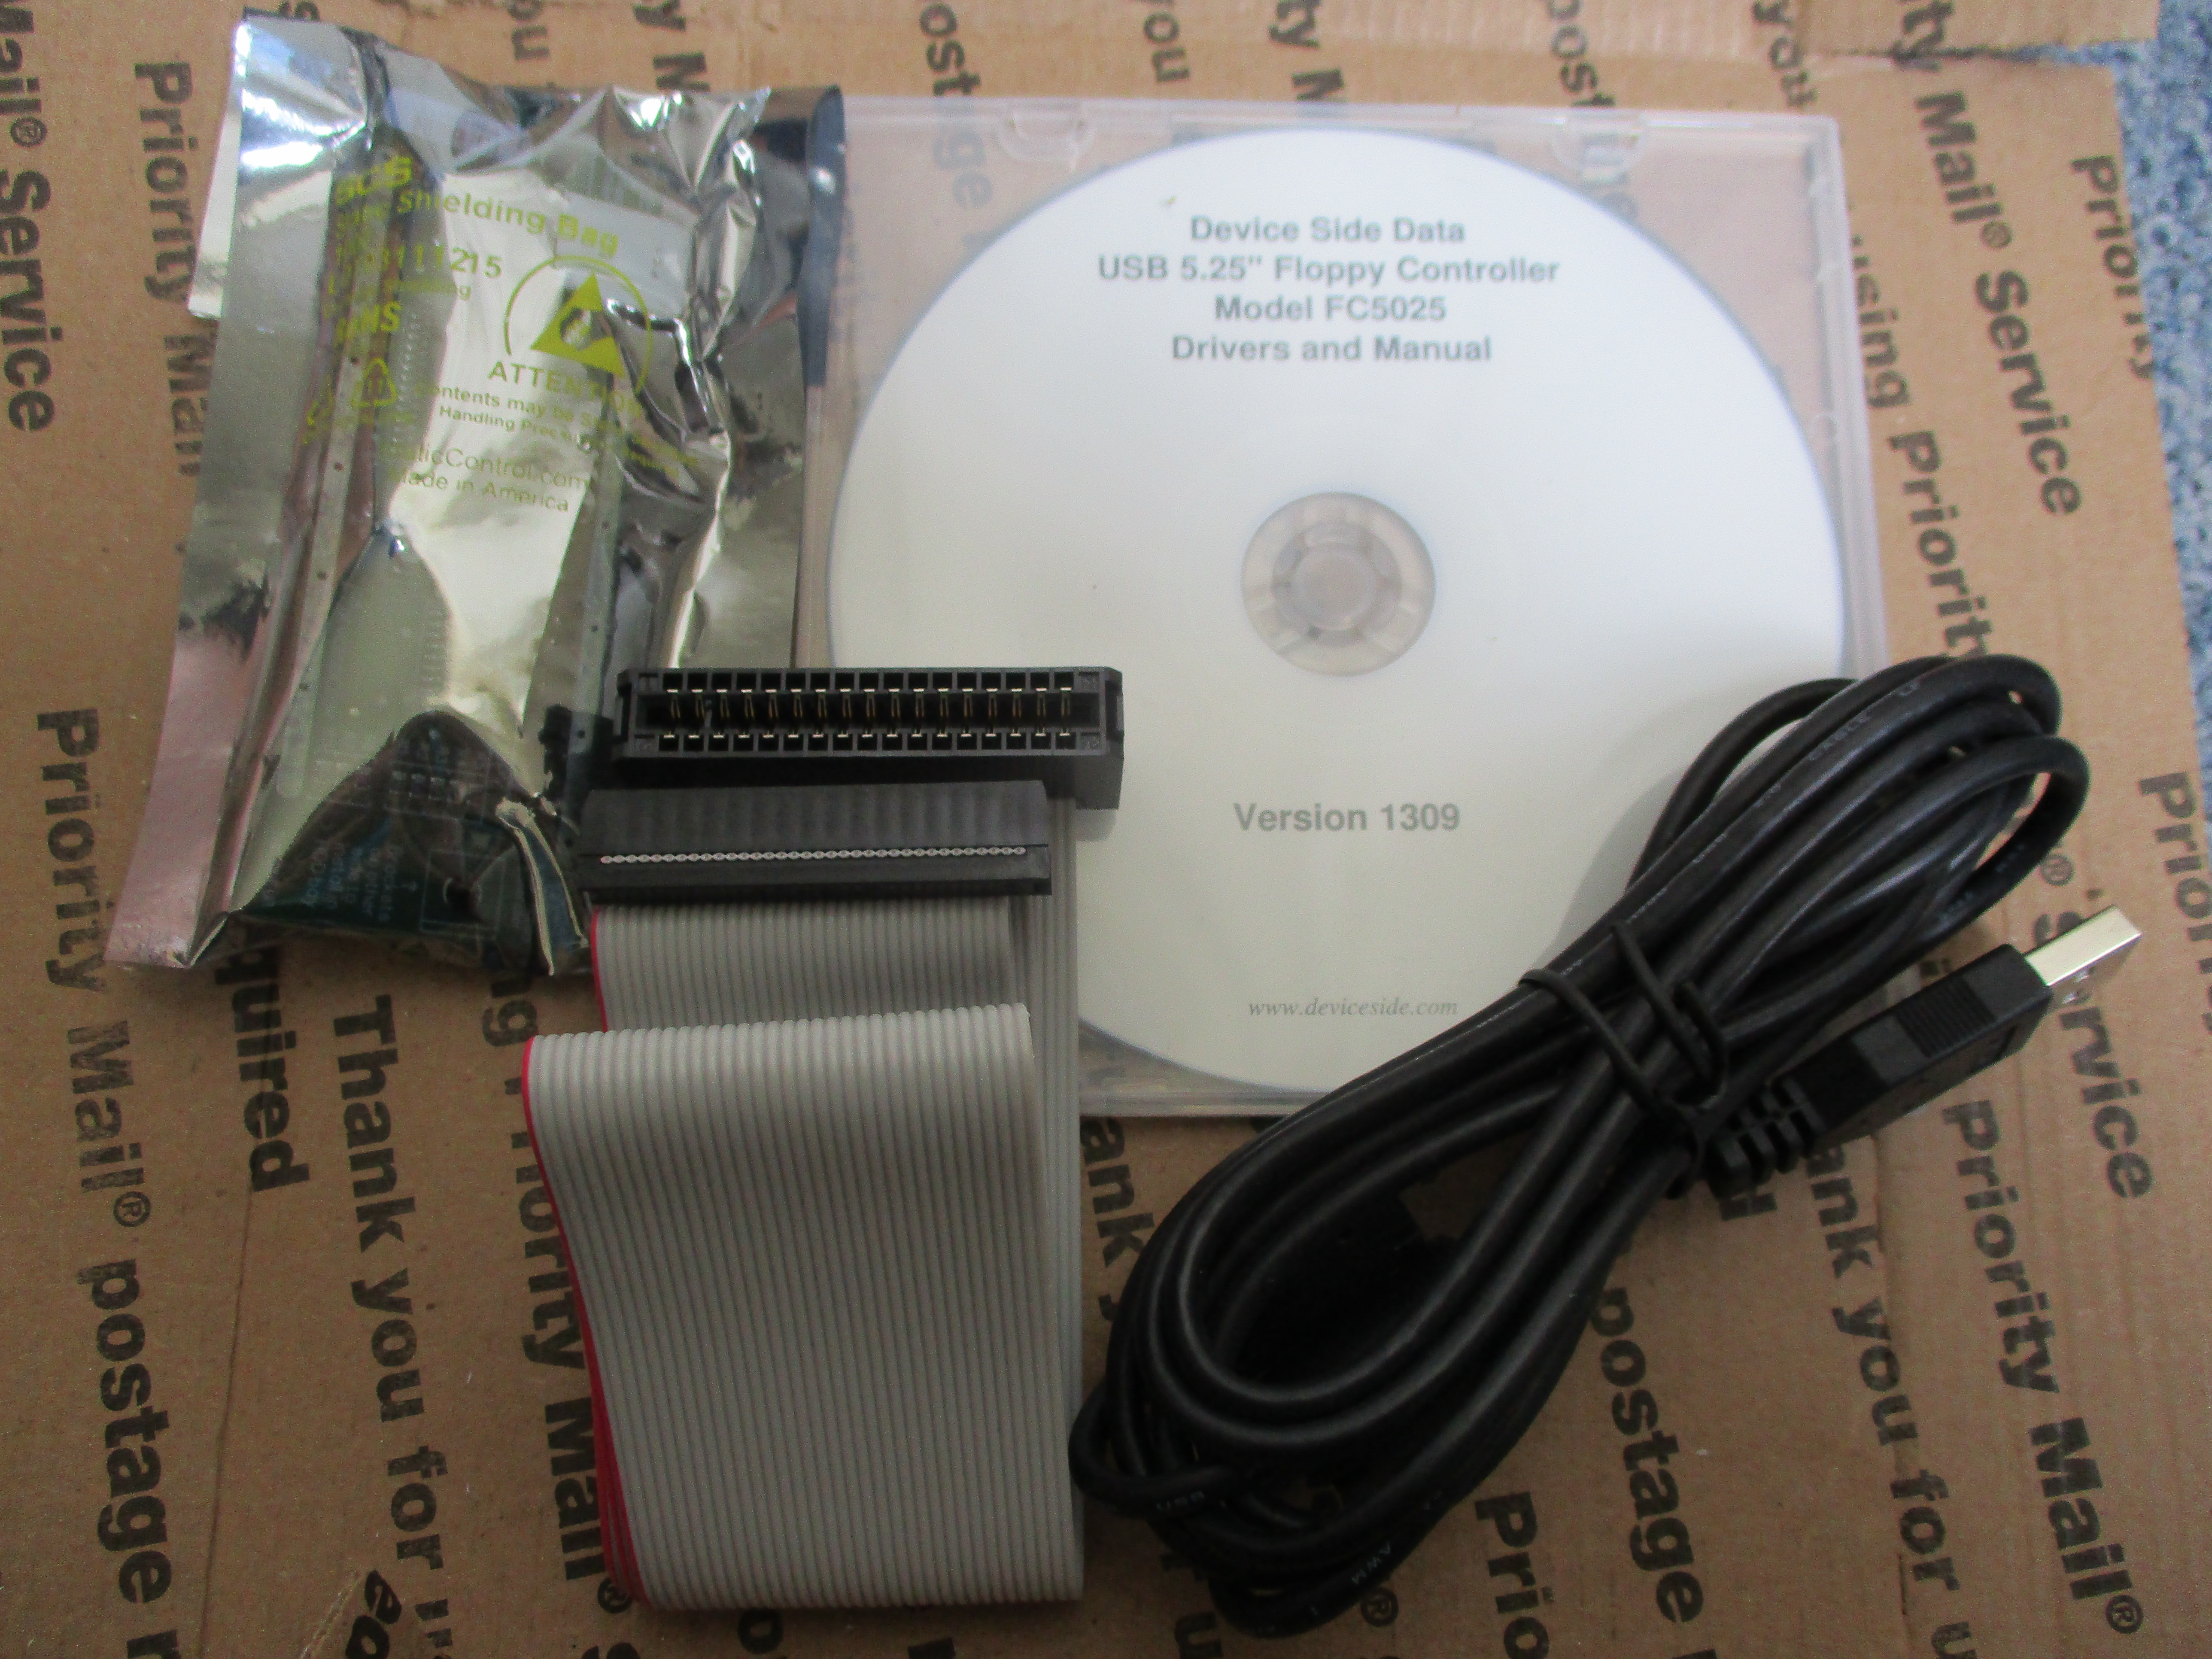
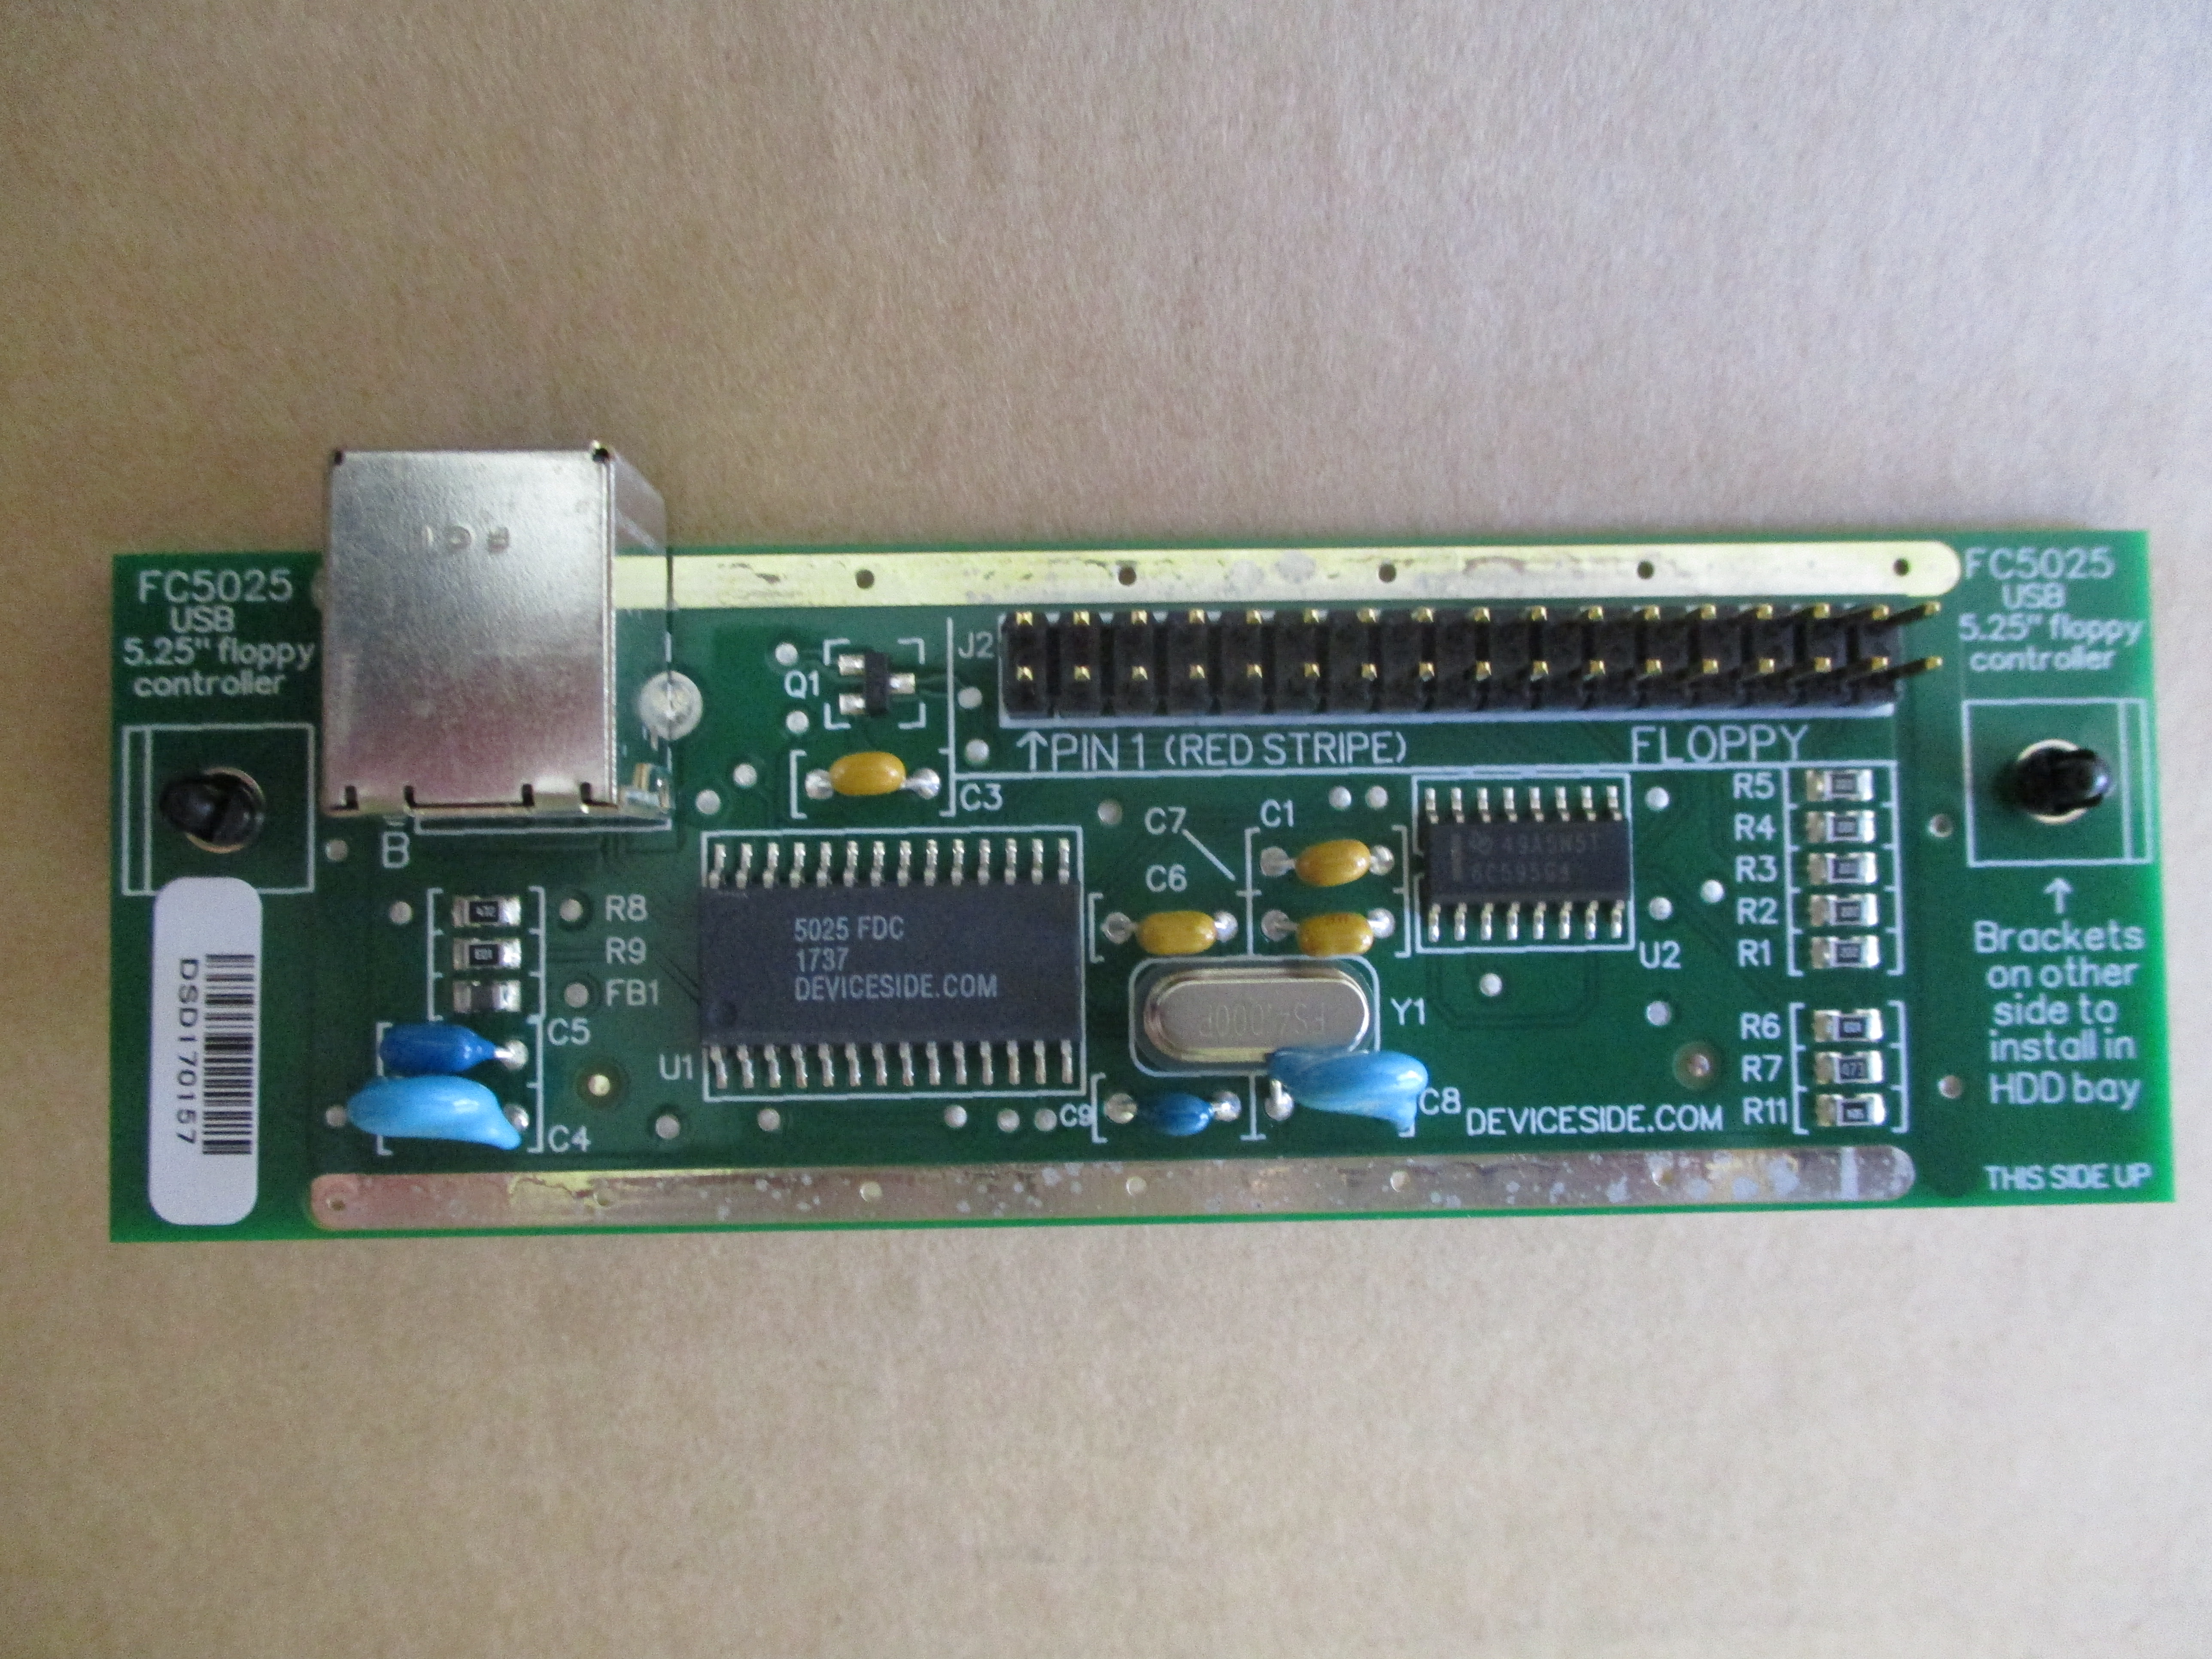
I considered many options and eventually got a
FC5025
USB floppy controller, and was happy with it.
It comes with a ribbon cable, USB cable, and imaging software
(with source code!) and does what it says:
provides read-only access to a 5.25″ floppy drive.
It doesn't appear as an actual floppy device
(e.g. /dev/fd0); you can only access it through
the FC5025-specific software,
but the software was adequate for my purposes.
I uploaded the contents of the FC5025 software CD here: Device_Side_Data_FC2025_Drivers_and_Manual_CDROM_1309.
The FC5025 software includes a program called fcimage,
which is the main one that you'll use.
You run fcimage -f FORMAT DISKNAME.img, where FORMAT is something that
describes the low-level formatting of the disk, like
msdos360 or apple33.
The fcformats command lists all the known formats.
Initially, fcimage only worked when I ran it
as root, because the included udev rules,
which were supposed to allow anyone in the floppy
group to access the device, didn't work.
I had to change this line:
SYSFS{idVendor}=="16c0", SYSFS{idProduct}=="06d6", MODE="664", GROUP="floppy"
Into this:
ATTR{idVendor}=="16c0", ATTR{idProduct}=="06d6", MODE="664", GROUP="floppy"
Most of my disks were formatted as
msdos360 (360 KB, 2 sides, 40 tracks, 9 sectors per track) or msdos12 (1200 KB, 2 sides, 80 tracks, 15 sectors per track).
I had one oddball disk that was formatted as
320 KB, 2 sides, 40 tracks, 8 sectors per track.
That wasn't supported out of the box,
but writing a patch for it wasn't hard:
0001-Add-msdos320-format.patch.
There are other options for a floppy controller. A common recommendation is KryoFlux, which reads disks at a lower level (flux transition timings). But their software is proprietary and they are weird about selling the hardware—they only want you to use it for "personal, non-commercial use." The flux-level imaging is a nice idea but I didn't want to deal with that shit.
Update : Since this project, I learned of (but haven't tried): SuperCard Pro, flux-level imaging card with floppy connector; and Glasgow, electronics multi-tool whose creator says it can do what a Kryoflux does.
Here are the scripts I used for 5.25″ disk imaging.
Sometimes you'll do an fcimage and get a few bad sectors;
then you'll do it again and get different bad sectors that don't overlap.
The merge-fcimage.py script can merge multiple partially
successful images, as long as each sector is good in at least one of the images.
Pretty awesome to watch the disk drive come to life, then mount the filesystem image and see some 30-year-old files!
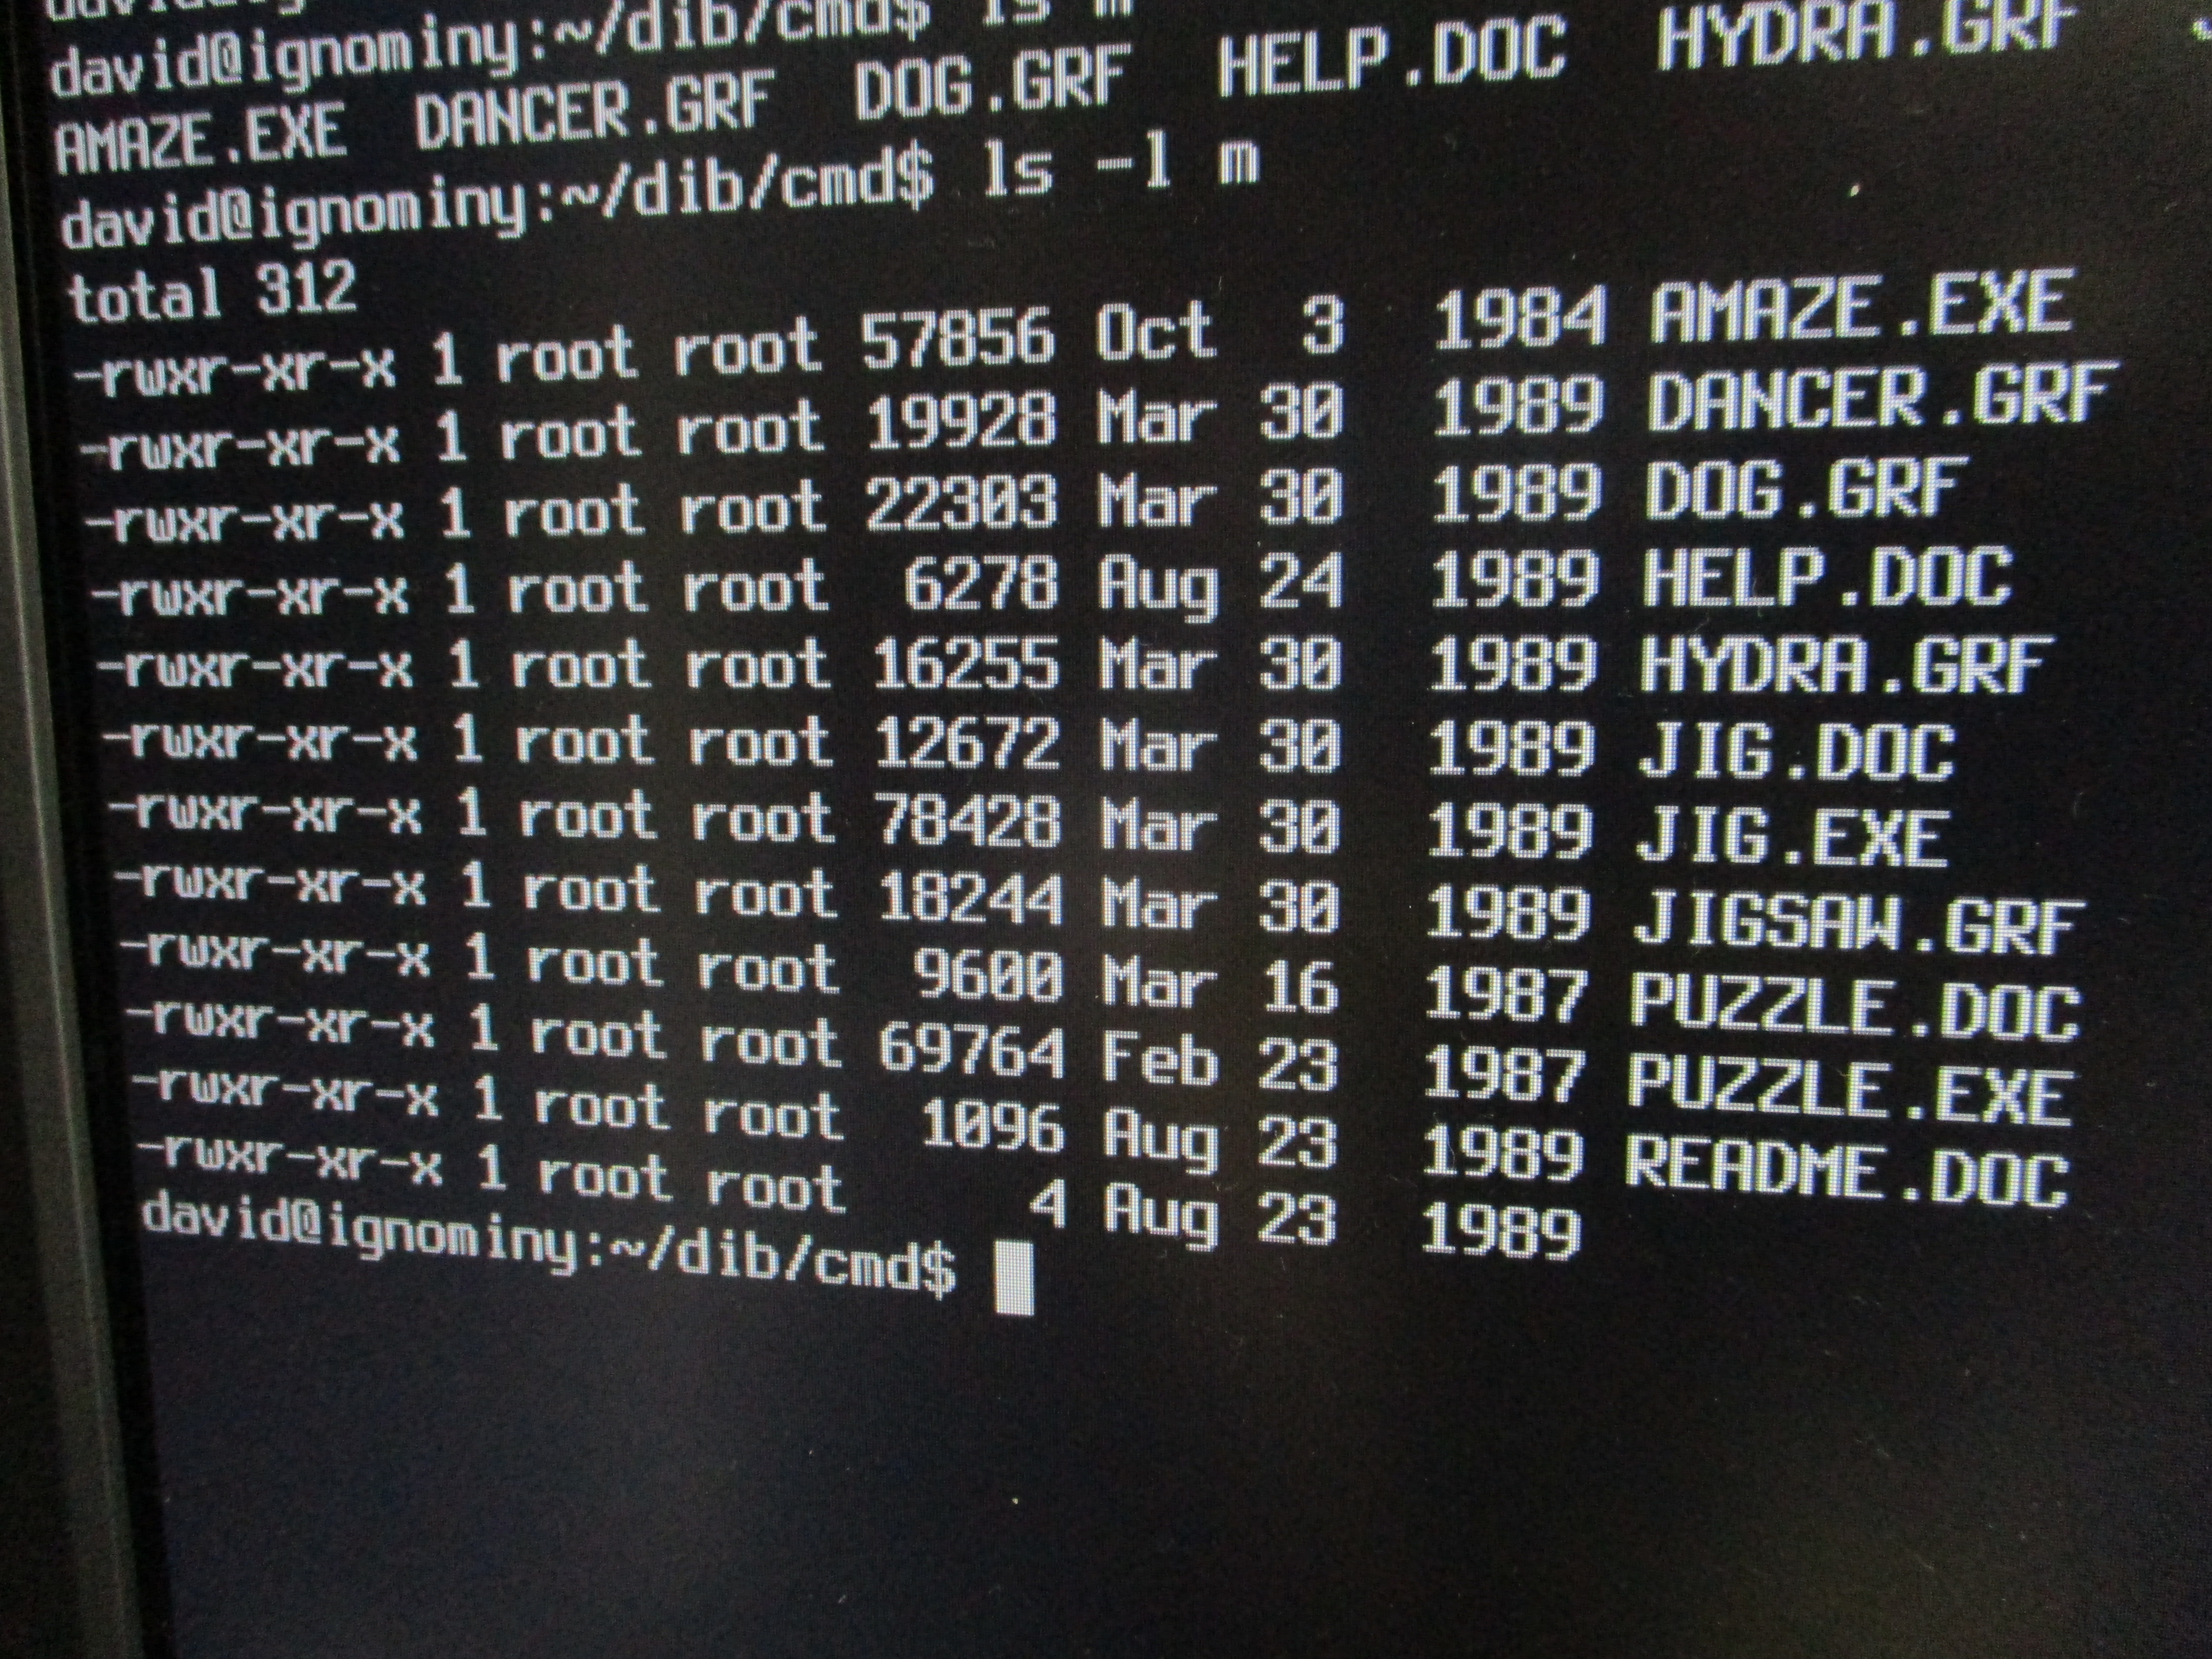
The first disk I tried was this set of puzzle games. I had forgotten all about these games; but something about the graphic of Hercules fighting the Hydra brought back powerful memories of playing on the computer in my youth.
I don't know of any way to guess the format of a disk
except by trial and error.
Most of my disks were msdos360 or msdos12,
with just a few msdos320 or apple33.
(apple33 and applepro are identical
except for sector ordering.)
If you try to image a disk with the wrong format, you'll
know it because you'll immediately get a lot of errors:
Read error on track %d side %d sector %d; continuing.
But if you Ctrl-C and try again with a different format, something
in the drive is in the wrong state and you'll get the error
Unable to recalibrate drive.
Whenever I started reading a disk in the wrong format,
this is the procedure I used to try again:
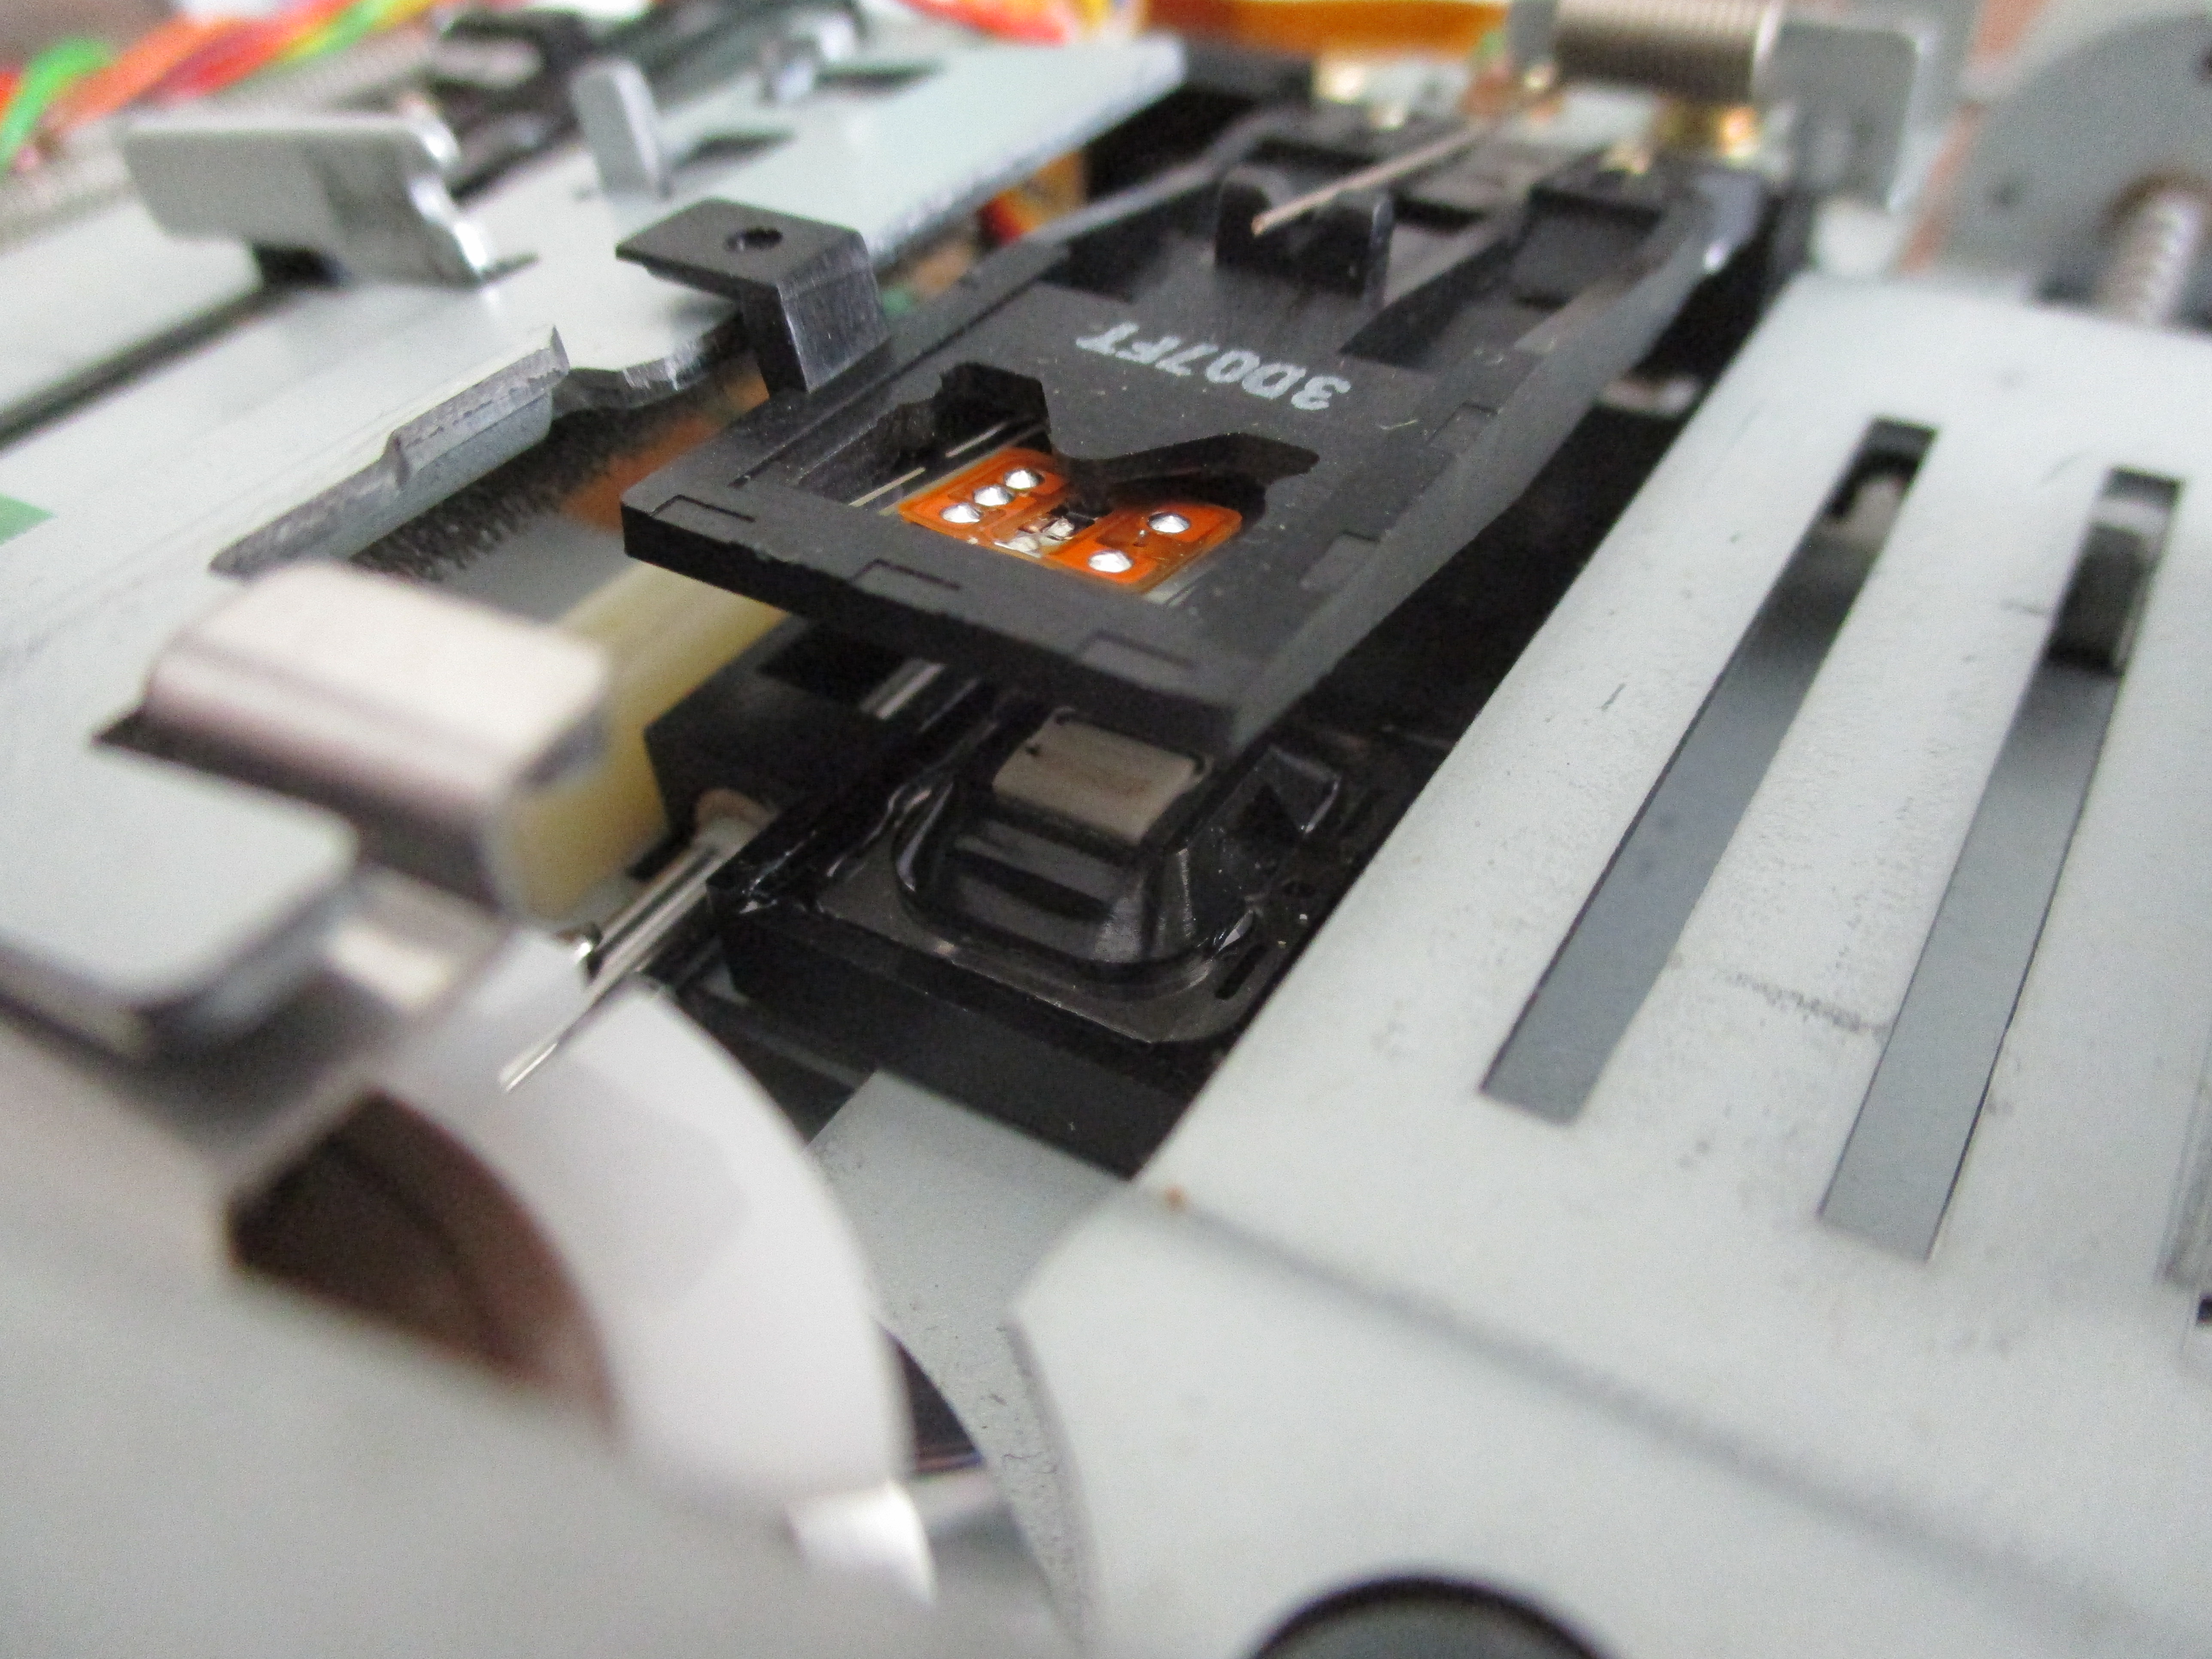
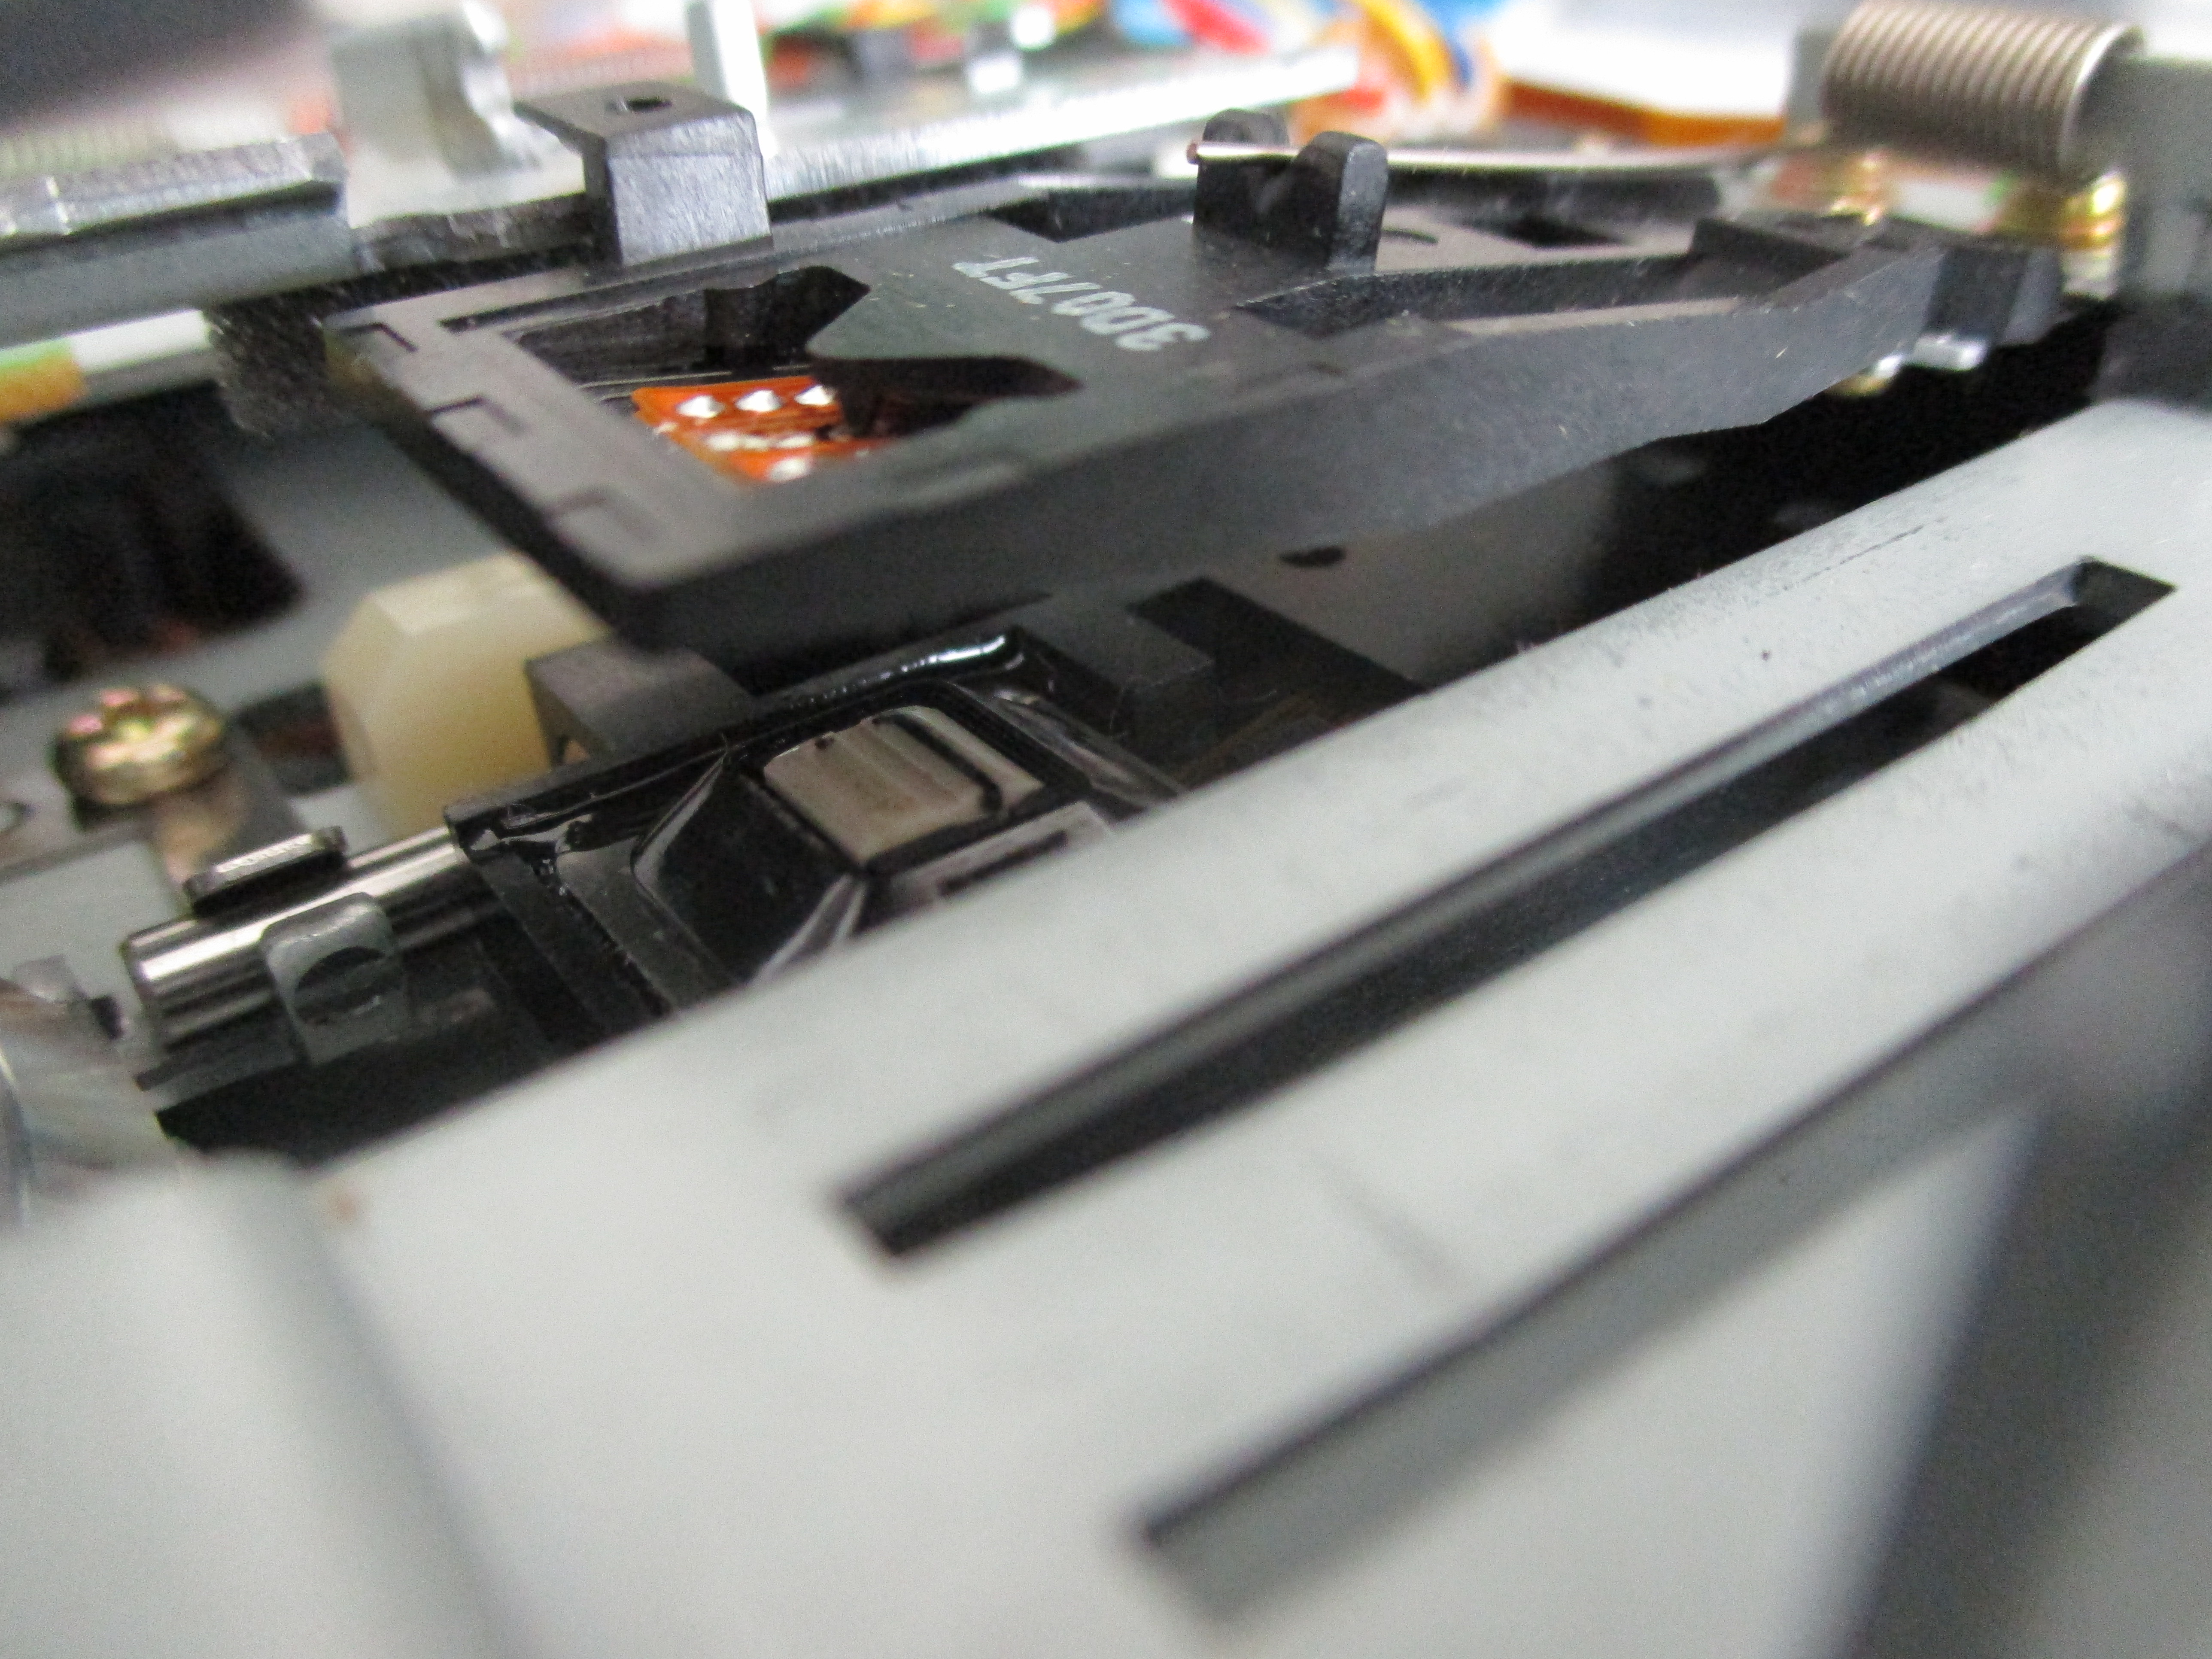
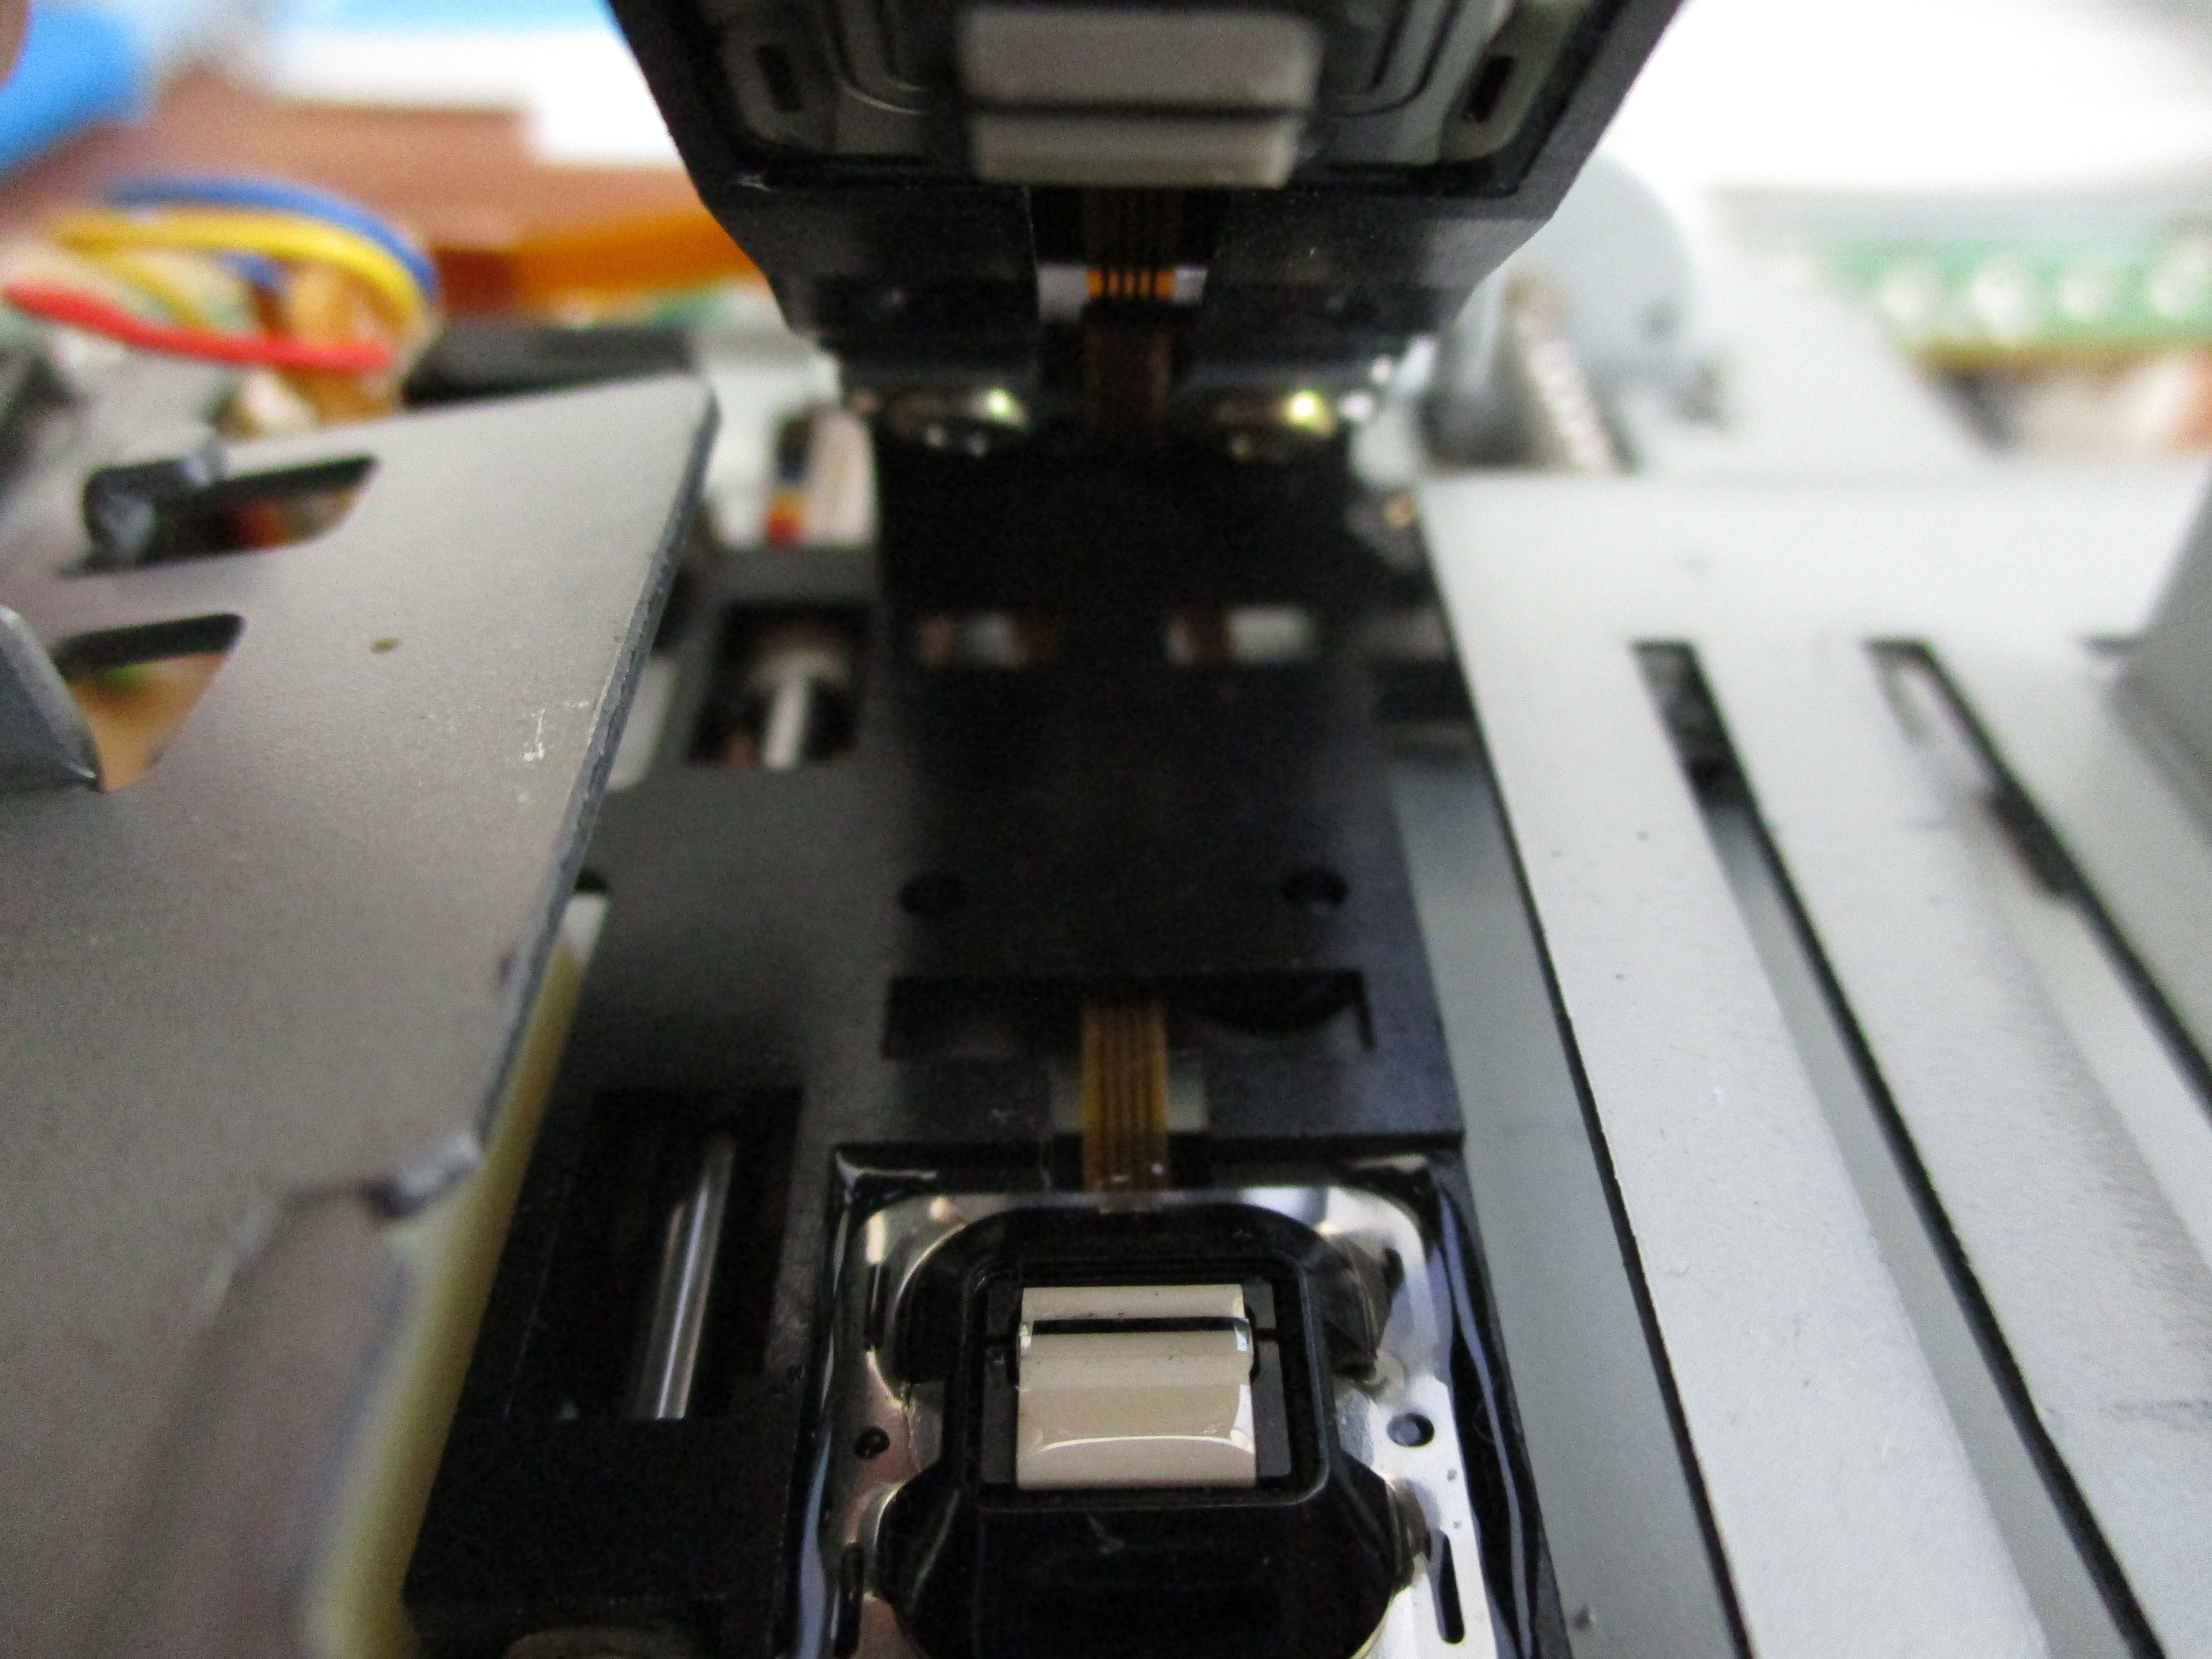
fcimage process.fcimage again using another format.A problem I read about but didn't realize would actually cause so much trouble: the read–write heads of the disk drive get clogged with flakes of magnetic material, which prevents you from reading anything. I was initially discouraged that, after getting excited that the first few disks read perfectly, I hit a long stretch of disks that gave me tons of errors and were seemingly unrecoverable. My clue that something was amiss was that all the errors were on one side of the disk—that would be unlikely in the case of physical or magnetic damage. As you can see from the photos below, what happened was a buildup of magnetic crud on the physical read–write heads. It looks like a glob of black dust. It's not hard to clean off: just unscrew the top plate of the drive, and use an alcohol pad from a first aid kit to physically wipe it clean (wait a couple of minutes for it to dry). It feels weird to interact with electronics that way, but it's not as delicate as it looks. The upper head is even mounted on a hinge so you can flip it up for easier access. I had to do this cleaning procedure a lot, probably once every four or five disks. I went through dozens of alcohol pads. Whenever a disk had read errors, my first reaction was to clean the heads and try again. Certain disks were less messy than others. My advice is to start with your best-looking disks. If you have any that are visibly crusty, save them for last.
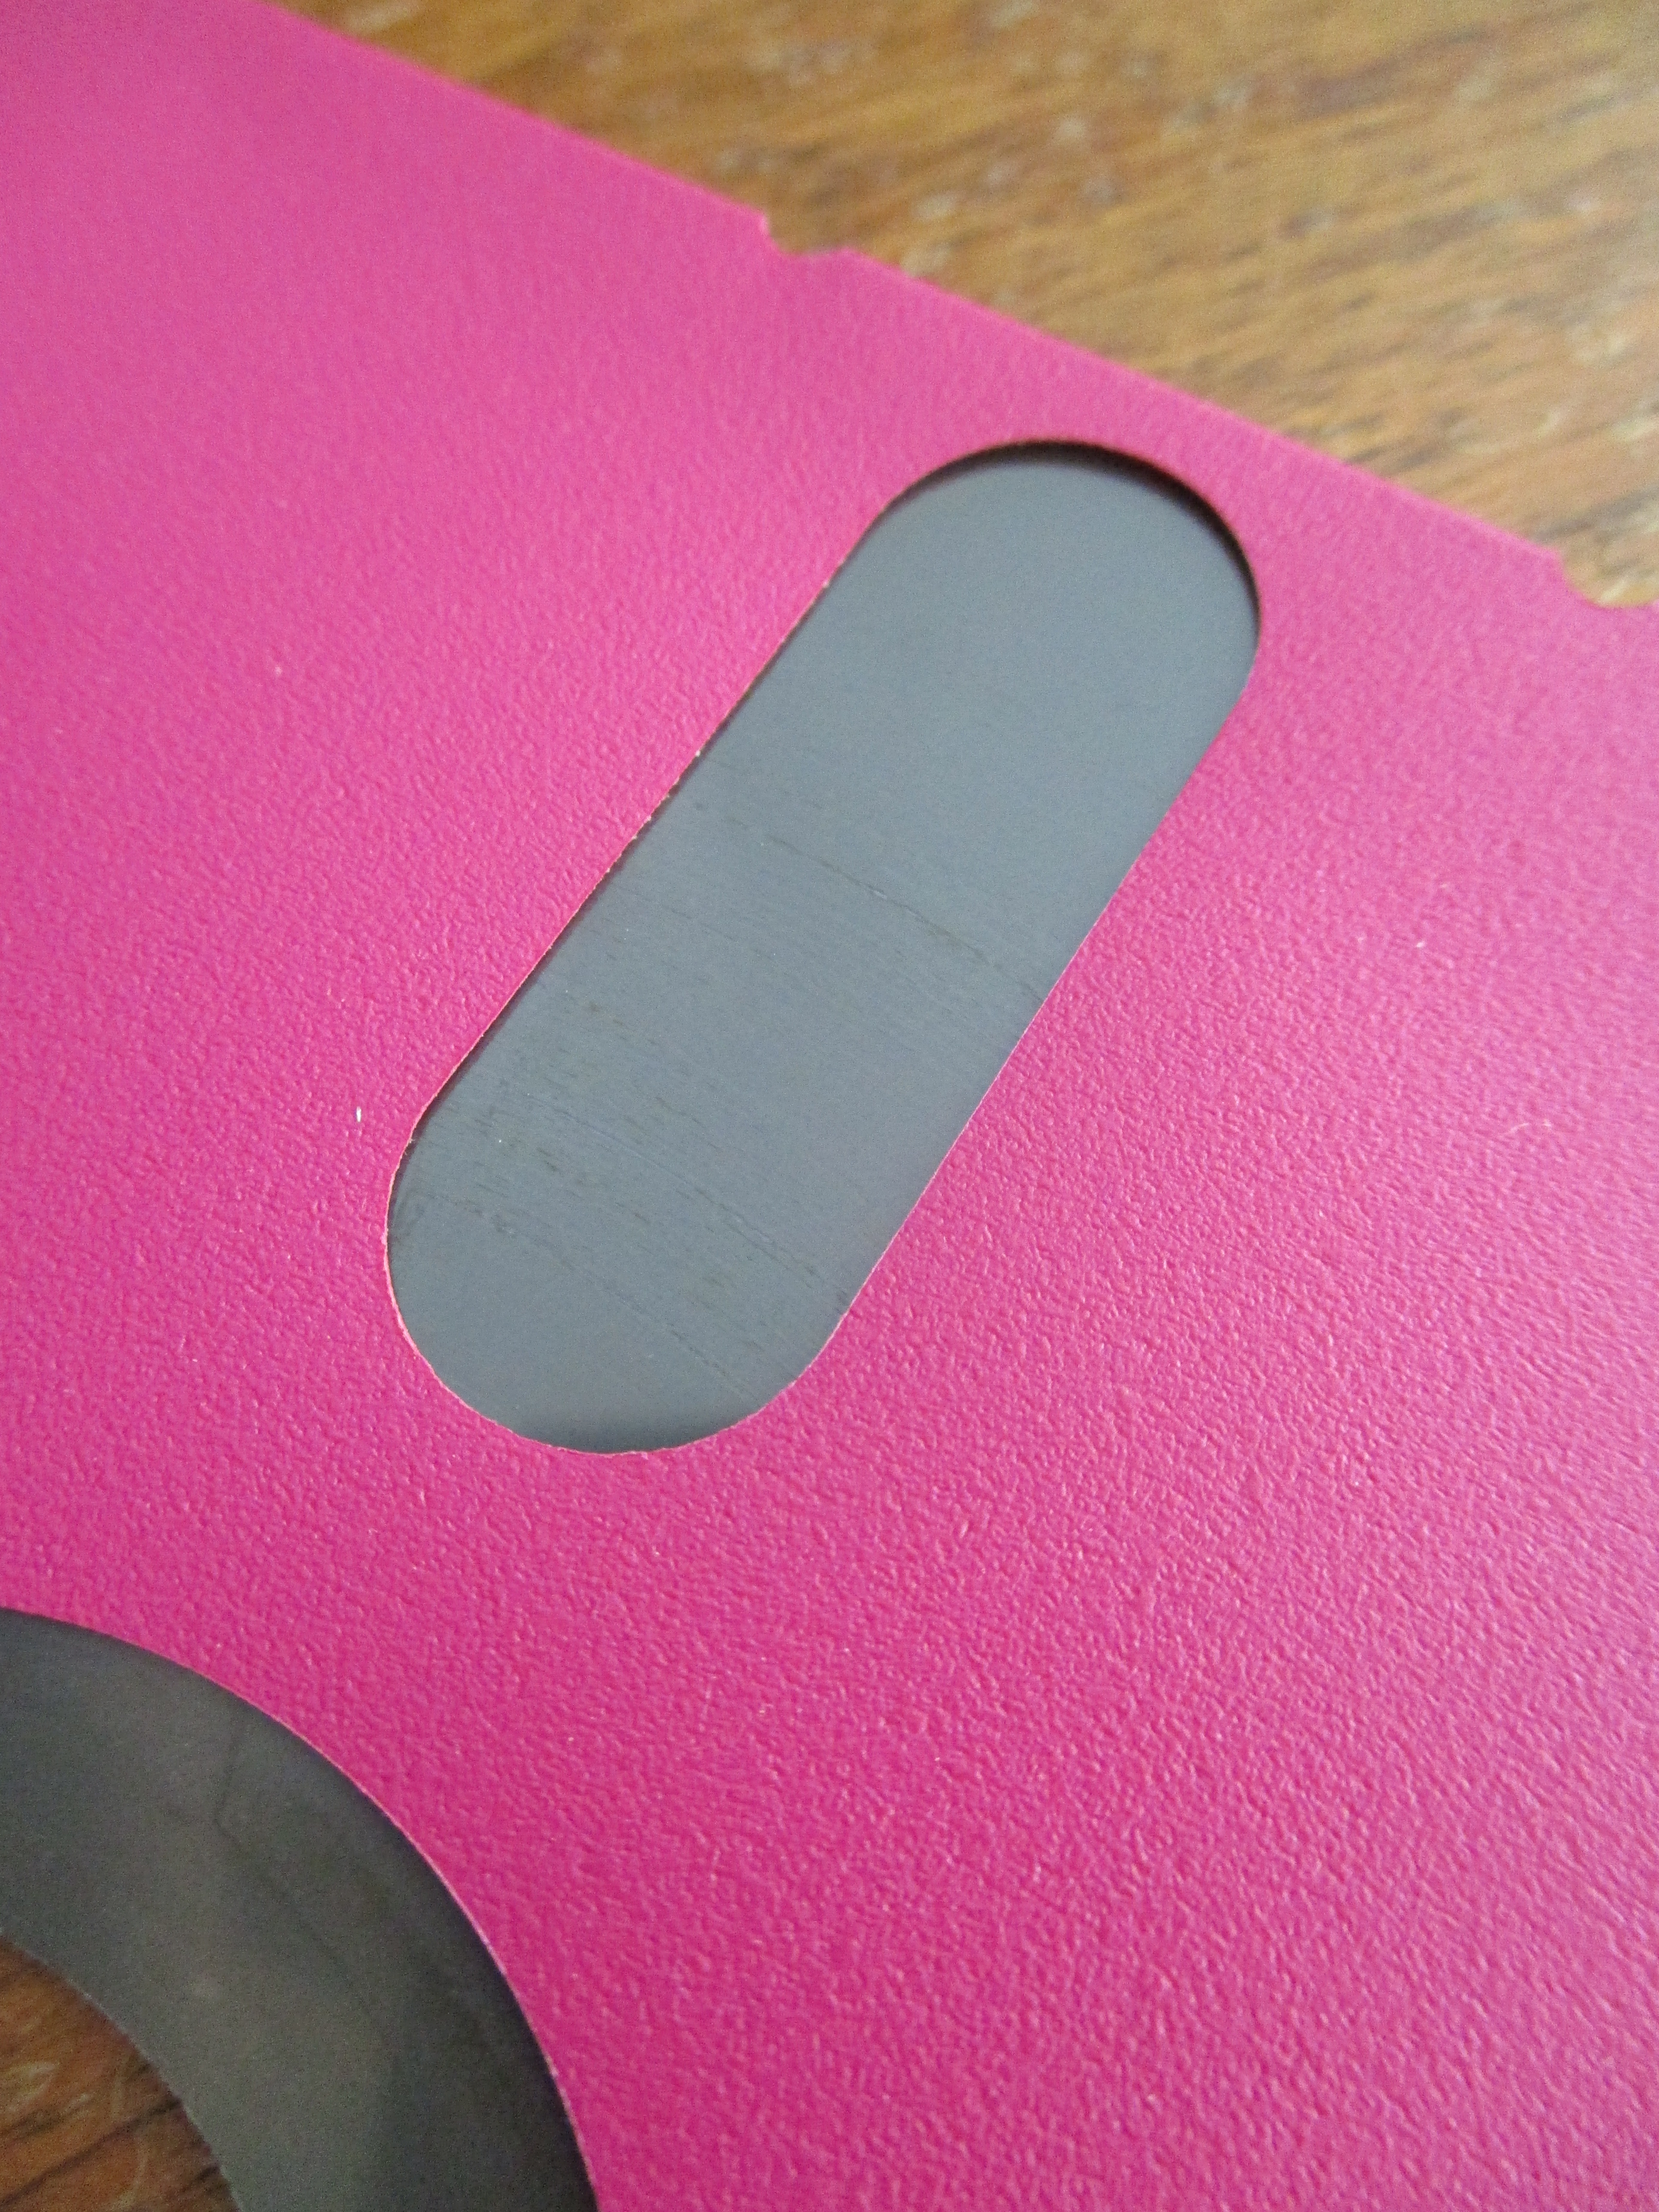
Some disks are too far gone for even a head cleaning to help. On this one you can see gouges and gaps in the disk surface. Nevertheless, on this damaged disk, 671 out of 720 sectors were recoverable, including enough of the filesystem to restore some files.
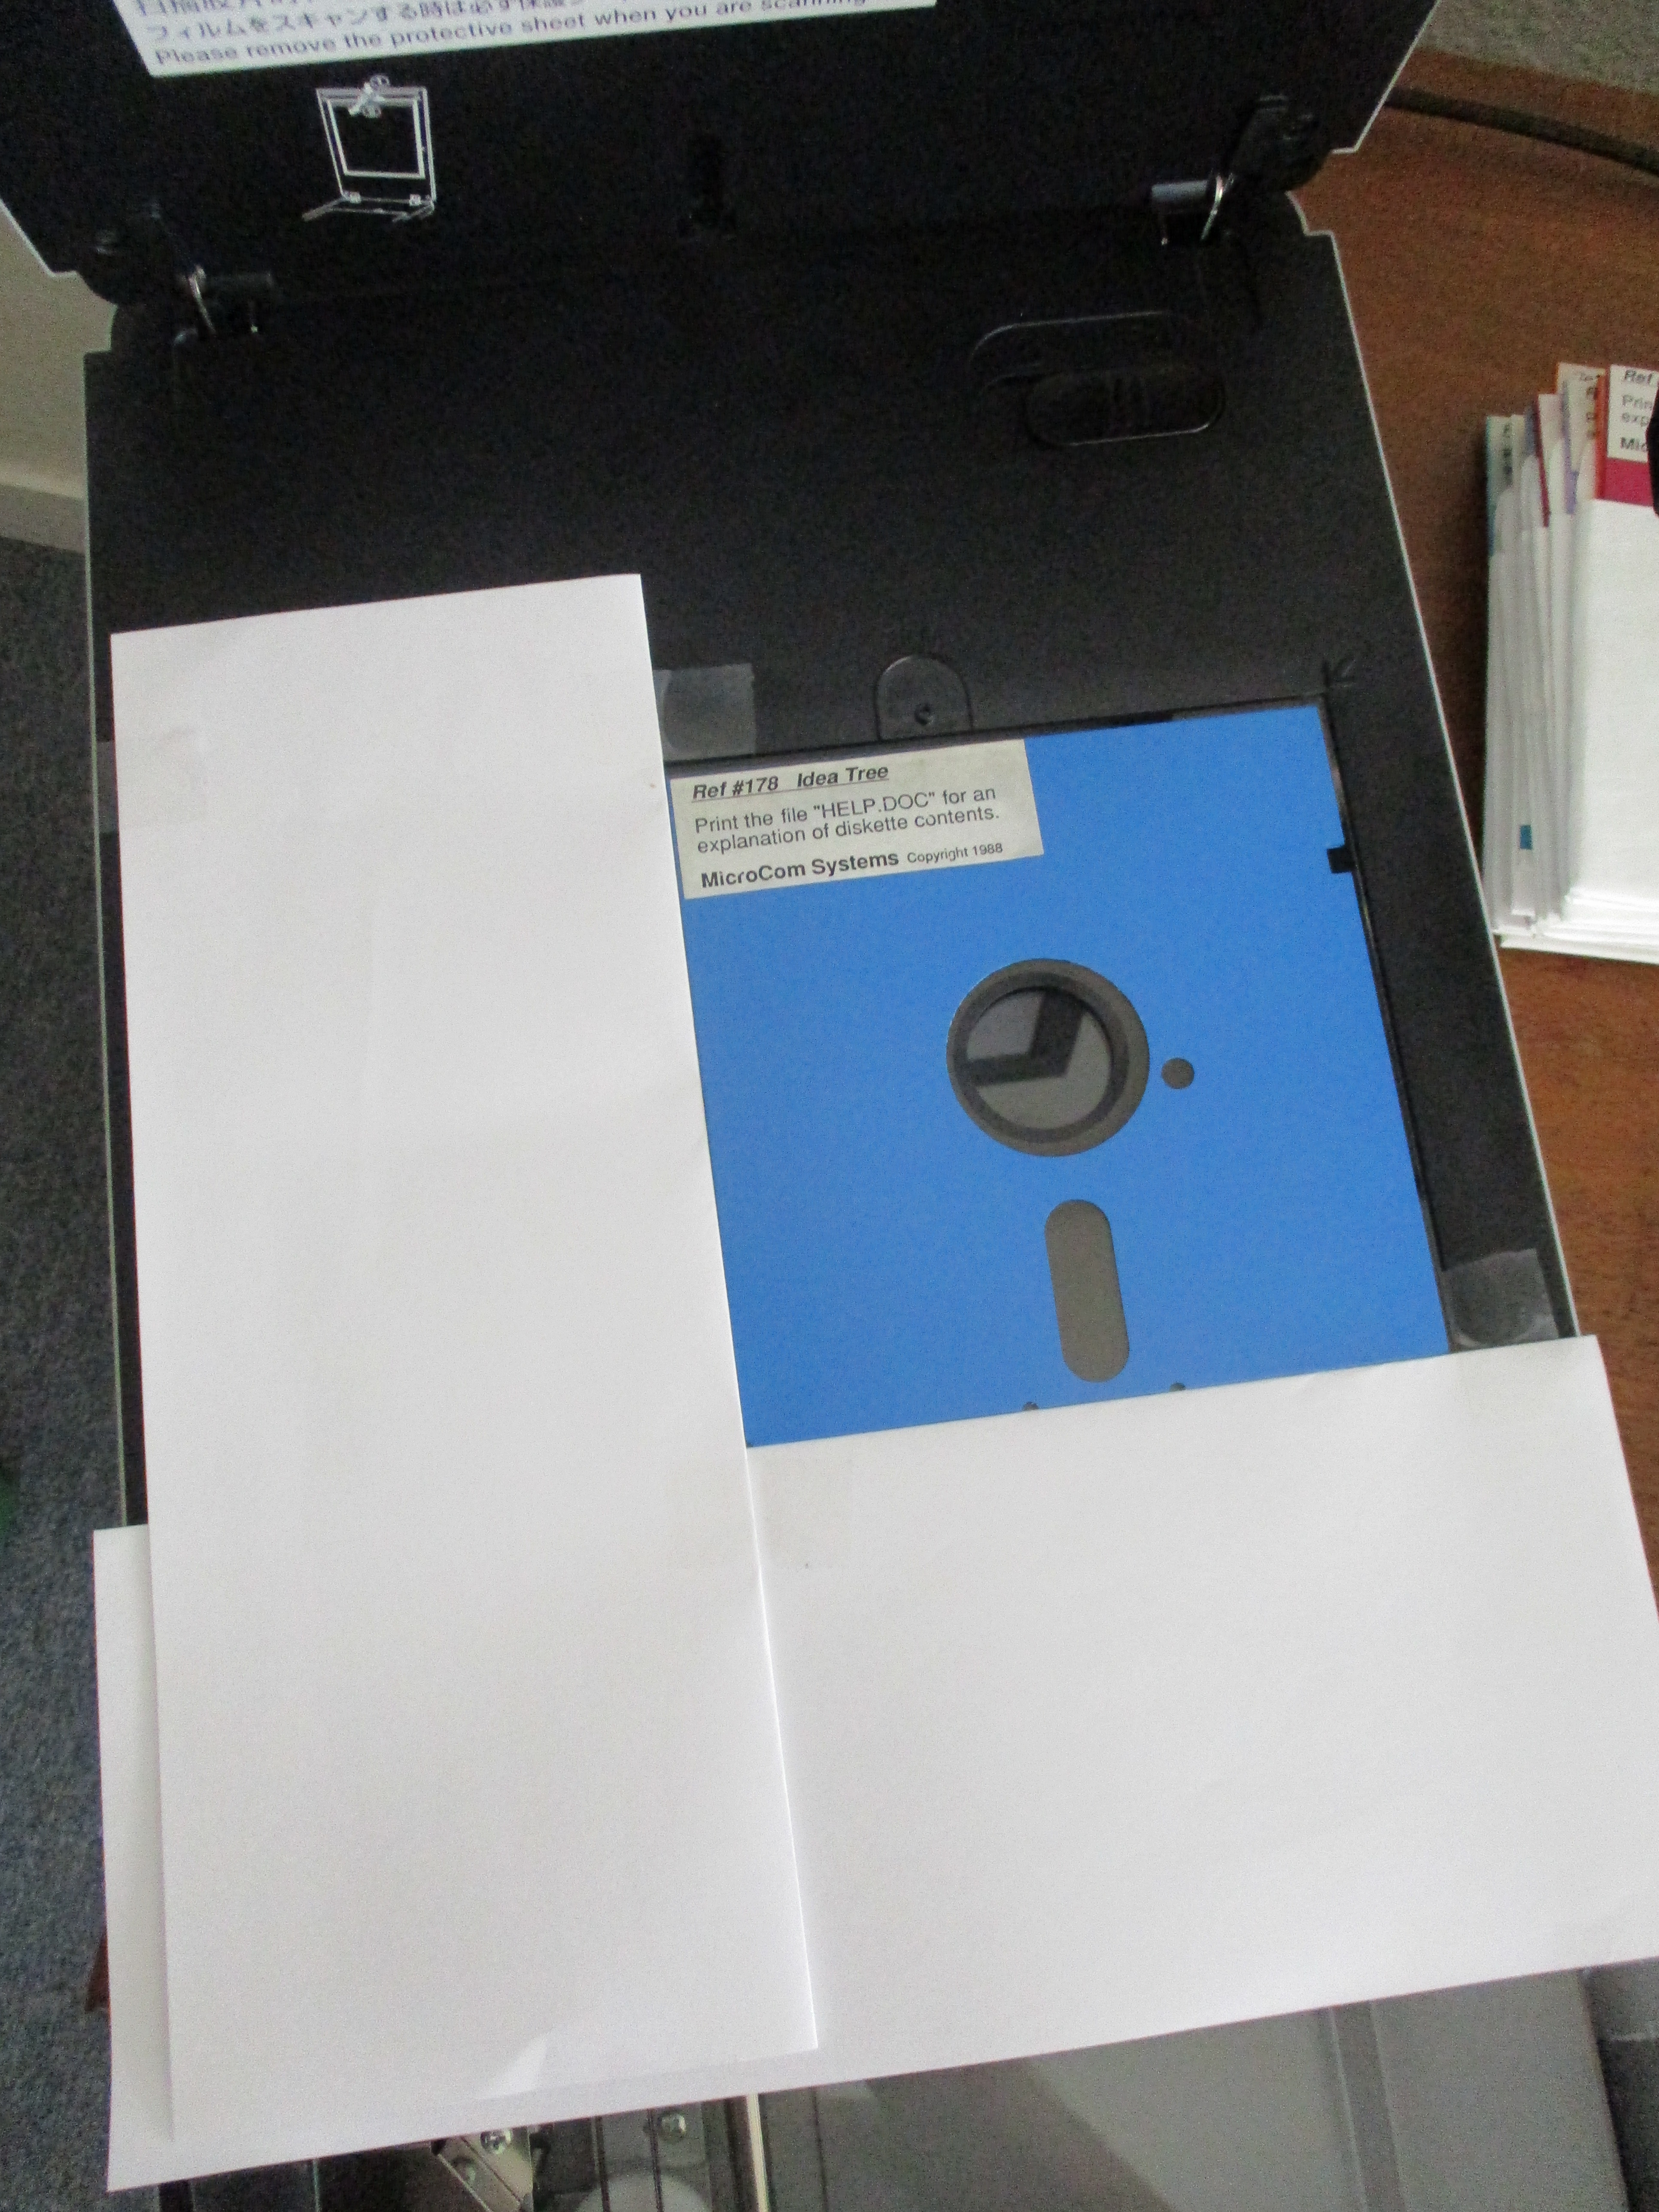
About scanning the disk itself: pushing the disk right up into the corner of a flatbed scanner causes the edges of the disk to be cut off in the scan. For a while, I was painstakingly positioning each disk freehand a few millimeters from the edges. After a while I got smart and made a jig out of white typing paper and tape. I could slam the disk right into the corner of the jig and get predictable positioning. This idea saved a lot of annoyance. If you're going to do a lot of scans, make your life easier, make a jig.
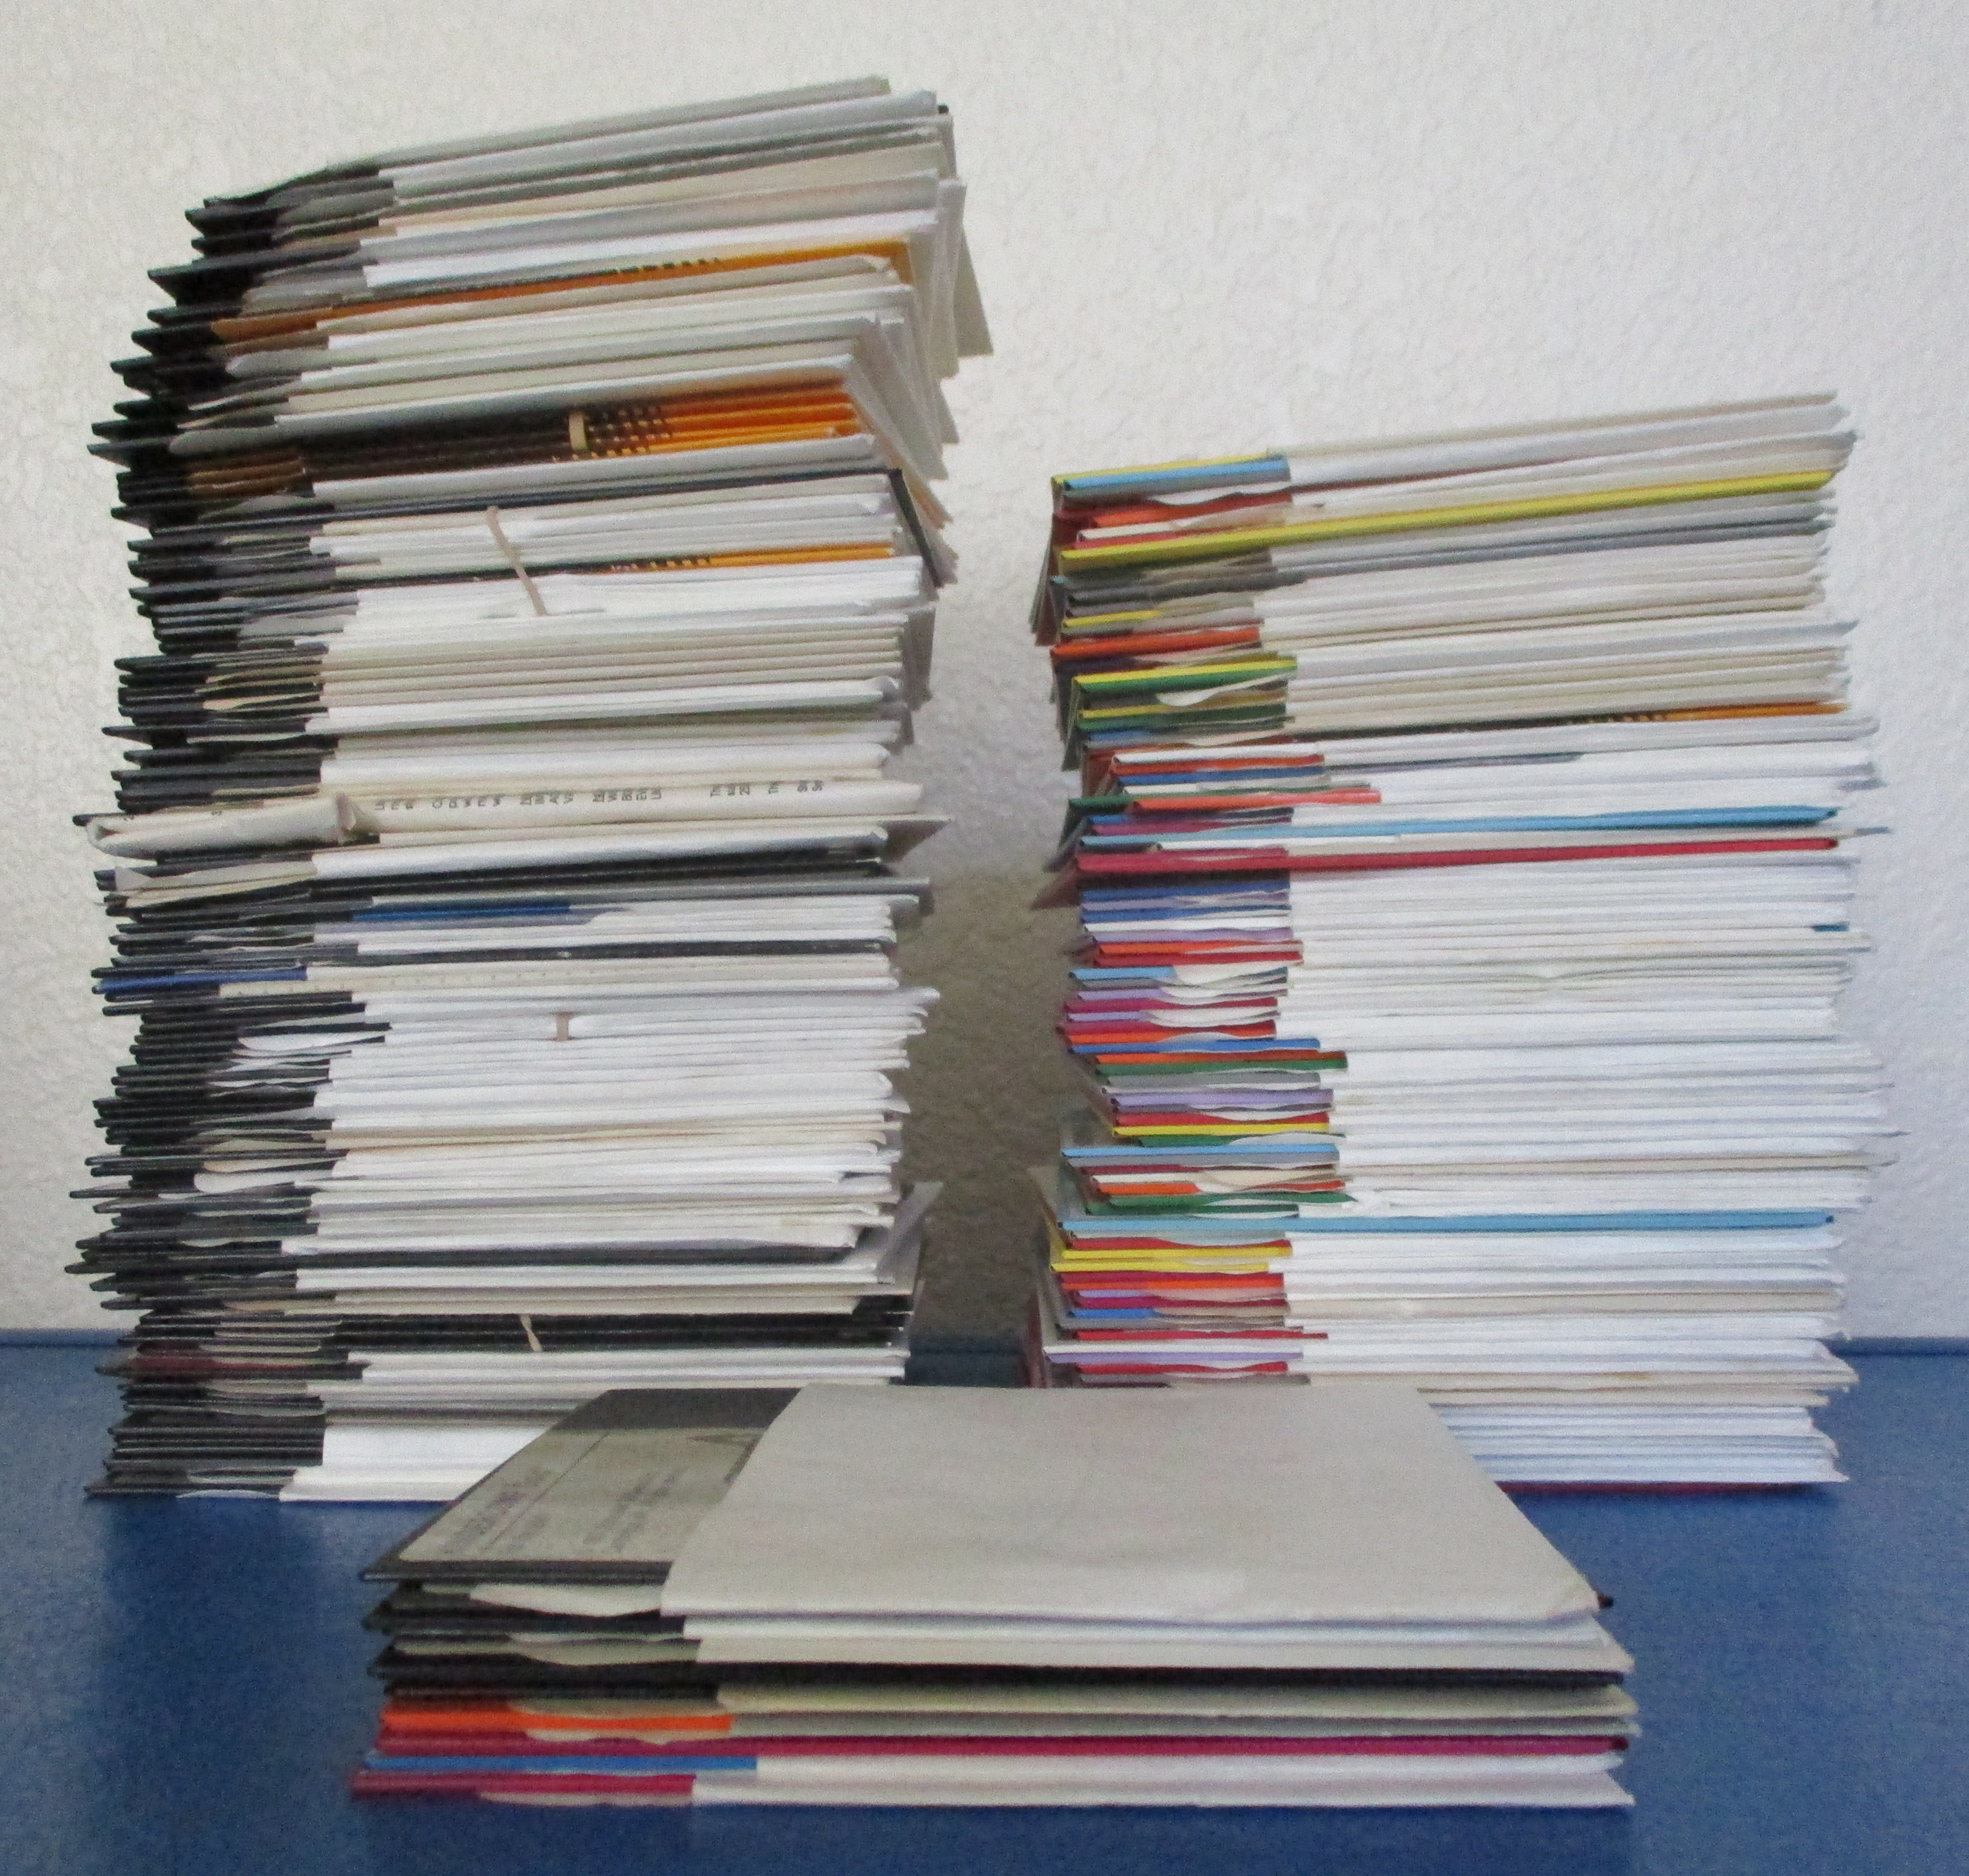
Here is a comparison of success and failure rates. The two stacks in the back are disks that read with no errors (some took multiple attempts). The stack in the front is disks that had at least one bad sector.